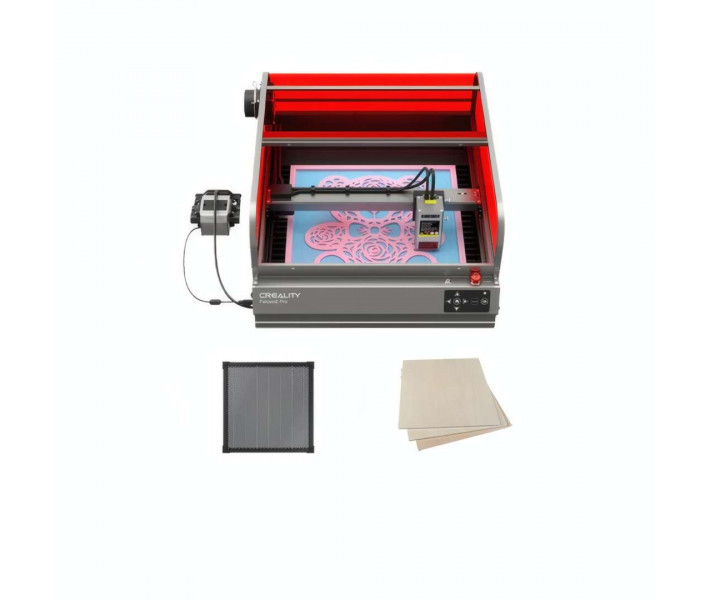
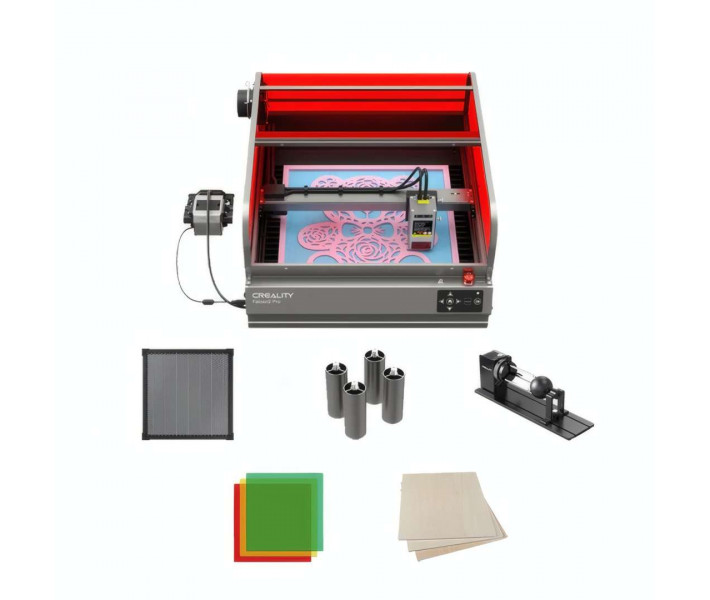


- Stock: In Stock
- Product code: 920372000001150185
- Weight Brutto: 23.00kg
- SKU: 6977905740062

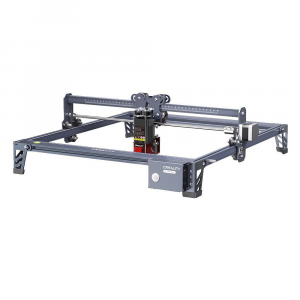
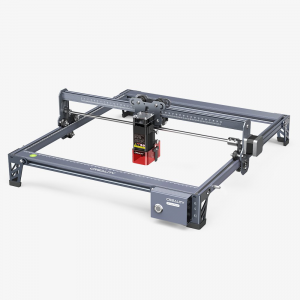
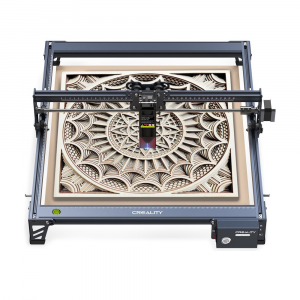
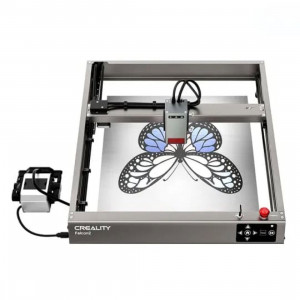
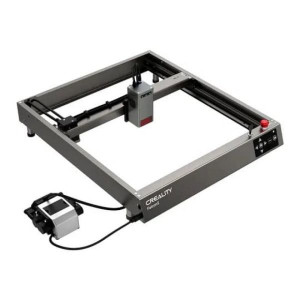
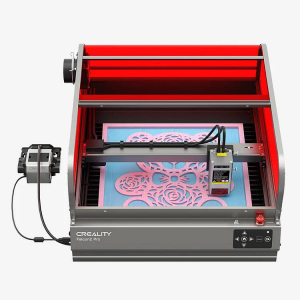
The Creality Falcon2 Pro S is a Class 1 enclosed diode laser engraver for workshops and small-batch production, delivering 22 W of optical power across a 355 × 390 mm work surface at up to 600 mm/s. Motorised auto focus, built-in camera batch positioning, and automatic cut-through detection each address a distinct setup friction point. FDA, CE, FCC, PSE, and RoHS certification clears the fully enclosed machine for shared-space operation without screening barriers or protective goggles.
| Specification | Why it matters |
|---|---|
| Optical Power: 22 W | Cuts through wood, leather, and acrylic at moderate thickness cleanly without re-runs |
| Max Engraving Speed: 600 mm/s | Completes batch orders at pace without sacrificing edge quality on the reinforced dual-rail gantry |
| Engraving Area: 355 × 390 mm | Accommodates a full A3 equivalent, enabling multi-piece layouts to run in a single job file |
| Laser Safety Class: Class 1 (FDA) | Certified for home and shared-studio use — no protective goggles required during enclosed operation |
The Falcon2 Pro S is built around four automation pillars that define it for daily production use. The motorised focusing probe sets Z-axis height on any material in seconds — no test burns, no ruler gauging. The built-in camera scans the work surface, detects each blank's position and boundary, and fills the available area with the chosen design automatically, eliminating manual coordinate entry for repeat batch orders. Automatic cut-through detection schedules supplementary passes whenever the sensor confirms incomplete separation, stopping the moment clean penetration is achieved. The AIR, FIRE, and LENS triple-sensor system monitors airflow, combustion, and optical cleanliness continuously, halting the machine on threshold breaches before damage or hazard can develop.
Creality Falcon2 Pro S: Power and Motion
At 22 W of calibrated output at 445 ± 15 nm, the focused diode source cuts through wood, leather, acrylic, and fabric cleanly at moderate thicknesses without re-runs. The reinforced dual-rail gantry maintains XY plane accuracy at full rated velocity. Beam quality does not degrade when the machine is pushed toward 600 mm/s for batch production — the aerospace-grade aluminium frame absorbs the dynamic loads responsible for banding artefacts in lower-rigidity designs. When cutting stock thicker than 5 mm, engaging the auto cut-through supplementary pass function and reducing travel speed to 200–300 mm/s lets the sensor determine the required number of passes, preserving kerf quality without charring the cut walls.
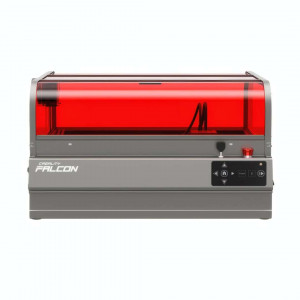
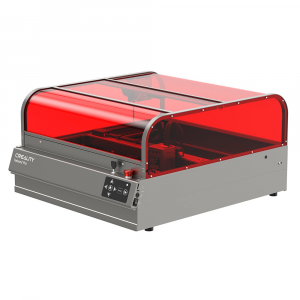
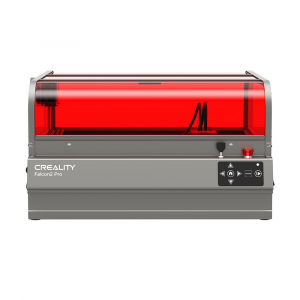
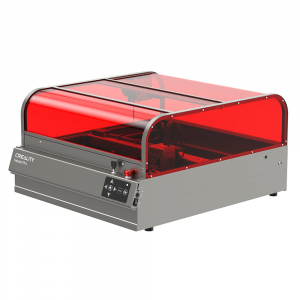
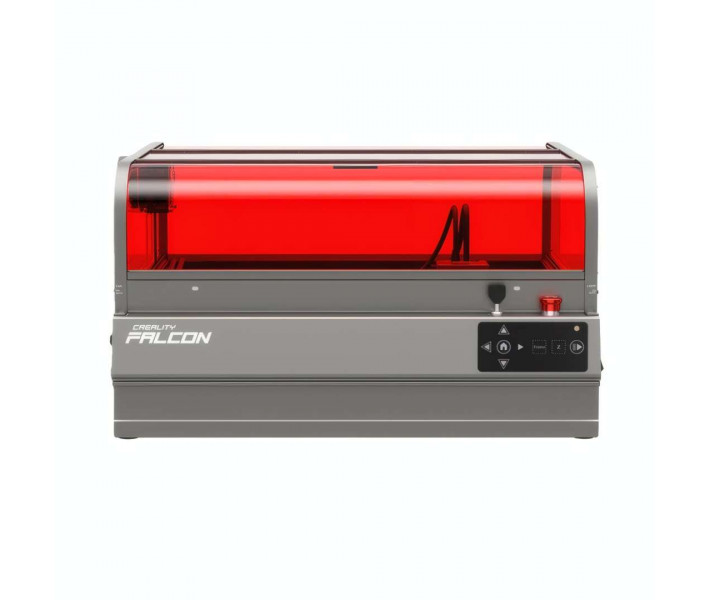
The image below shows the Falcon2 Pro S in its production configuration — the fully enclosed form factor, the deep-red light-filtering curved cover, and the front-panel control layout with tactile navigation buttons and TF card slot.

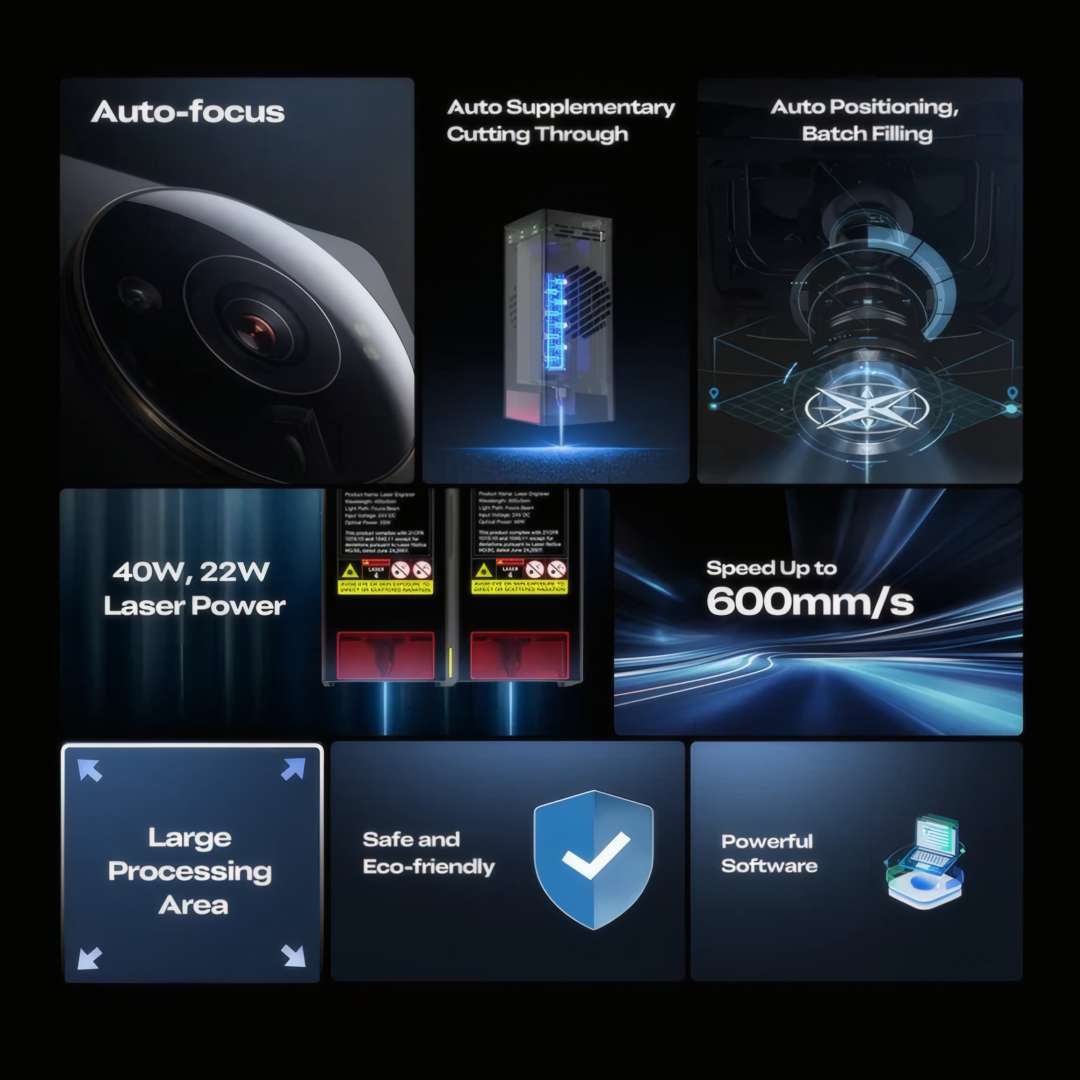
The feature grid below maps all key capabilities at a glance — auto focus, auto cut-through detection, built-in camera batch positioning, dual power module options, large processing area, multi-certification safety, and integrated software compatibility.
355 × 390 mm Engraving Envelope
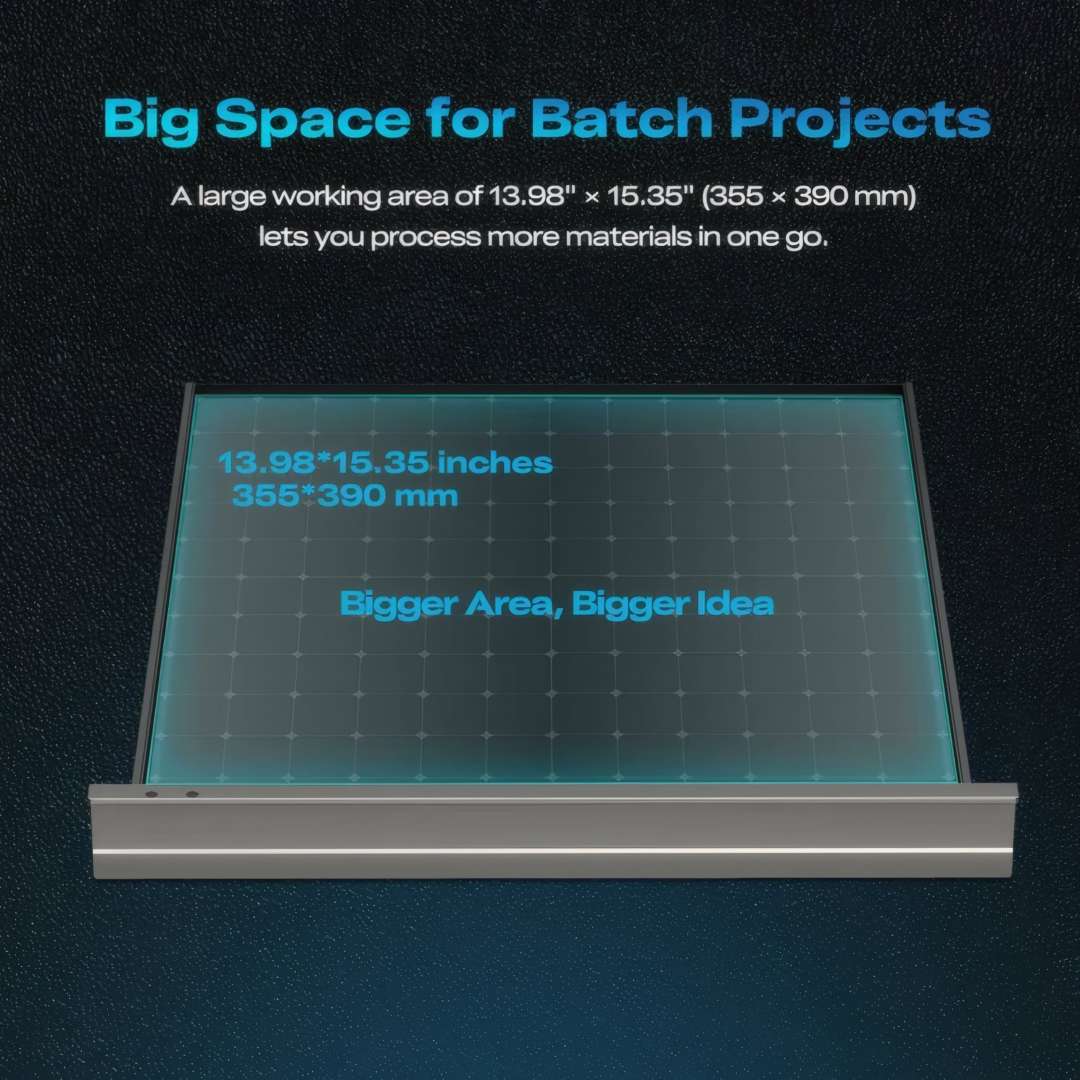
A 355 × 390 mm work surface is large enough to process a full A3 sheet, lay out multiple coaster or keyring blanks in one job file, or cut a run of leather tags without repositioning between passes. For small-business operators, this directly reduces per-unit turnaround time. The onboard camera leverages the full area by scanning the surface, detecting each blank's position and boundary, and automatically generating a batch fill layout — no manual coordinate entry for repeat orders.
The diagram below illustrates the full engraving envelope with grid reference markers.
Automated Workflow: Focus, Camera, and Cut Detection
One-Click Auto Focus
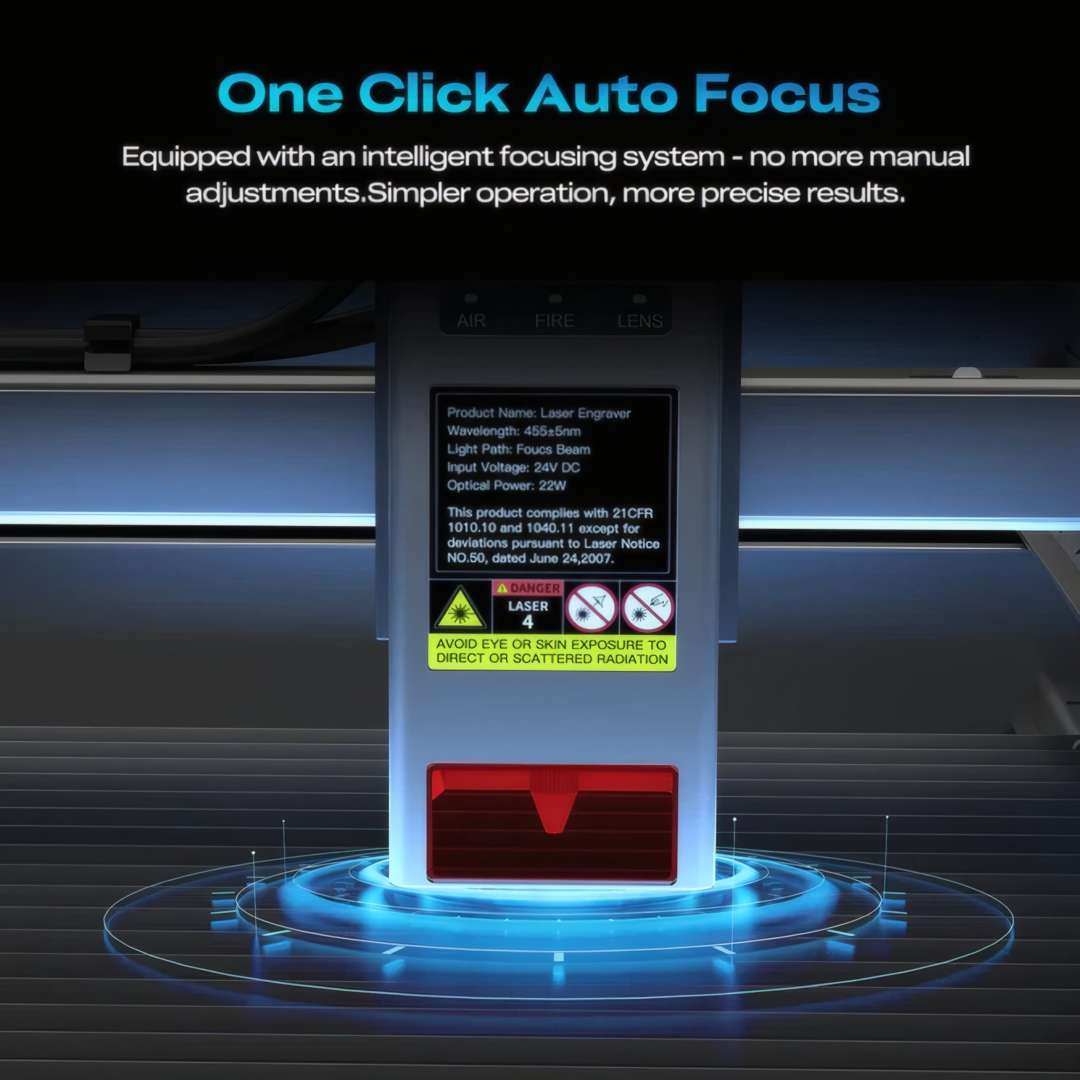
Manual Z-axis focusing is one of the most error-prone steps in laser engraving — even a 0.5 mm offset shifts the focal spot enough to blur fine detail or reduce cut depth significantly. A single long press of the Z button activates the motorised focusing probe, which descends until it contacts the material surface, measures the working distance, and sets Z automatically. No test burns, no ruler gauging. When a subsequent material swap changes thickness, pressing Z again recalibrates in seconds.
The close-up below shows the laser module with AIR, FIRE, and LENS status indicators, the intelligent focusing probe at its base, and the FDA-certified laser warning label.
Built-in Camera and Batch Positioning
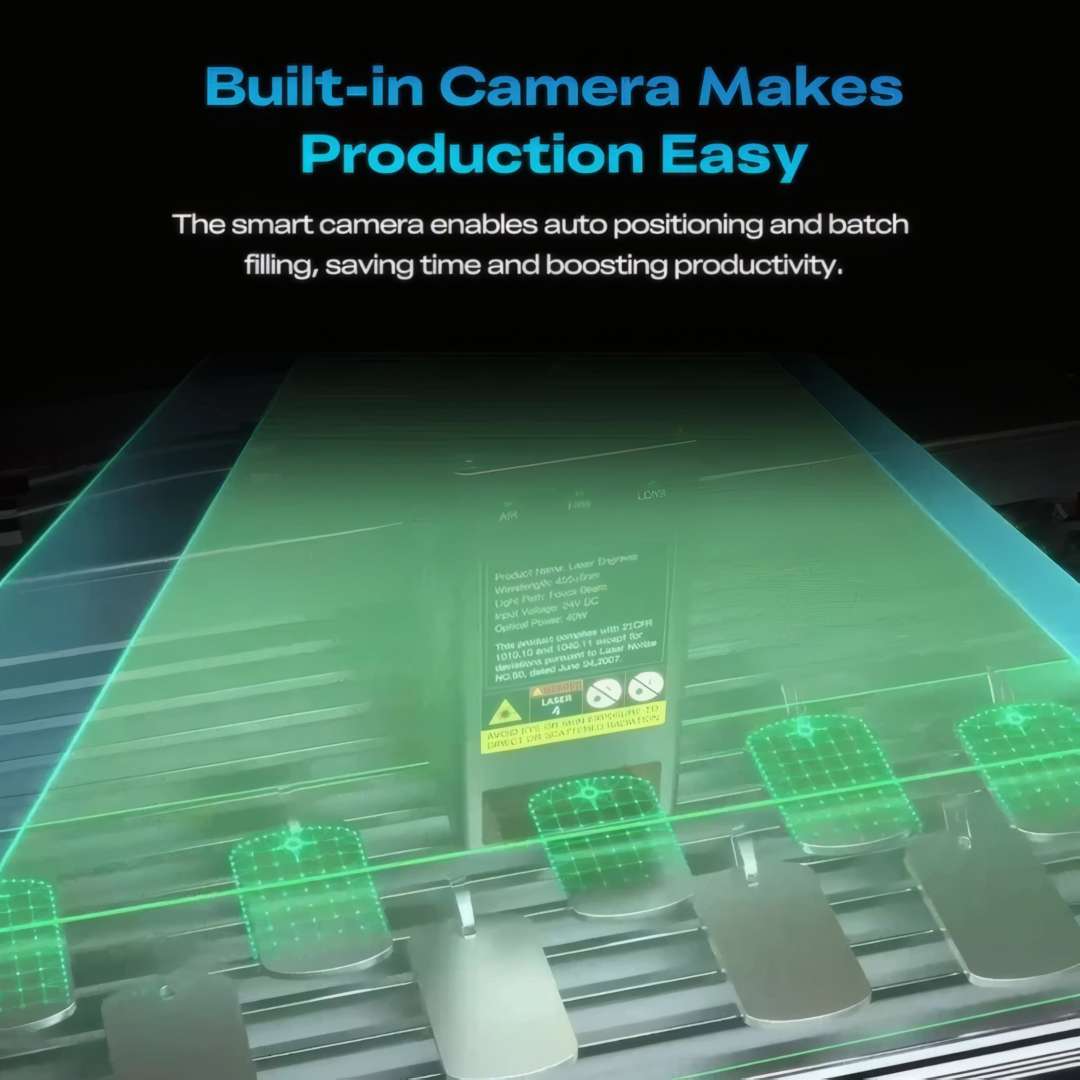
The onboard camera does more than preview the work surface. Inside Falcon Design Space, a camera scan automatically identifies each blank's position, rotation, and boundary, fills the available area with the chosen design, and generates a ready-to-run batch job — without manual coordinate input. For production runs of personalised items such as keychains, luggage tags, and corporate gifts, this eliminates minutes of setup per batch.
The image below demonstrates the camera's live surface scan, with multiple workpiece detection points highlighted in green across the honeycomb bed ready for automatic layout assignment.
Auto Cut-Through Detection
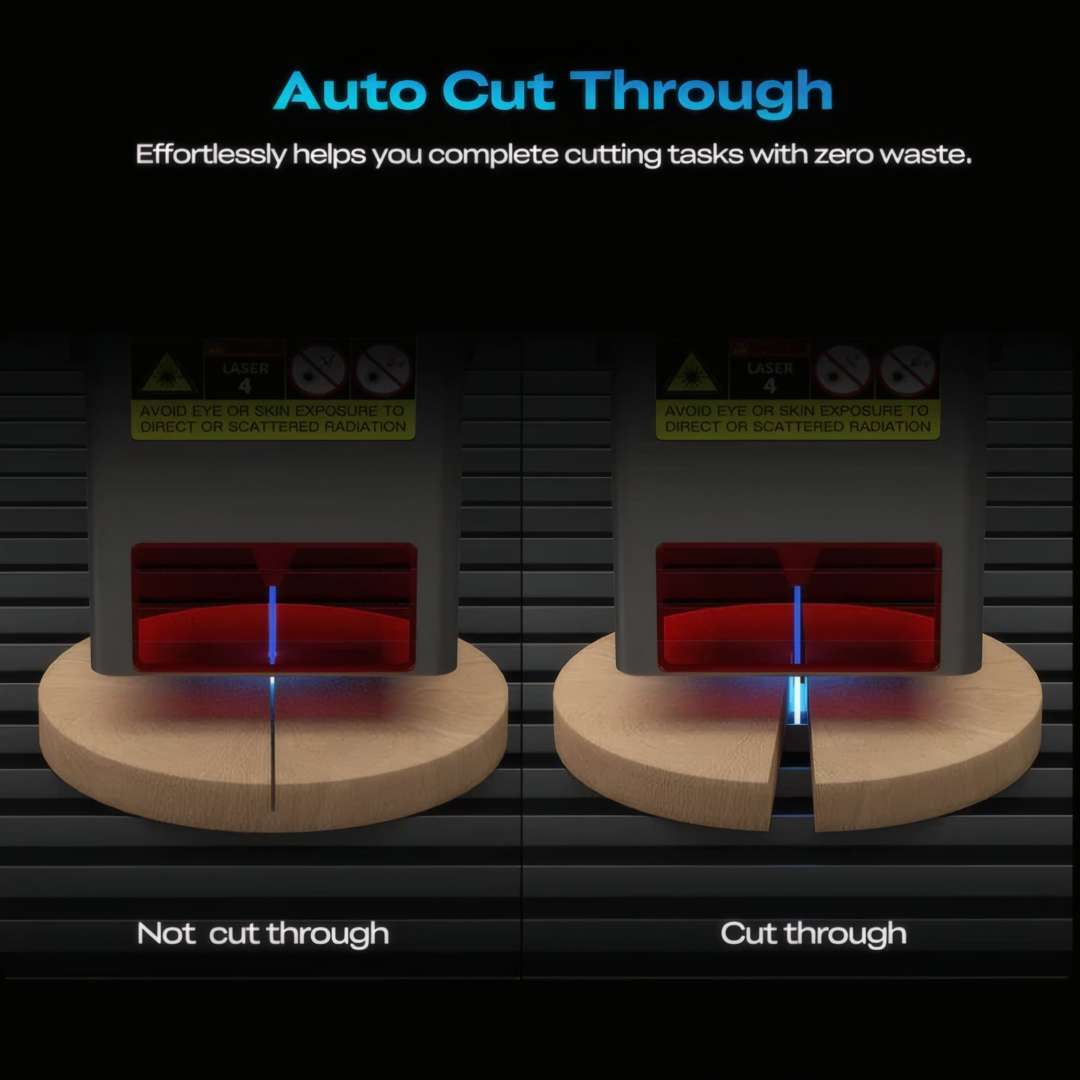
Inconsistent material thickness produces two failure modes in laser cutting: an incomplete cut requiring manual scoring, or excess power that chars the kerf walls. A sensor monitors whether the beam has fully penetrated the material on each pass. When the cut is incomplete, the system schedules a supplementary pass automatically, stopping the moment clean separation is confirmed — no guesswork, no manual retry runs, no wasted stock.
The comparison below illustrates the detection logic: the left panel shows an incomplete cut on a wood disc; the right panel confirms clean separation triggered by the auto cut-through system.
Class 1 Safety Enclosure
Dual Light-Filtering Protective Cover
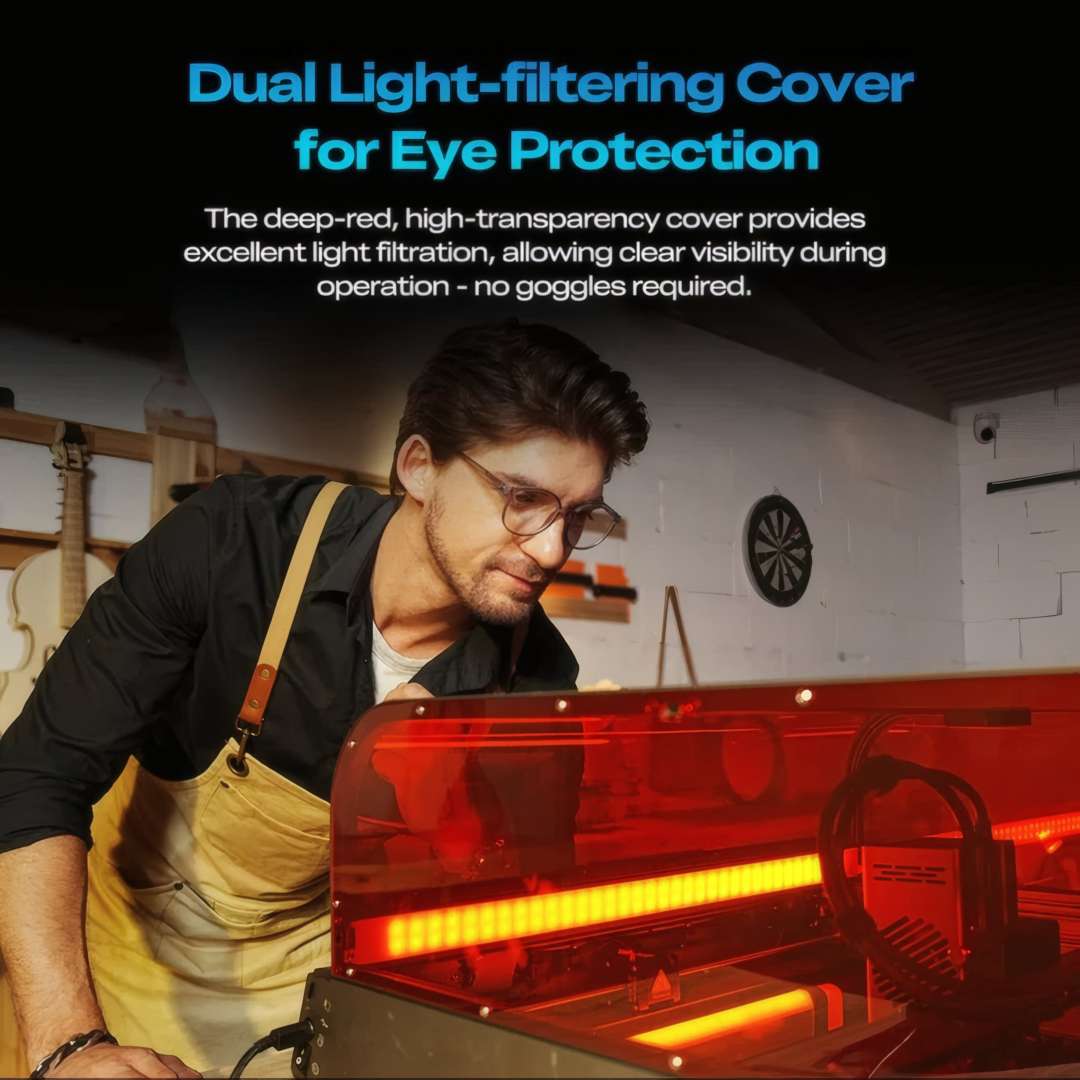
The enclosure's deep-red, high-transparency curved cover serves as a dual-layer laser-light filter. It blocks direct and scattered blue laser radiation while remaining visually transparent enough to monitor the engraving process in real time — no protective goggles needed during normal enclosed operation. The push-pull arc design suits space-constrained studios: the machine occupies roughly the footprint of an A3 printer, and the cover slides laterally rather than requiring vertical clearance for a lifting lid.
The photo below shows a user monitoring an active engraving job through the deep-red cover at close range, confirming that no additional PPE is required for standard enclosed operation.
Certification Stack
The Falcon2 Pro S carries Class 1 laser safety certification from the FDA, placing it in the same regulatory category as laser printers and optical disc players — both cleared for unsupervised home and office use. The full certification stack (FDA, CE, FCC, RoHS, PSE) satisfies import and compliance requirements across international markets. Certification applies to the fully assembled, enclosed machine per 21 CFR 1040.10 and 1040.11, verified on the module label. Applicable compliance standards include EN 60204-1:2018, EN ISO 12100:2010, EN IEC 11553-1:2020, and EN 60825-1:2014.
Ventilation and Continuous Safety Monitoring
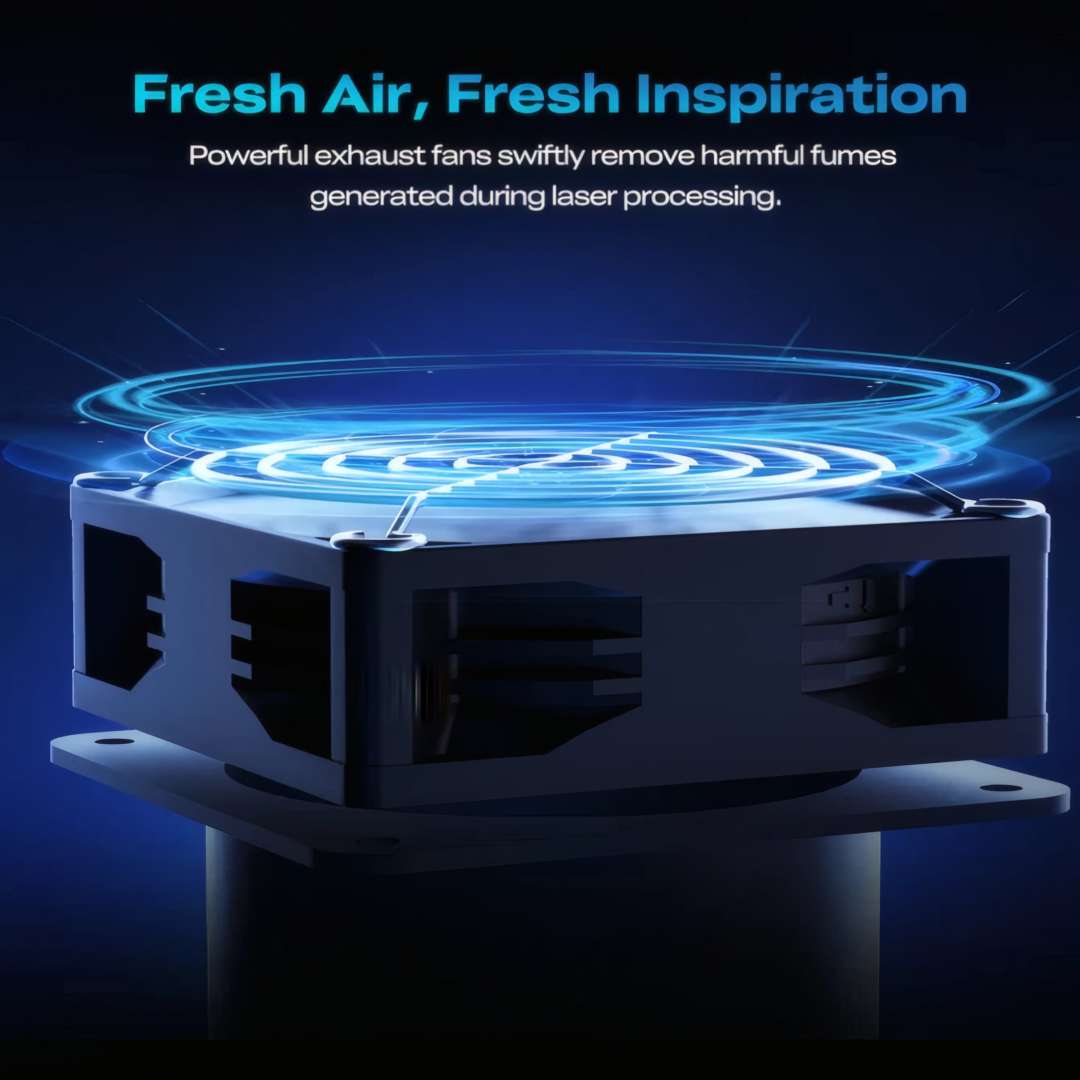
Dual Exhaust Fan System
Laser processing of wood, leather, and plastics generates combustion byproducts that accumulate quickly in enclosed spaces. A high-flow dual exhaust fan system evacuates fumes through the rear exhaust port during every job. The included flexible exhaust pipe routes airflow away from the operator. For environments where exhausting outdoors is impractical, the optional Creality Falcon high-efficiency air purifier connects directly to the exhaust port and filters both fine particulate and volatile organic compounds in-room.
The image below shows the dual exhaust fan module, highlighting the high-flow radial fan design built to rapidly evacuate combustion fumes from the enclosed work chamber.
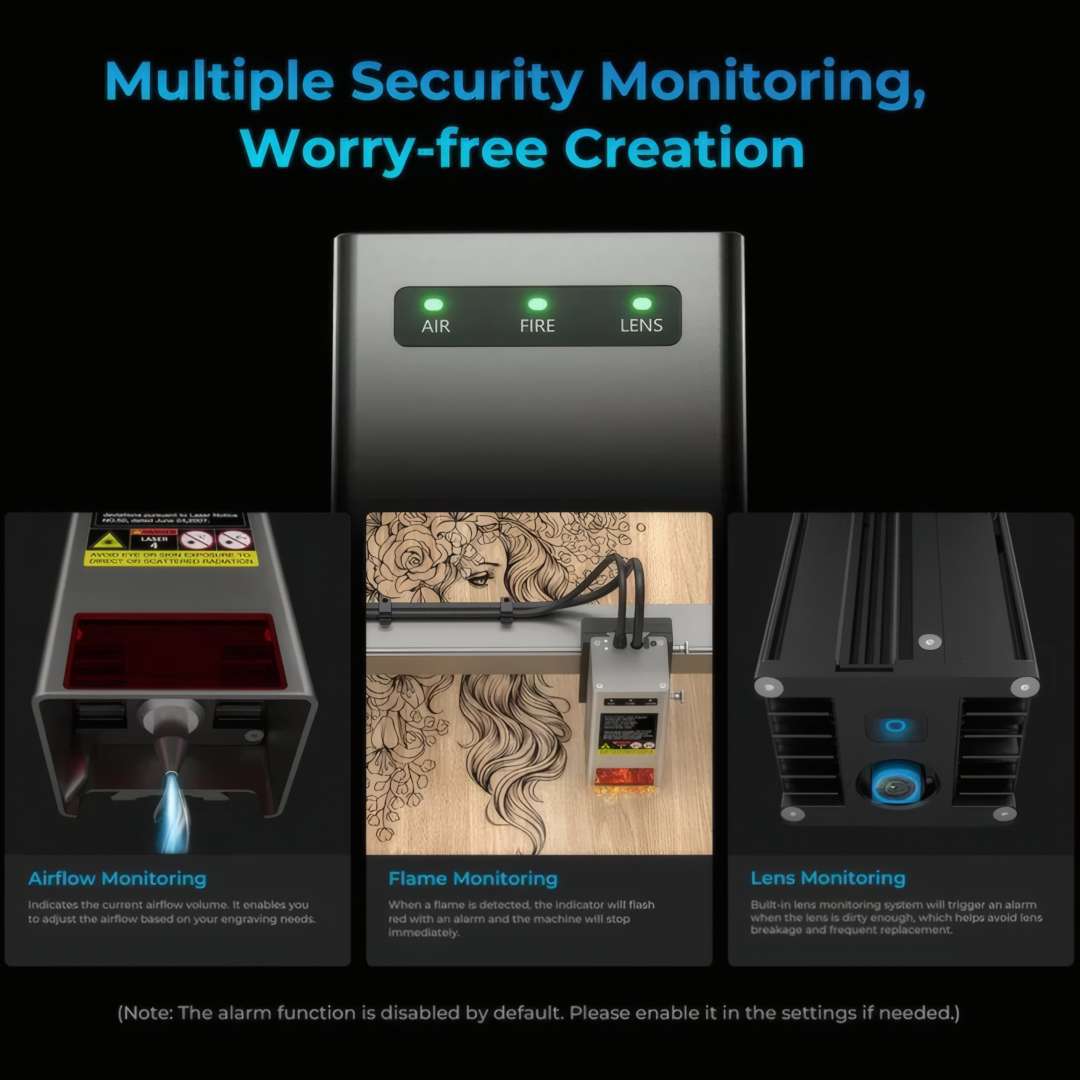
AIR, FIRE, and LENS Safety Indicators
Three independent sensor channels monitor conditions throughout every job. The AIR indicator tracks live airflow through the laser module: red flashing signals no airflow (lens contamination risk); orange steady indicates low airflow (engraving mode); green steady confirms full cutting-level airflow. The FIRE indicator detects active combustion — a red flash combined with an audible alarm stops the machine immediately. The LENS indicator tracks optical cleanliness: orange prompts a scheduled maintenance stop; red triggers immediate work stoppage to prevent lens damage from soiling. All three alarm thresholds are individually configurable in the firmware settings.
The diagram below details the AIR, FIRE, and LENS indicator array on the laser module head, with colour-coded status logic for each sensor channel.
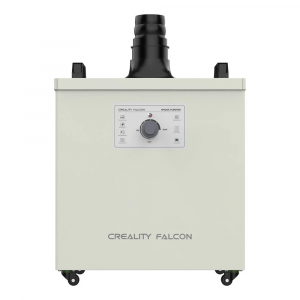
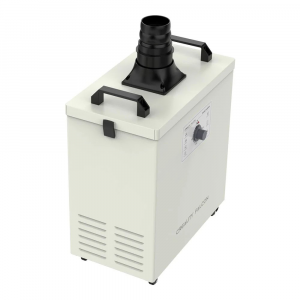
The optional Creality Falcon air purifier expands the machine into a fully self-contained production station. It connects to the rear exhaust port via flexible duct hose and uses multi-stage filtration to capture fine particulate and neutralise volatile organic compounds in-room, making indoor operation viable without external ducting or a window vent.

Construction and Daily-Use Ergonomics
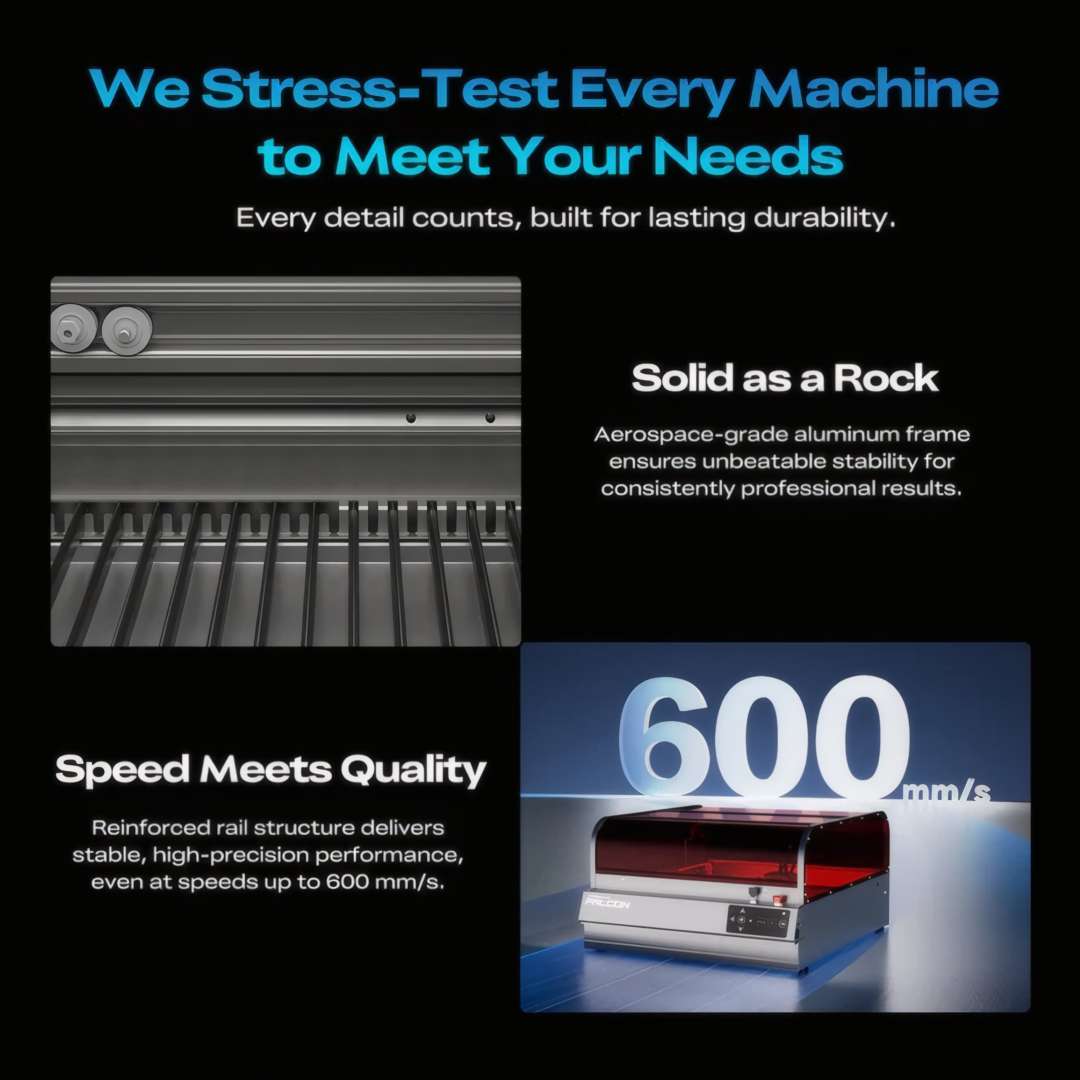
Beam quality at high speed depends entirely on structural rigidity. The aerospace-grade aluminium alloy frame eliminates the torsional flex responsible for Z-axis banding and edge waviness in engraved images. The reinforced dual-rail gantry keeps the laser module on a stable XY trajectory through rapid directional reversals. Every machine undergoes a factory stress test before shipment, producing consistent, repeatable output from the first job to the ten-thousandth.
The image below shows the reinforced rail cross-section alongside the enclosed machine running at speed, illustrating the structural foundation behind stable high-speed engraving.
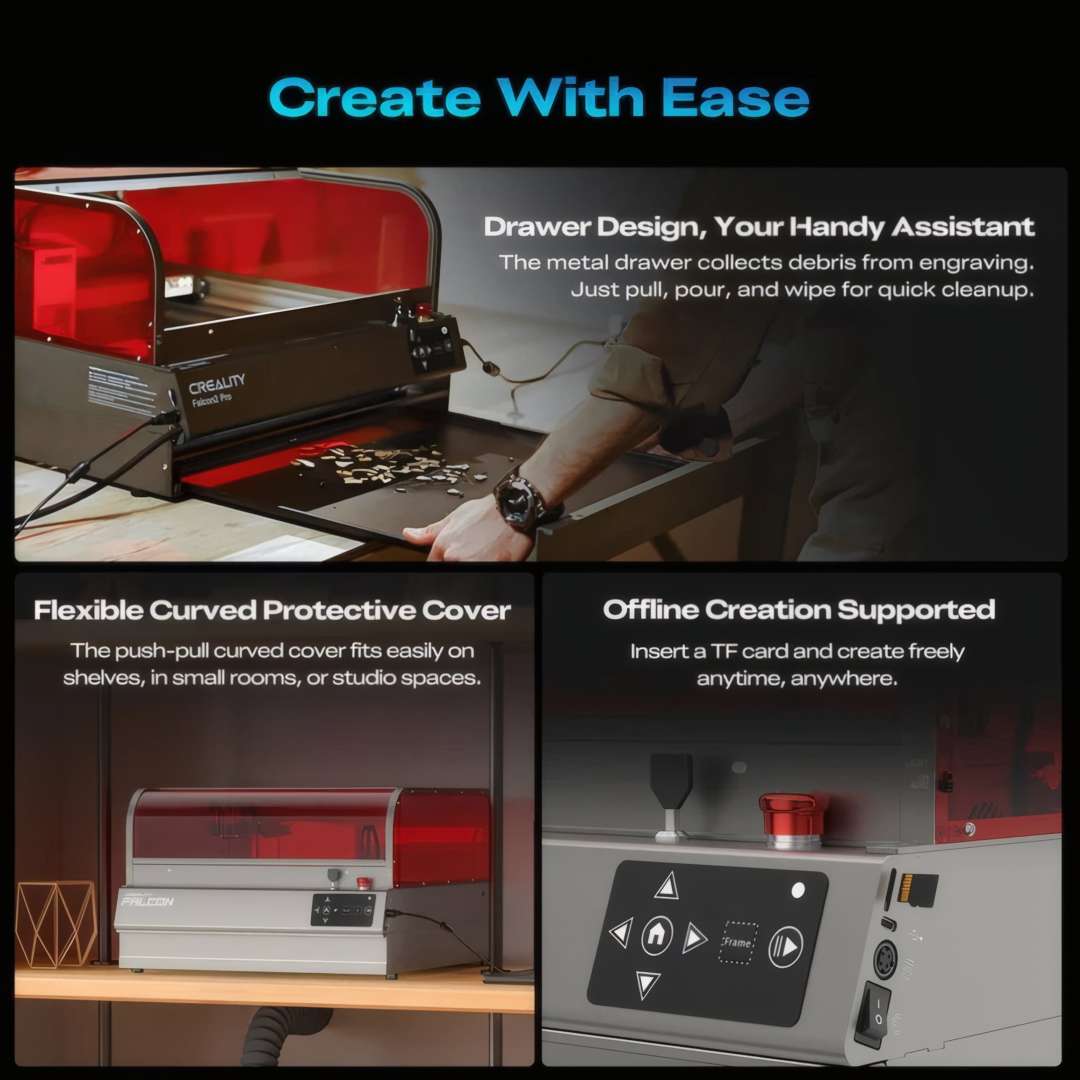
Three daily-use design choices further reduce operational friction. The metal debris drawer sits below the honeycomb panel and collects all cutting residue during a job — pull it out, tip it into a bin, and wipe. No disassembly required. The push-pull curved protective cover slides open without lifting, so the machine can live on a shallow shelf and be accessed without swinging a lid upward. TF card offline operation lets job files be exported from Falcon Design Space on any laptop, copied to the card, and run without a USB tether — practical for setups where the engraver is not adjacent to a workstation.
The image below illustrates all three ergonomic features together: the pull-out debris drawer in use, the space-saving curved cover design, and the TF card slot with offline-capable front-panel controls.
Falcon Design Space Software
Falcon Design Space (FDS) is Creality's dedicated laser control application, available for Windows and macOS. It accepts JPEG, PNG, BMP, SVG, and DXF formats — designs from Canva, Illustrator, Inkscape, or CorelDRAW import without conversion steps. FDS provides camera calibration tools, a built-in case library of ready-to-engrave designs, material-specific parameter management, and direct G-code export. Users already working in the xTool Studio or LaserGRBL ecosystem can connect to the machine via USB-C without switching to FDS, as both applications are fully compatible.
The screenshot below shows Falcon Design Space running a multi-object project layout alongside physical wood sample outputs, bridging design import and finished product directly.

Image Editing and Dithering Tools
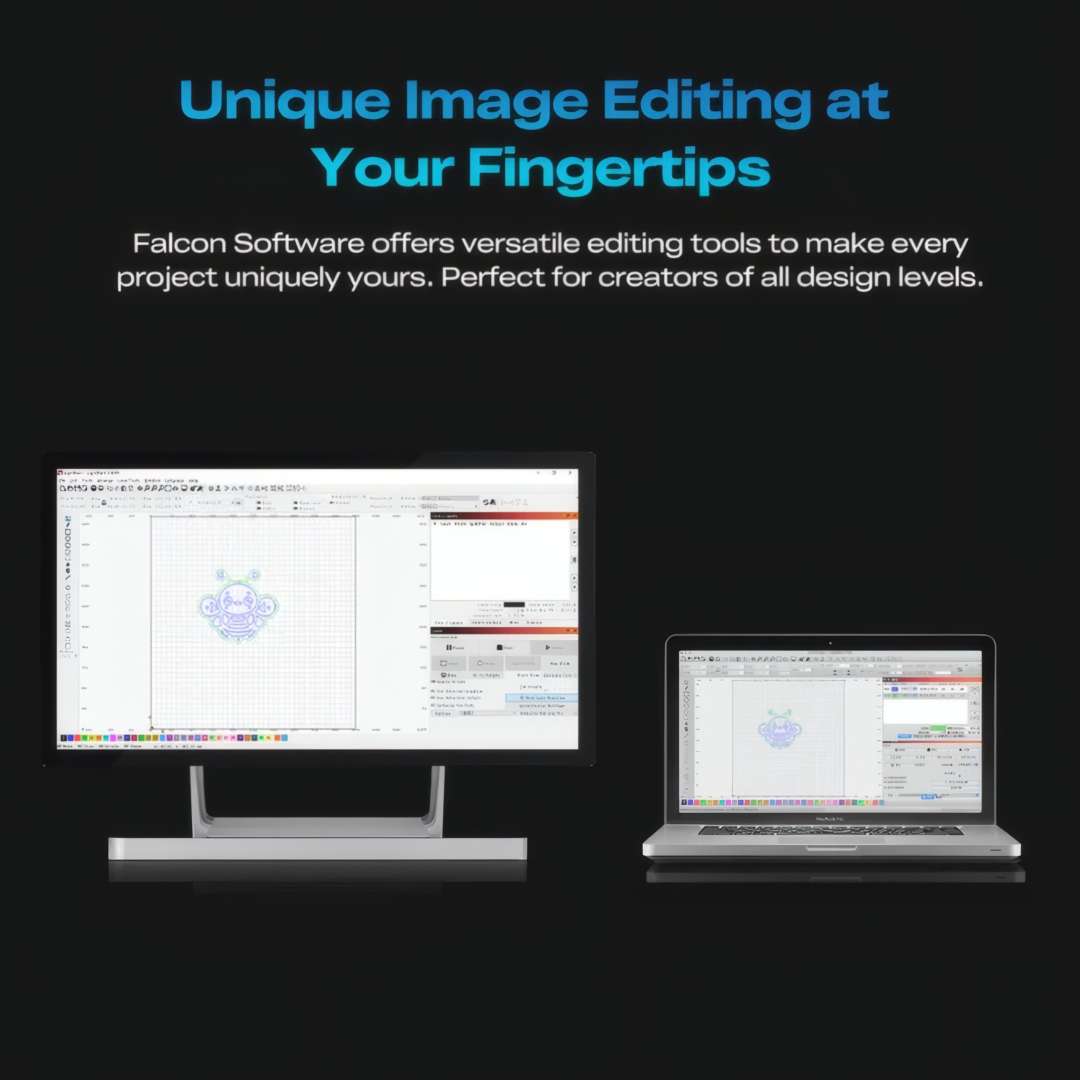
Beyond job setup and device control, FDS includes image editing tools — contrast adjustment, dithering mode selection (including photorealistic modes for wood burning), cropping, and multi-layer management — letting users refine artwork without switching to an external graphics application. No dedicated GPU is required; the full feature set runs on any standard Windows or macOS computer. When engraving photographs on dark hardwood, switching the dithering algorithm to "Jarvis" or "Floyd-Steinberg" mode and reducing optical power to 40–60% of the rated cutting threshold for that material distributes the dot pattern to preserve mid-tone gradients — the difference between a flat stamp-like output and a photorealistic result with visible shadow detail.
Both desktop and laptop configurations are shown below, confirming software flexibility across studio and mobile production setups.
Applications
- Personalised goods production: The batch camera system and 355 × 390 mm work surface let operators lay out keychains, luggage tags, dog tags, and coasters in a single job file, cutting per-unit turnaround time across high-volume repeat orders.
- Woodworking and signage: At 22 W optical power, the machine engraves detailed text and artwork into hardwood, plywood, and bamboo cleanly, supporting decorative signage, plaques, and branded wood panels without re-runs at moderate thicknesses.
- Leather goods and accessories: The 445 nm diode source marks and cuts leather with precision for wallets, belts, luggage tags, and craft accessories — without scorching adjacent material.
- Acrylic and plastic fabrication: The device cuts and engraves acrylic sheeting for displays, labels, and decorative components; auto cut-through detection confirms clean separation without operator monitoring at each pass.
- Corporate gifting and events: Batch camera positioning makes it practical to personalise large runs of branded coasters, awards, and promotional items to tight event deadlines without manual coordinate setup between pieces.
- Maker studios and design iteration: Offline TF card operation and FDS direct import from Illustrator, Inkscape, and CorelDRAW support short-run prototyping and client-sample production without dedicated IT infrastructure.
The Class 1 enclosure allows the machine to operate on a standard workshop bench alongside other tasks — no dedicated laser room or barrier screening required.

Compatibility and accessories
The machine's rear exhaust port accepts the optional Creality Falcon high-efficiency air purifier, which connects via flexible duct hose and uses multi-stage filtration to capture fine particulate and neutralise volatile organic compounds in-room. This accessory makes fully self-contained indoor operation practical without external ducting or a window vent, completing a dedicated maker studio desk setup.
What's in the box
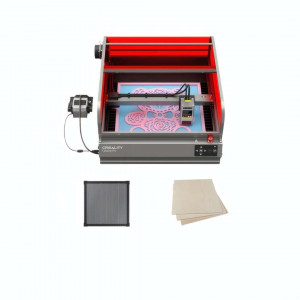
- Creality Falcon2 Pro S 22W laser engraving machine (principal part)
- 22 W laser module
- Honeycomb work panel
- Protective enclosure frame with deep-red light-filtering curved cover
- Air assist equipment with silicone tube
- Exhaust pipe with clamp
- Power supply
- USB-C cable ×2, USB-A to USB-C adapter
- Basswood sample 400 × 400 × 3 mm ×1 and 150 × 150 × 2 mm ×1
- Calibration card
- Protective goggles
- TF card with card reader
- Allen wrench set (M1.5 / M2 / M2.5 / M3 / M4), open-end wrench, tweezers, dust-free cloth, protective lens, Velcro straps ×3, keys ×2, anti-static brush
- User manual and Creality sticker
Technical specifications
Machine Specifications
| Parameter | Value |
| Laser Source | Diode laser |
| Optical Power | 22 W |
| Laser Wavelength | 445 ± 15 nm |
| Engraving Area | 355 × 390 mm |
| Maximum Engraving Speed | 600 mm/s |
| Machine Dimensions | 664 × 570 × 328 mm |
| Net Weight | 18.8 kg |
| Working Temperature | 5 °C – 35 °C |
| Input Voltage | 100–240 V~ 50–60 Hz |
| Output Voltage | DC 24.0 V / 5.0 A |
| Compatible Materials | Cardboard, wood, bamboo, rubber, leather, fabric, acrylic, plastic, and others |
Safety & Compliance
| Parameter | Value |
| Laser Safety Class | Class 1 (FDA) |
| Certifications | FDA, CE, RoHS, FCC, PSE |
| Compliance Standards | EN 60204-1:2018, EN ISO 12100:2010, EN IEC 11553-1:2020, EN 60825-1:2014 |
Software & Connectivity
| Parameter | Value |
| Compatible Software | Falcon Design Space (FDS), xTool Studio, LaserGRBL |
| Operating System | Windows, macOS |
| Connectivity | USB-C (online), TF card (offline) |
| Supported File Formats | JPEG, JPG, PNG, BMP, SVG, DXF |
Why choose the Creality Falcon2 Pro S?
The Creality Falcon2 Pro S is engineered for operators who need reliable daily throughput, not occasional hobby runs. Its Class 1 FDA certification removes compliance barriers for home studios and shared production environments — no screening barriers or protective goggles are needed for standard enclosed operation. The triple-sensor AIR/FIRE/LENS architecture monitors every job from start to finish, halting the machine before any threshold breach causes damage or hazard. Motorised auto focus and batch camera positioning eliminate manual setup steps between jobs. Automatic cut-through detection removes wasted passes and manual retries on variable-thickness stock. The aerospace-grade aluminium frame and factory stress-testing guarantee consistent, repeatable output across both short design runs and extended production batches. As a Creality-certified product, the Falcon2 Pro S ships with documented compliance verification for FDA, CE, FCC, PSE, and RoHS on the module label per 21 CFR 1040.10 and 1040.11.