

- Stock: In Stock
- Product code: 920372000001160230
- Weight Brutto: 25.00kg
- SKU: 6971636400981

The Creality Falcon2 Pro S is an enclosed 40 W diode laser engraver designed for home workshops, makerspaces, and small-batch production. Eight 5.5 W diode sources combine into a single precision beam powerful enough to cut 20 mm basswood in a single pass across a 355 × 390 mm work area. FDA Class 1 certification, a built-in positioning camera, and a triple-sensor monitoring system make it one of the few 40 W desktop lasers suitable for shared environments without mandatory PPE enforcement.
| Specification | Why it matters |
|---|---|
| Optical Power: 40 W (8 × 5.5 W diode) | Cuts 20 mm basswood in a single pass — no repeated re-runs or material waste. |
| Engraving Area: 355 × 390 mm | Fits A3-format blanks and multi-piece batch layouts without repositioning. |
| Maximum Engraving Speed: 600 mm/s | Processes large engraving jobs in a fraction of the time lower-speed machines require. |
| Laser Safety Class: Class 1 (FDA certified) | All accessible radiation is contained during normal operation — legally suitable for school makerspaces and shared studios. |
Beam-combination technology merges eight diode sources into a single concentrated focal point, achieving a density no individual diode at this price tier can match. One-click auto-focus eliminates manual gauge-block setup entirely. The integrated overhead camera enables automatic batch filling across multiple identical blanks, multiplying throughput without additional setup. The triple-sensor (AIR / FIRE / LENS) watchdog and FDA Class 1 enclosure deliver protection layers that open-frame competitors cannot replicate.
Creality Falcon2 Pro S: Laser Module and Motion System
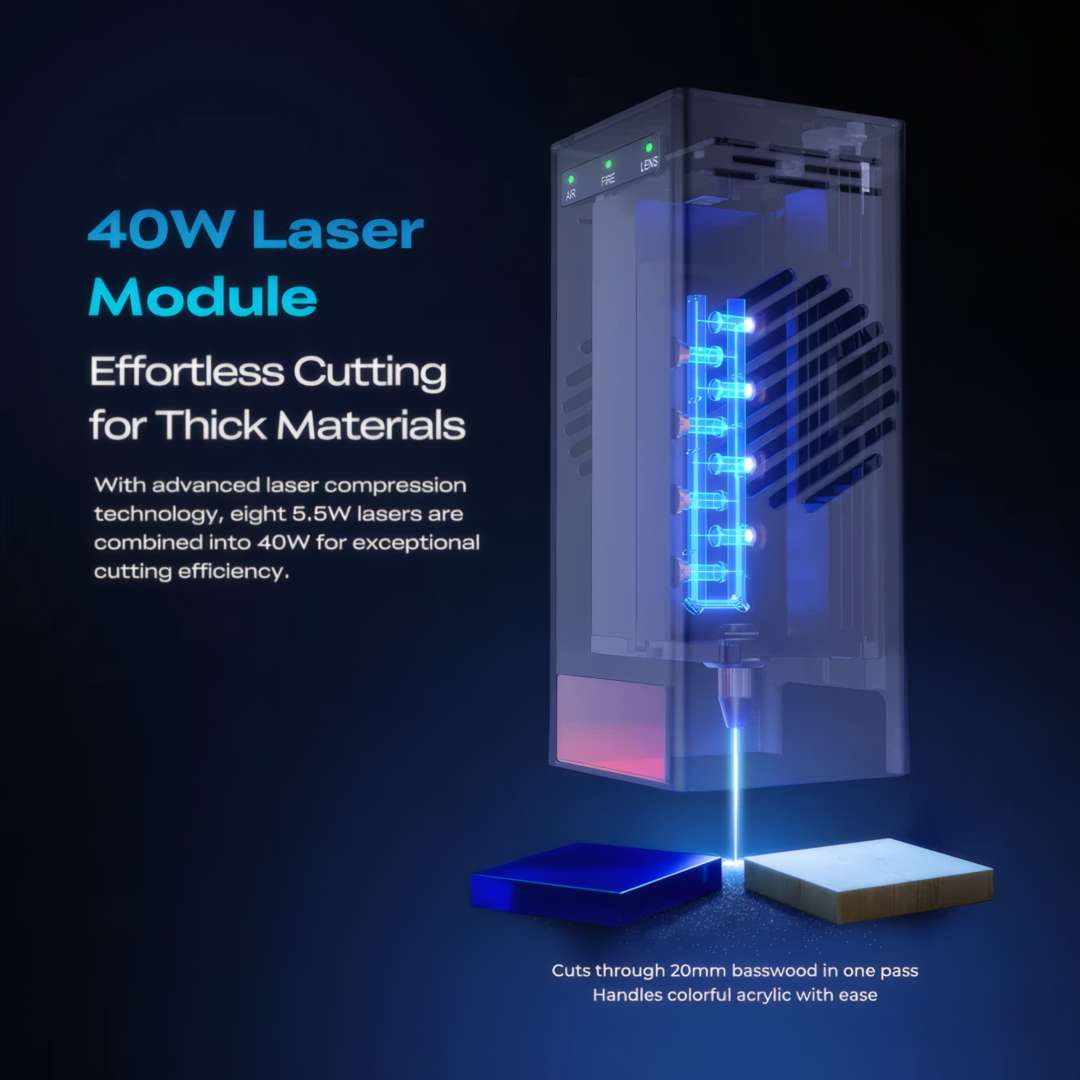
The Falcon2 Pro S centres on a 40 W optical output achieved by beam-combining eight 5.5 W diode lasers at a 445 ± 15 nm wavelength. Merging eight sources into one focal point produces a beam dense enough to slice through 20 mm basswood in a single pass and to process coloured acrylic without colour-loss artefacts. Three indicator LEDs — AIR, FIRE, and LENS — sit on the module housing and report real-time status at a glance. A Z-axis autofocus probe and a Type-C firmware port complete the module hardware.
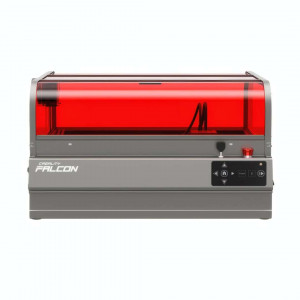
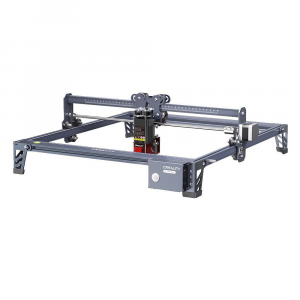
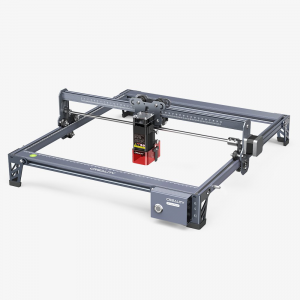
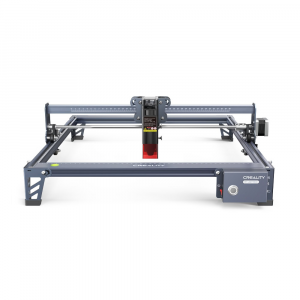
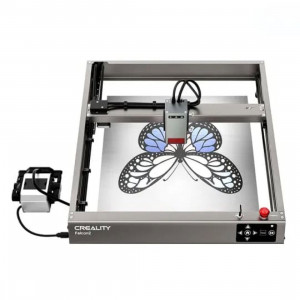
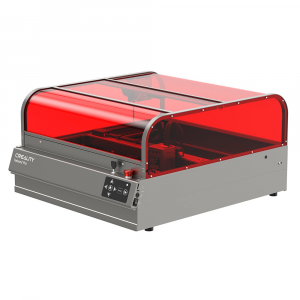
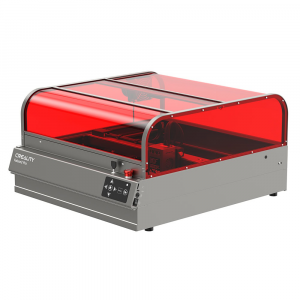
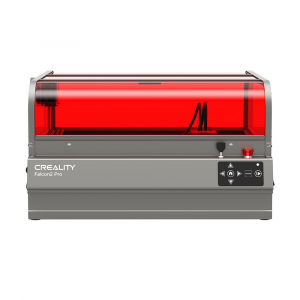
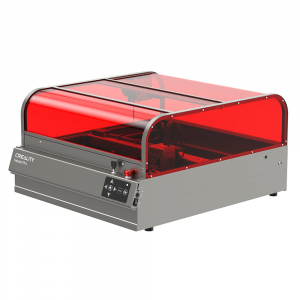
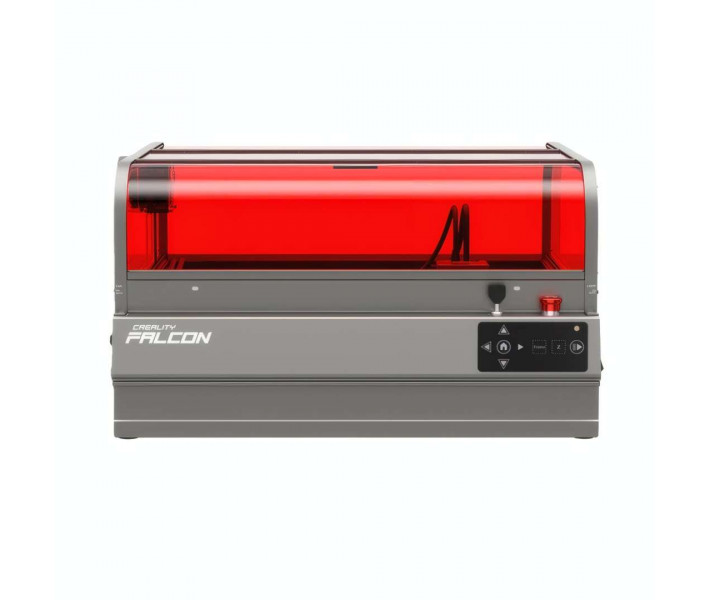
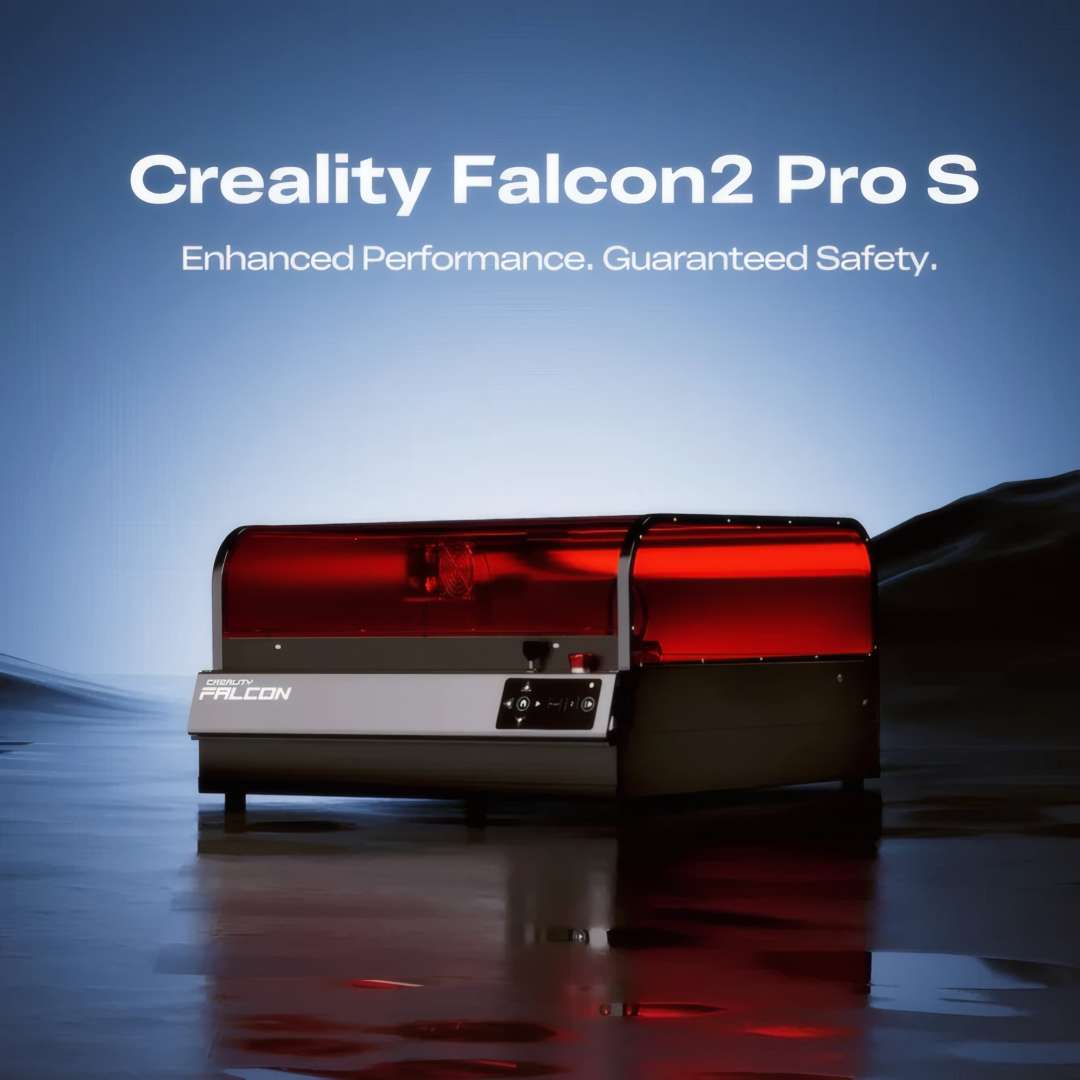
The enclosed chassis presents the device in its full professional form, with the deep-red light-filtering cover and clean aluminium frame defining its character on any workshop bench.
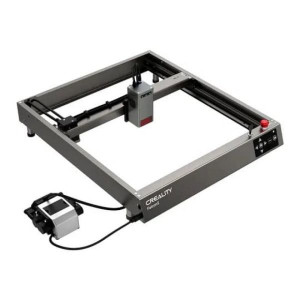
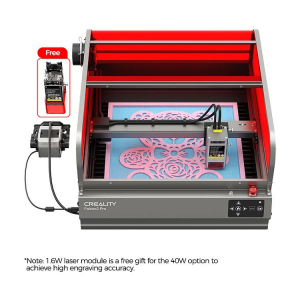
The 40 W module assembly combines eight individual 5.5 W diodes into a single precision beam through advanced optical merging.
Frame, Speed, and Working Area
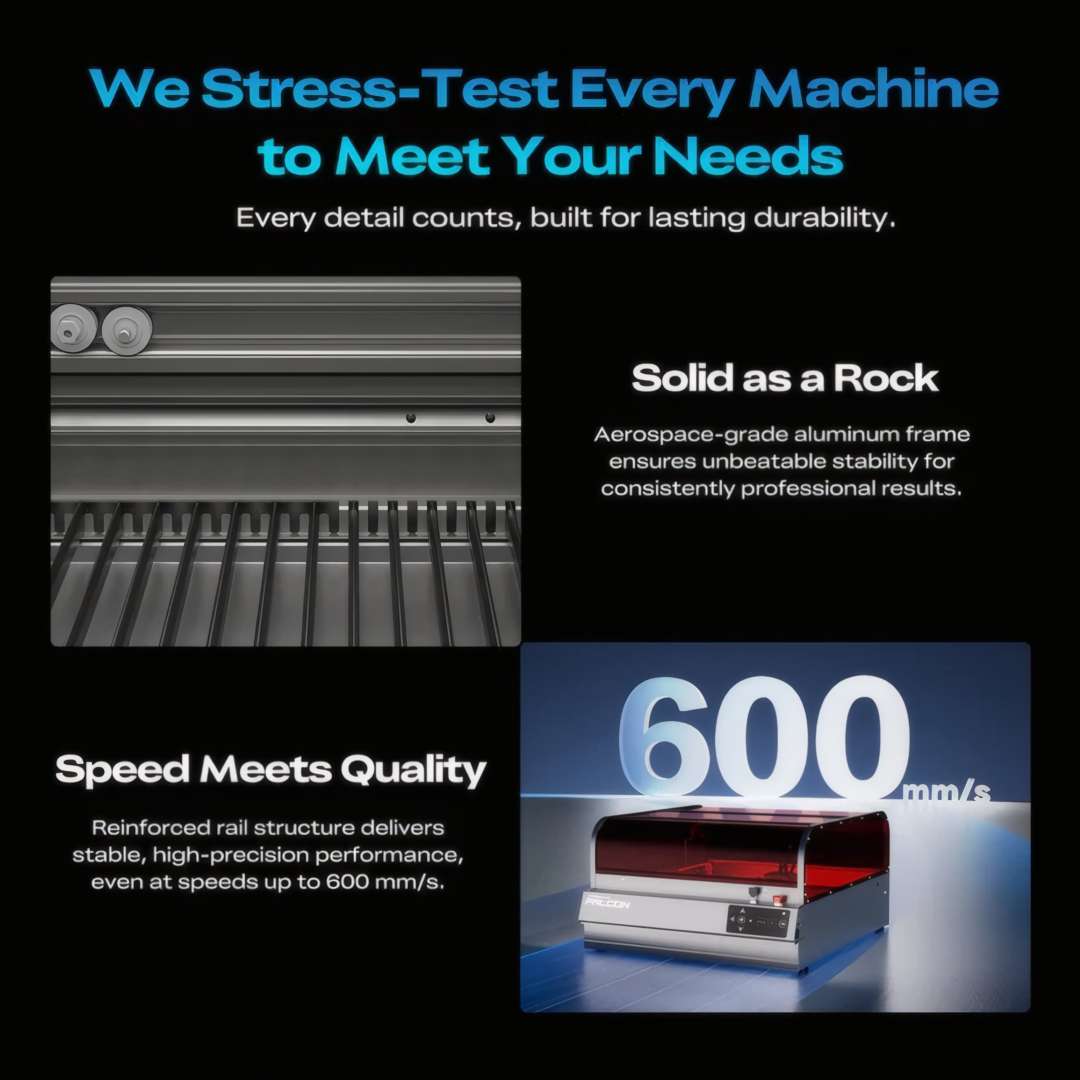
The machine pairs its 600 mm/s maximum engraving speed with a reinforced rail structure on an aerospace-grade aluminium alloy frame. Machines with weaker frames flex under rapid direction changes, producing wavy lines and blurred detail. This device maintains geometric accuracy across the full XY plane even at peak velocity. Every unit leaves the factory after a full stress-test cycle validating belt tension, pulley alignment, and rail parallelism before shipment.
The reinforced rail structure is validated at 600 mm/s during the factory stress-test cycle.
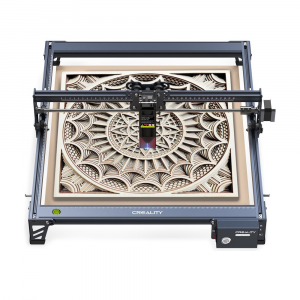
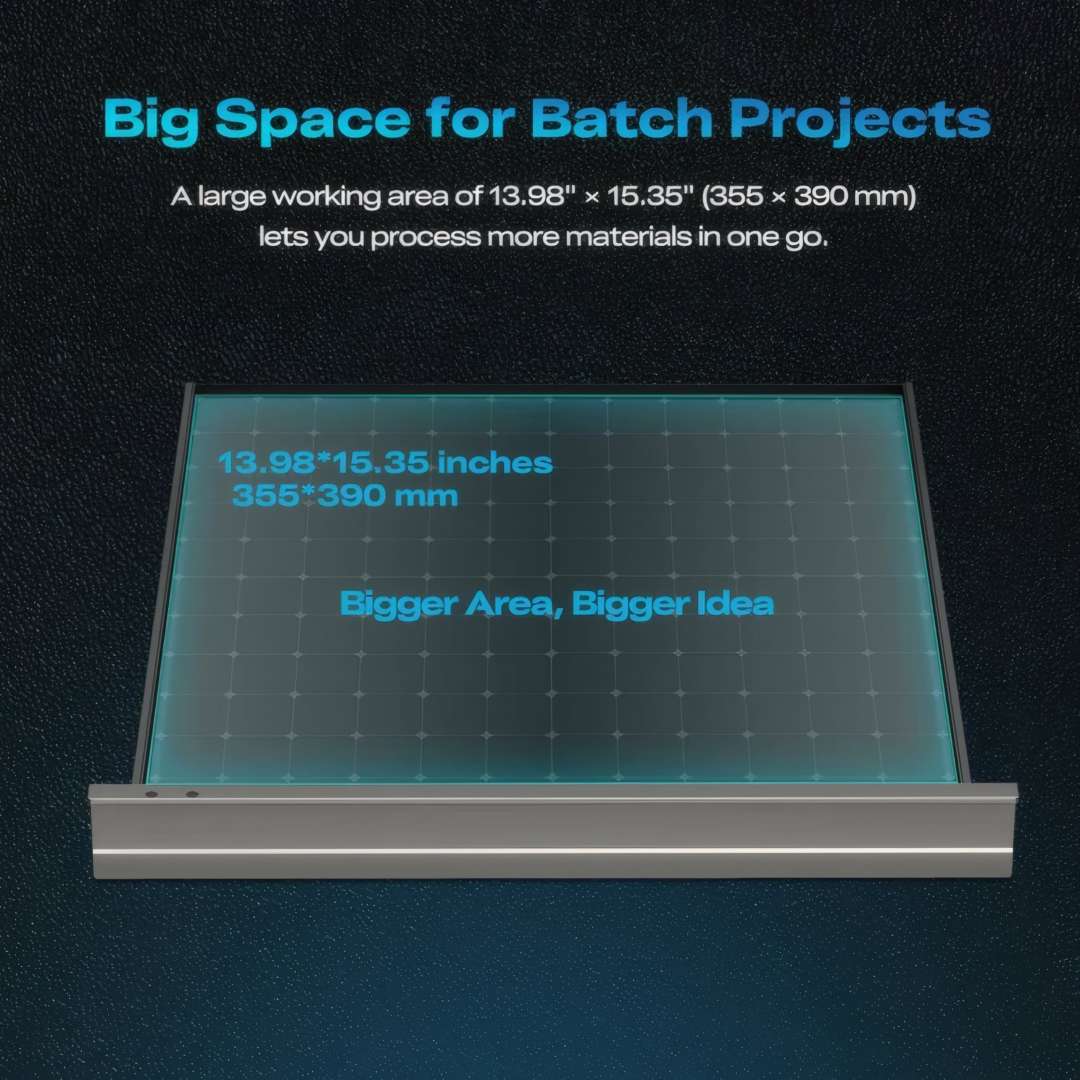
At 355 × 390 mm, the work area accommodates multiple small blanks — keyrings, coasters, jewellery tags — in a single unattended batch, or larger single pieces such as A3-format signs and cutting boards without repositioning.
Auto-Focus and Auto Cut-Through Detection
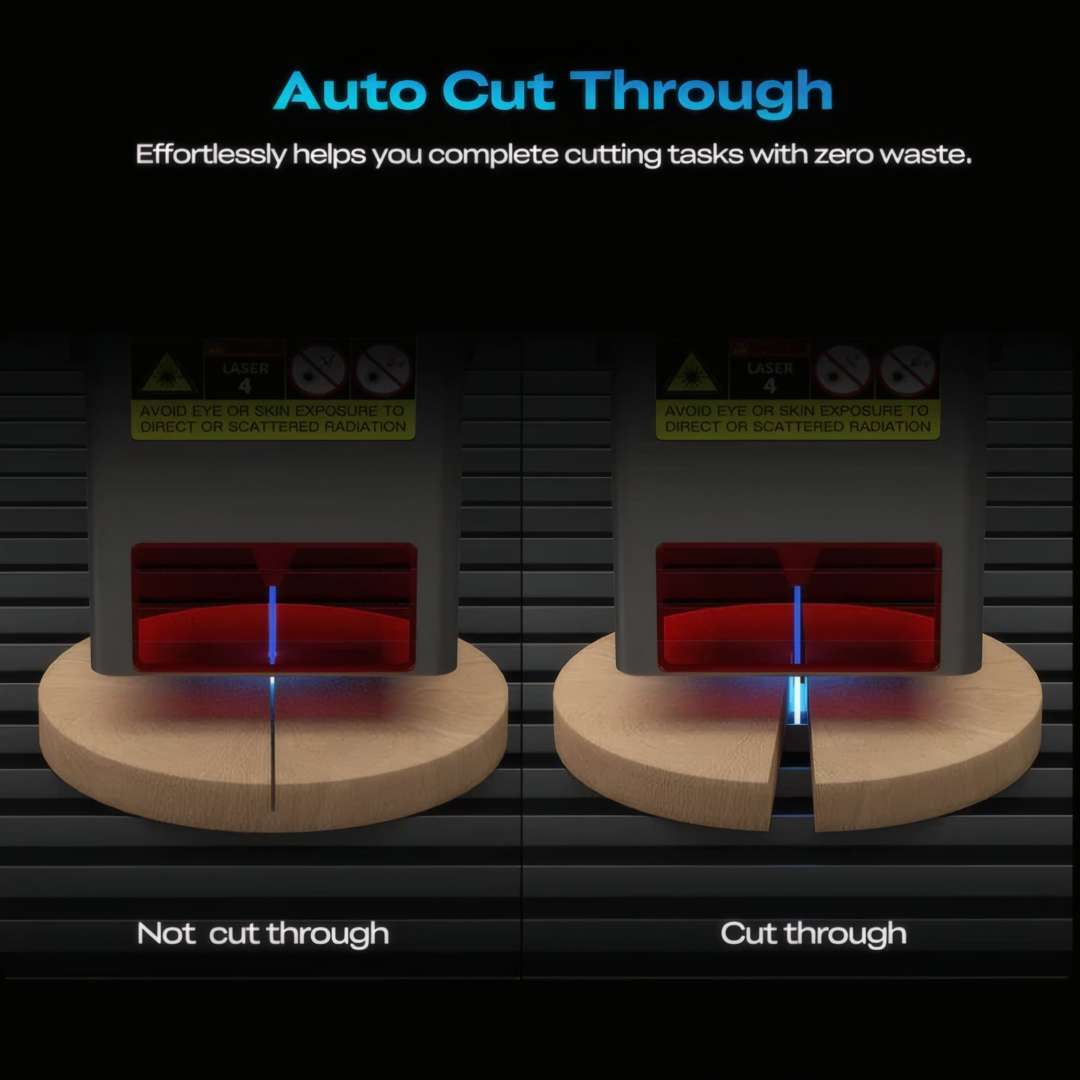
A long press of the Z button triggers the motorised Z-axis probe, which touches the material surface and sets the exact focal length in seconds — no gauge blocks, no trial burns. Auto Cut-Through then monitors whether the beam has fully penetrated the workpiece on each pass. When penetration is incomplete, the machine automatically adds a supplementary pass, eliminating manual inspection and minimising material waste.
Built-In Camera: Auto Positioning and Batch Filling
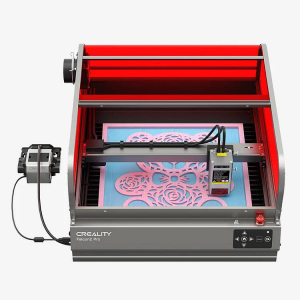
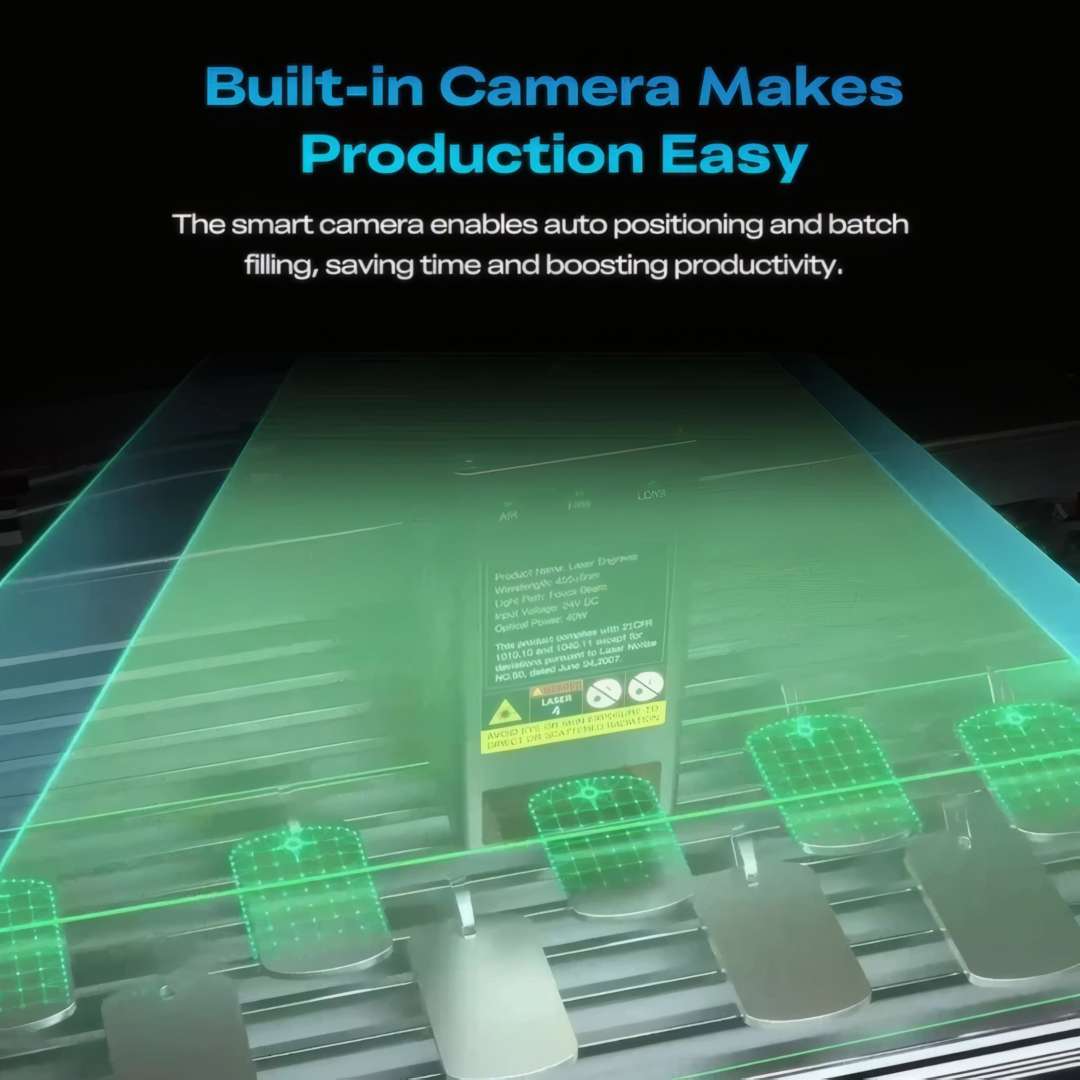
The integrated overhead camera captures a live preview of the bed after loading a design in Falcon Design Space (FDS). The software overlays artwork at its exact physical location, eliminating manual offset estimation. Batch Filling mode then identifies multiple identical blanks on the bed and automatically duplicates the engraving job across all of them — multiplying throughput without additional setup.
FDA Class 1 Safety and Triple-Sensor Monitoring
Class 1 laser certification means that during normal intended operation, no accessible laser radiation exceeds safe exposure limits — the enclosure does the protective work. The Falcon2 Pro S carries FDA, CE, RoHS, FCC, and PSE certifications and complies with EN 60825-1:2014, EN IEC 11553-1:2020, EN ISO 12100:2010, and EN 60204-1:2018. This places it among the few 40 W desktop lasers legally suitable for school makerspaces, shared studios, and home workshops without mandatory PPE enforcement.
The FDA Class 1 certification is not a marketing claim. It means all accessible radiation is contained during normal operation — a critical distinction when the machine runs alongside people. The triple-sensor monitoring adds a real-time protection layer that open-frame competitors cannot replicate. One practical note: after first-time camera calibration, save the calibration file to a second TF card as a backup — having a saved profile reduces recalibration from 10–15 minutes to under two minutes.
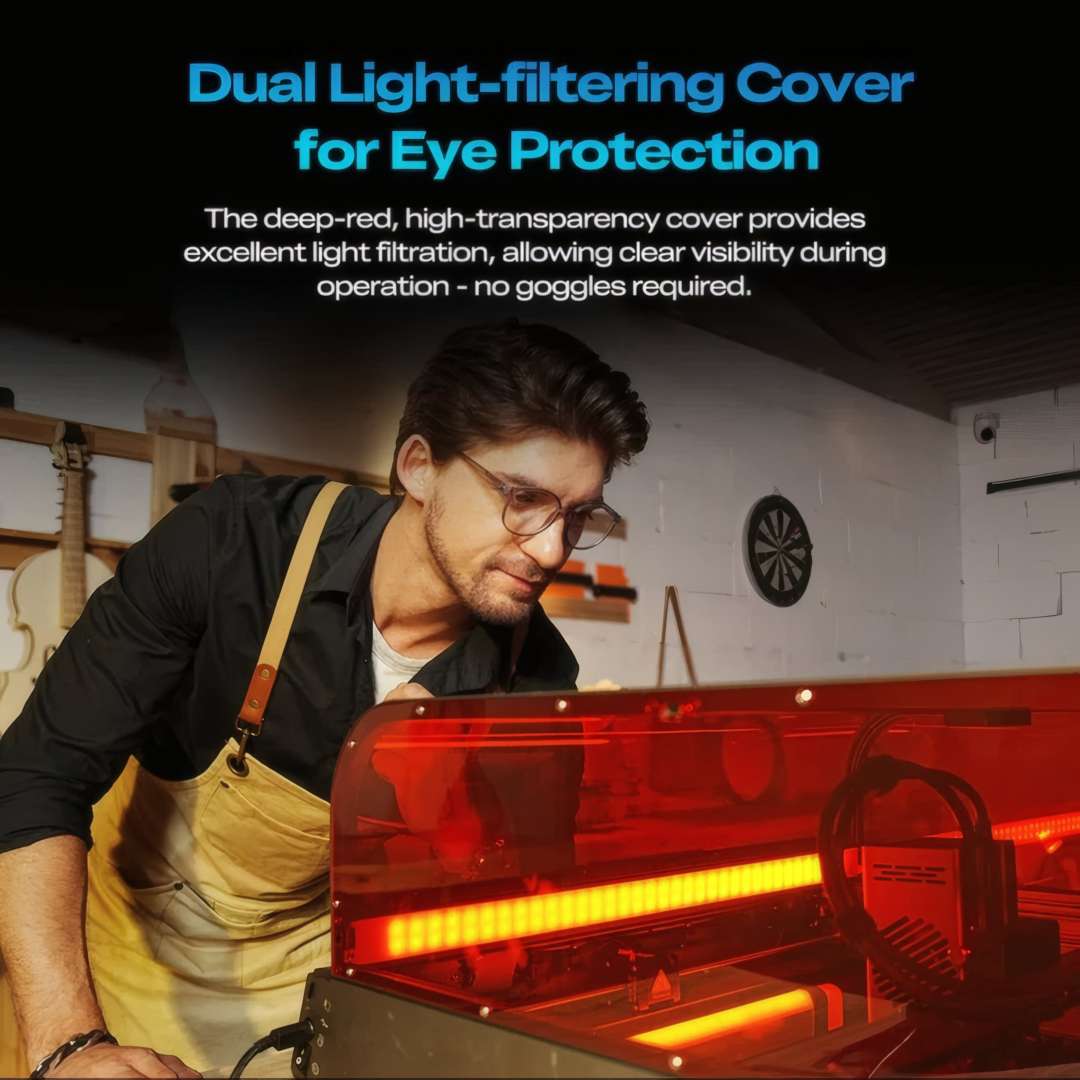
An operator can monitor engraving progress through the enclosure at any time during normal operation without laser goggles.

Dual Light-Filtering Cover
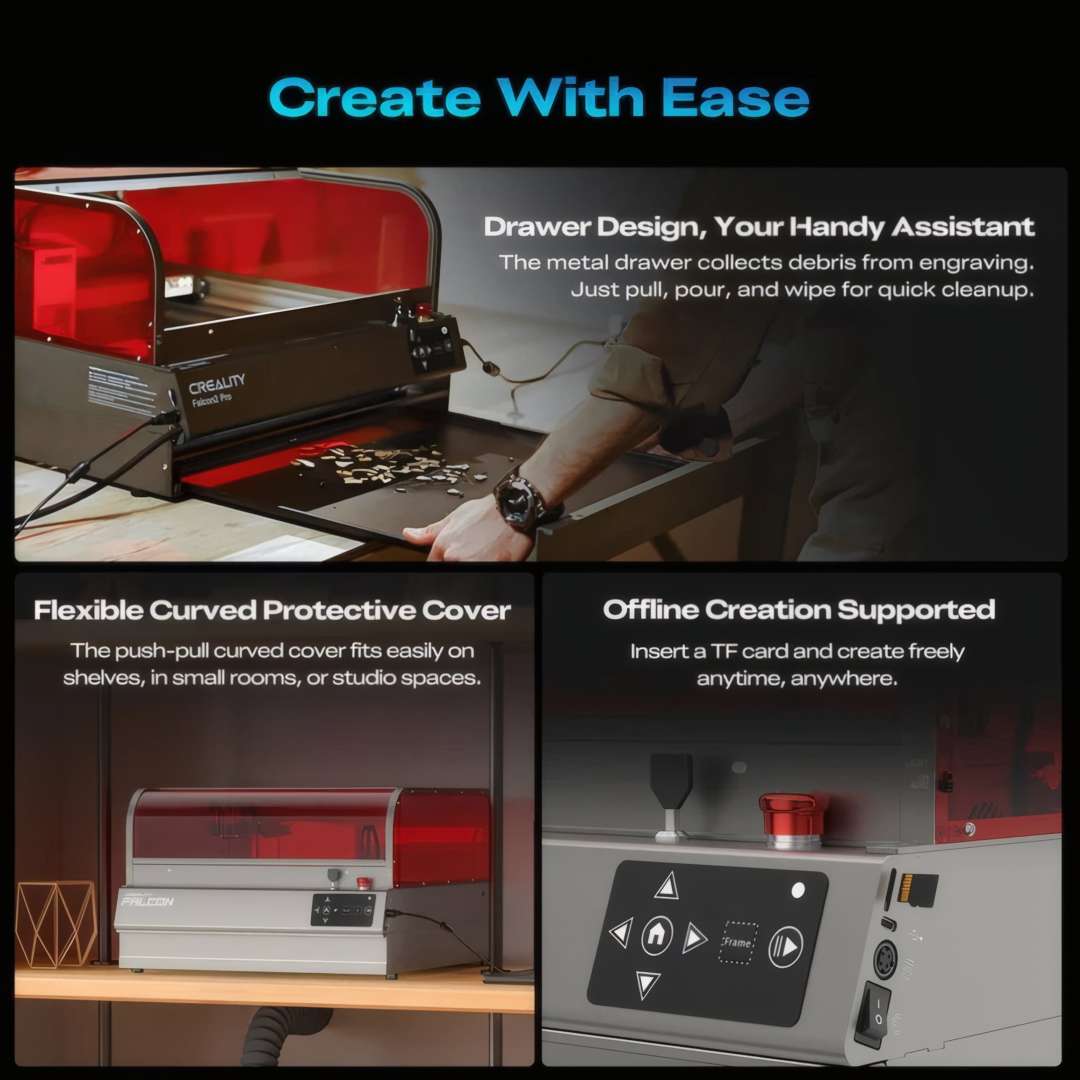
The curved lid uses a deep-red, high-transparency optical filter that blocks the hazardous 455 nm laser wavelength while transmitting visible light. Operators can monitor burn depth, check alignment, and confirm cut progress through the cover at any time — no protective eyewear required. The push-pull sliding mechanism needs no overhead clearance, so the machine fits under shelving or in a studio alcove.
Triple Security Monitoring: AIR, FIRE, LENS
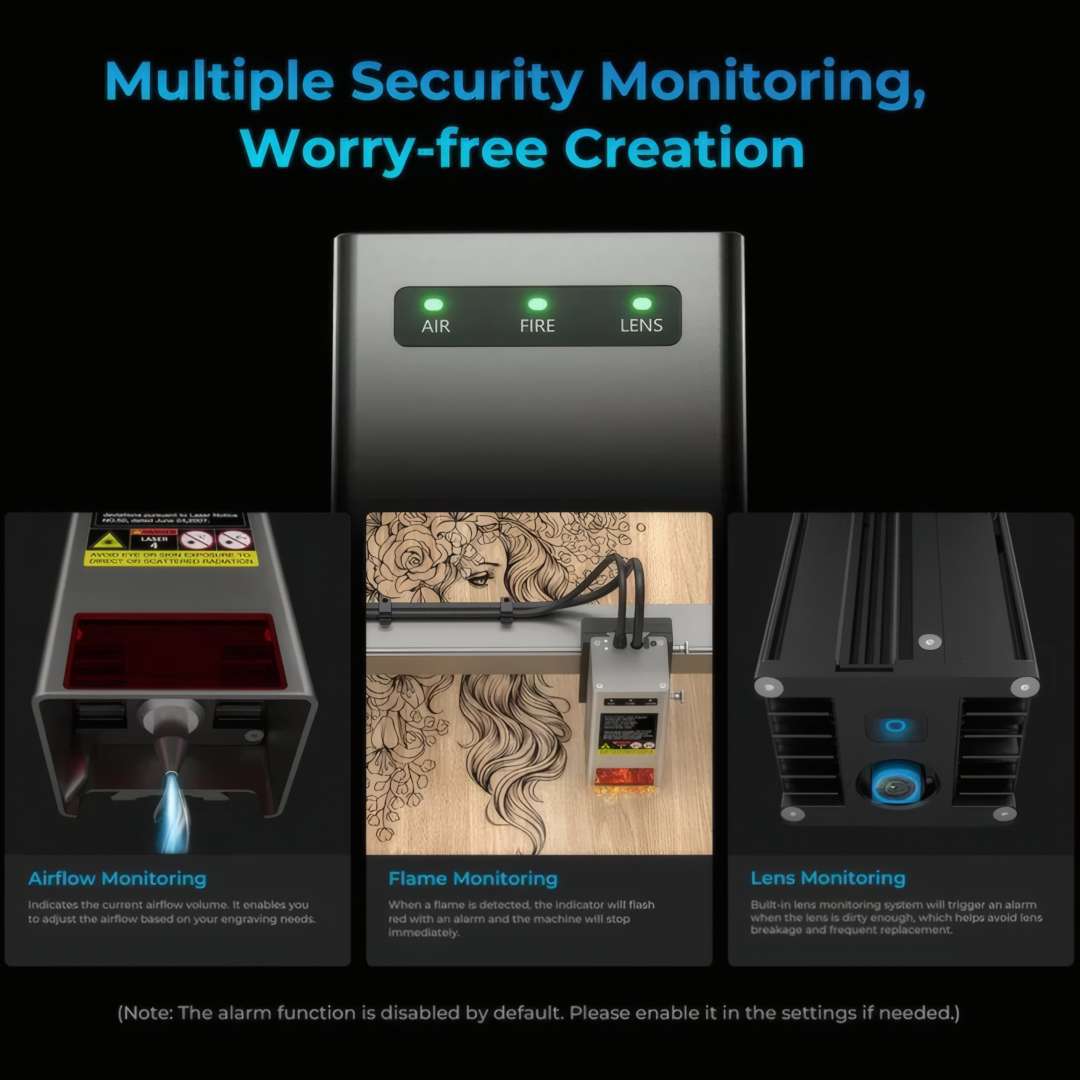
Three independent sensor circuits run continuously throughout every job. The AIR sensor monitors air-assist pump flow — if airflow drops, it warns before smoke can contaminate the optics. The FIRE sensor detects an open flame on the workpiece and triggers an immediate machine stop plus audible alarm, without requiring operator input. The LENS sensor detects optical contamination on the focusing lens, alerting the operator before accumulated residue causes focus drift or lens damage. All three functions are enabled by default and are individually configurable.
Active Ventilation and Practical Design Details
The enclosure houses a high-static-pressure centrifugal exhaust fan that evacuates combustion gases and fine particulate matter generated during laser processing. An exhaust pipe connects directly to external ducting, routing fumes out of the workspace. The centrifugal design maximises flow rate with a minimal acoustic signature — a meaningful advantage in home studio environments.
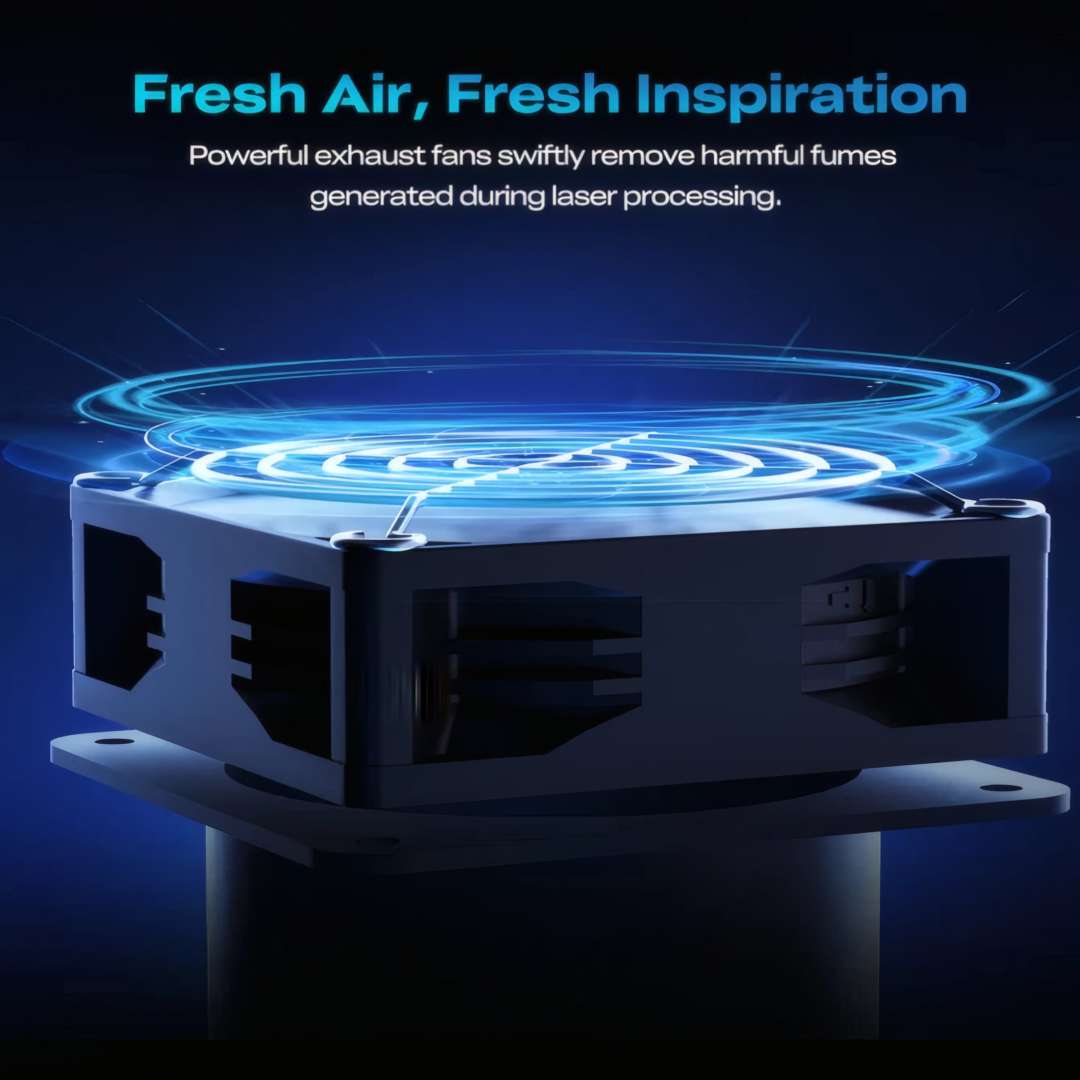
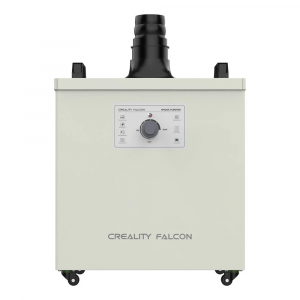
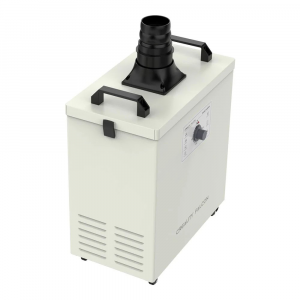
For operators who cannot duct to the outside, or who need cleaner air inside a shared room, the optional Creality Falcon air purifier connects directly to the machine's exhaust port. It filters both fine particulate and odour-causing VOCs through a multi-stage filtration stack before recirculating cleaned air back into the room.

Three additional design details distinguish a well-engineered enclosure from an assembled kit. A pull-out metal debris drawer beneath the honeycomb bed catches ash, char fragments, and sawdust — cleaning is a thirty-second task. The curved cover's push-pull mechanism needs no vertical clearance overhead. Offline operation via TF card means the machine runs independently of a connected computer: generate G-code in FDS, save to the card, insert, and press start.
Falcon Design Space Software
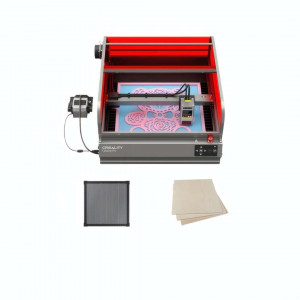
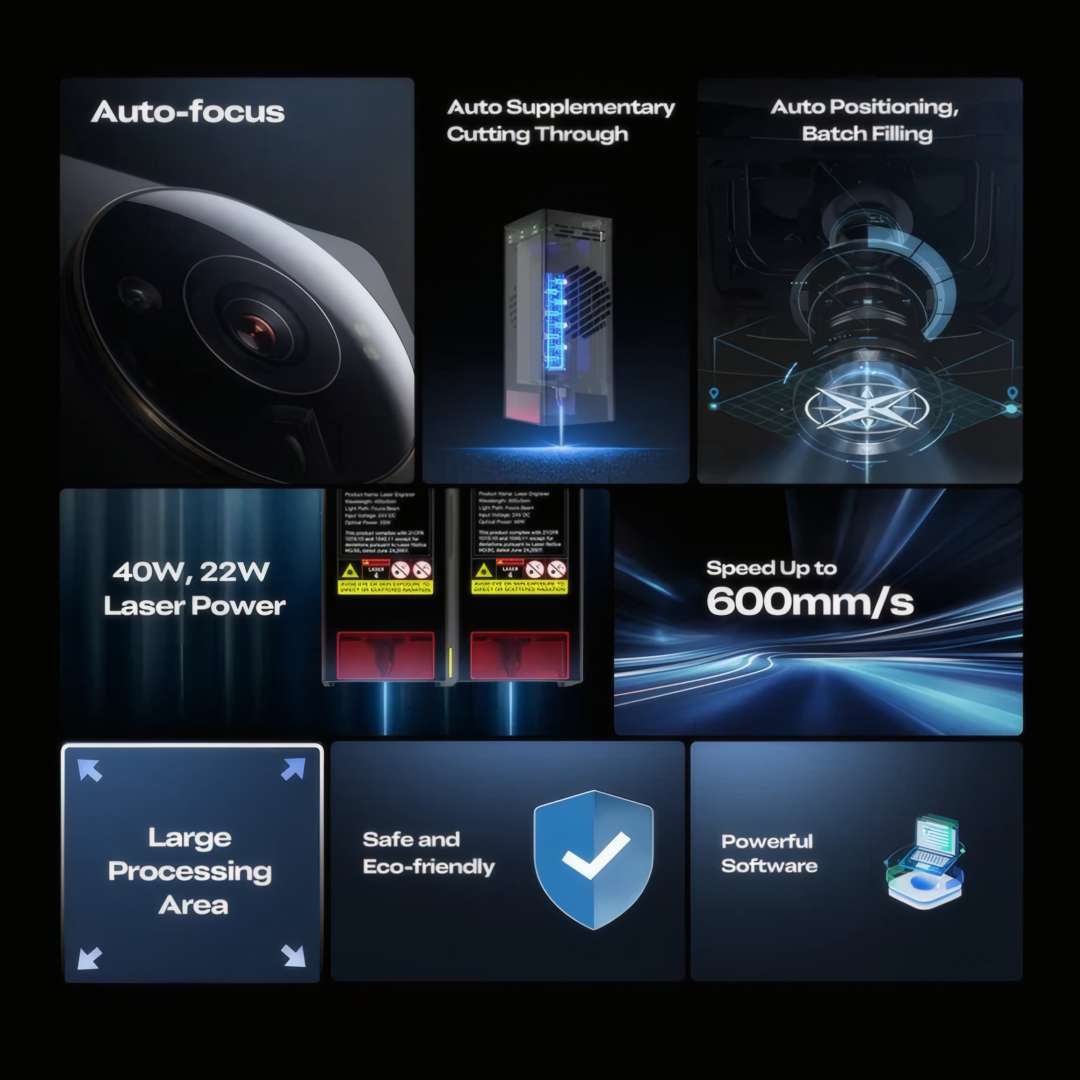
The feature overview below captures the device's complete capability matrix in a single diagram — auto-focus, Auto Cut-Through, Batch Filling, selectable 40 W / 22 W laser power, 600 mm/s speed, large processing area, safety compliance, and Falcon Design Space software, all in one enclosed desktop platform.
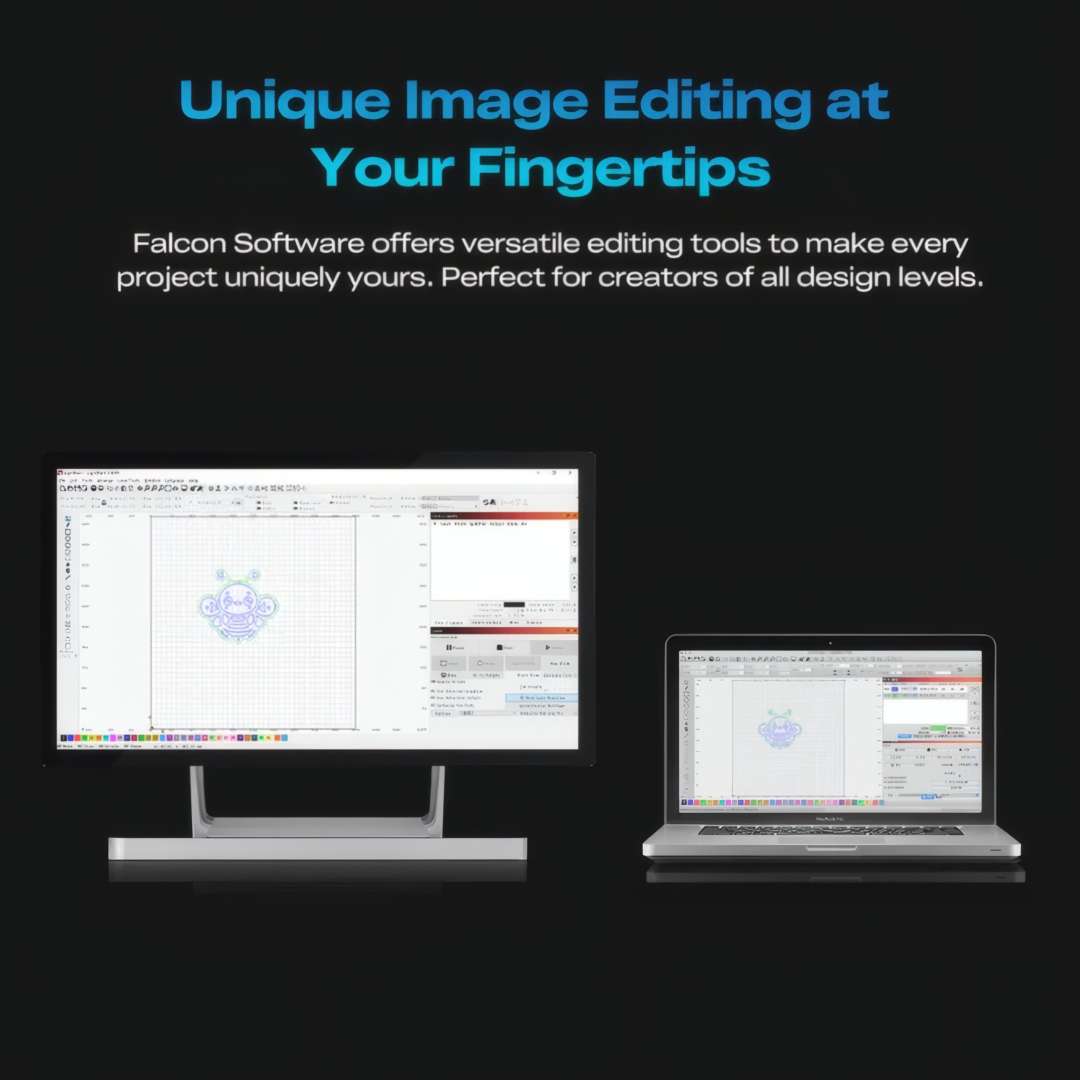
Falcon Design Space (FDS) accepts JPEG, PNG, BMP, SVG, and DXF formats and connects directly to files from Canva, Photoshop, or Illustrator without intermediate conversion. The interface follows a logical left-to-right workflow — device connection, camera calibration, image import, parameter selection, and job start — requiring no prior CAM experience. Advanced users can route jobs through LightBurn or LaserGRBL, both fully compatible with the machine's GRBL-based motion controller.

FDS also includes a dedicated image-editing toolset — brightness, contrast, dithering mode selection, and vector trace — allowing artwork to be prepared and adjusted directly inside the engraving application without switching to a separate graphics editor. The software runs on both Windows and macOS.
Applications
- Small-batch personalisation: Engrave keyrings, coasters, and jewellery tags in single unattended batch runs across the full 355 × 390 mm bed, using Batch Filling to fill all blanks automatically.
- Signage and décor: Cut and engrave A3-format signs, wooden panels, and decorative plaques in a single placement — no repositioning required.
- School and makerspace use: FDA Class 1 certification permits installation in shared educational environments without mandatory PPE enforcement for students or instructors.
- Leather and textile crafts: Engrave and cut leather goods, fabric patches, and rubber components at controllable power levels without colour-loss artefacts.
- Prototype and packaging fabrication: Rapid cutting of acrylic and cardboard for design prototypes, with Auto Cut-Through guaranteeing full penetration without manual inspection loops.
- Home studio production: Offline TF card operation and the safety-compliant enclosed footprint allow unattended runs in a domestic workspace without dedicated supervision.
Compatibility and accessories
- Optional air purifier: The Creality Falcon air purifier connects directly to the machine's exhaust port, filtering fine particulate and VOCs through multi-stage filtration for duct-free room installation.
- Honeycomb work panel: Included; standard honeycomb format compatible with common laser-engraver accessory clamps and hold-down fixtures.
- Air-assist equipment: Included silicone tube, exhaust pipe, and clamp assembly for standard air-assist operation and external ducting.
What's in the box
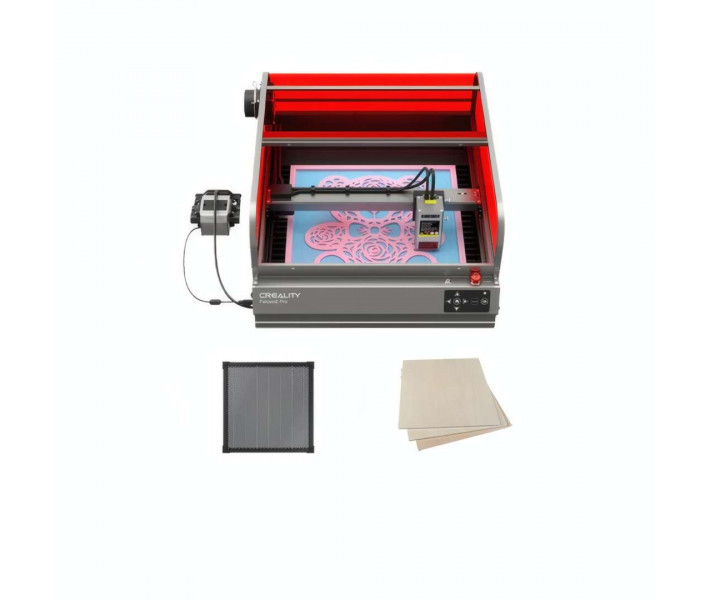
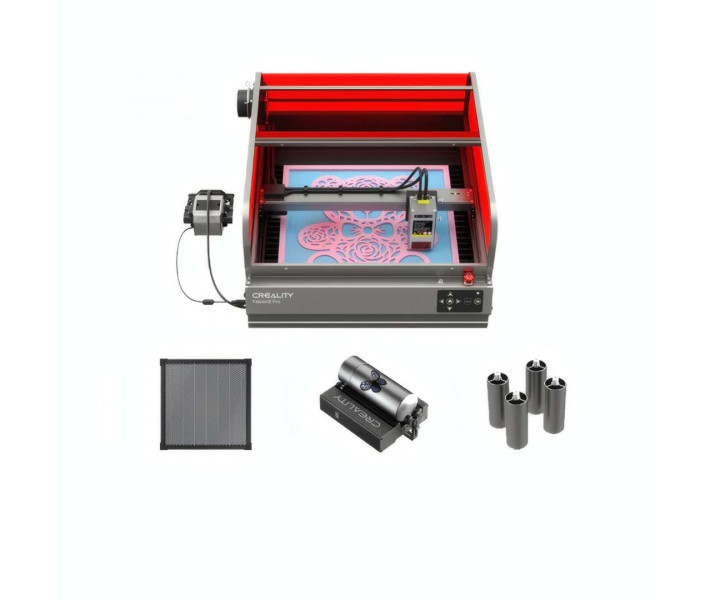
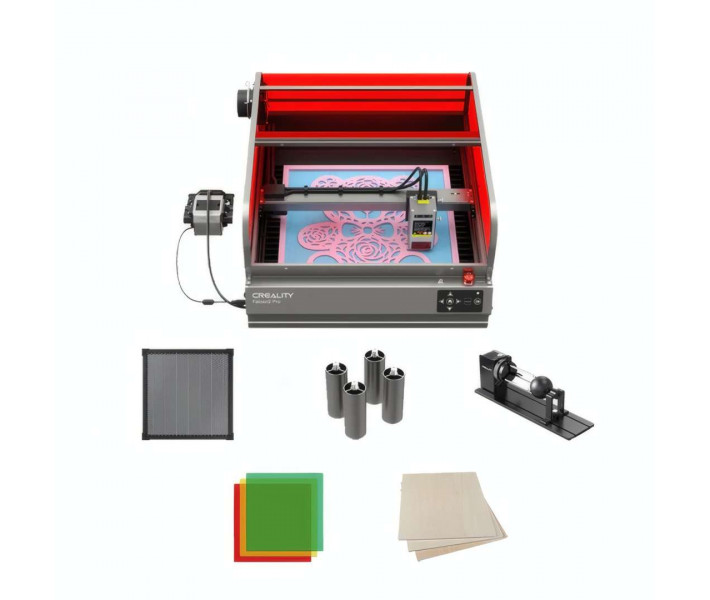
- Creality Falcon2 Pro S laser engraver (principal part + protective frame)
- 40 W laser module
- Honeycomb work panel
- Air-assist equipment + silicone tube + exhaust pipe + clamp
- Power supply
- USB-C cable ×2, USB-A to USB-C adapter
- TF card + card reader
- Basswood test pieces: 400 × 400 × 3 mm and 150 × 150 × 2 mm
- Laser safety goggles
- Allen wrenches (M1.5 / M2 / M2.5 / M3 / M4), open-end wrench, tweezers
- Dust-free cloth, anti-static brush, protective lens, velcro straps ×3
- Key ×2, calibration card, transparent film, light panel, sheltering cover
- User manual + Creality sticker
Technical specifications
General & Machine Dimensions
| Parameter | Value |
| Machine Dimensions (W × D × H) | 664 × 570 × 328 mm |
| Net Weight | 19.6 kg |
| Frame Material | Aerospace-grade aluminium alloy |
| Working Temperature | 5 °C – 35 °C |
Laser Module
| Parameter | Value |
| Optical Power | 40 W |
| Laser Source Configuration | Diode laser — 8 × 5.5 W combined |
| Laser Wavelength | 445 ± 15 nm |
| Laser Safety Class | Class 1 (FDA) |
| Max Single-Pass Cutting Thickness | 20 mm (basswood) |
Performance & Supported Materials
| Parameter | Value |
| Engraving Area | 355 × 390 mm |
| Maximum Engraving Speed | 600 mm/s |
| Auto-Focus | Yes — one-click Z-axis probe |
| Auto Cut-Through Detection | Yes — automatic supplementary pass |
| Built-in Camera | Yes — auto positioning & batch filling |
| Engravable / Cuttable Materials | Wood, bamboo, cardboard, rubber, leather, fabric, acrylic, certain plastics, etc. |
Power & Connectivity
| Parameter | Value |
| Input Voltage | 100–240 V~ 50–60 Hz |
| Output Voltage | DC 24.0 V / 10.0 A |
| PC Connectivity | USB Type-C (online mode) |
| Offline Operation | TF card (G-code) |
Software & File Compatibility
| Parameter | Value |
| Compatible Software | Falcon Design Space (FDS), LightBurn, LaserGRBL |
| Supported File Formats | JPEG, JPG, PNG, BMP, SVG, DXF, etc. |
| Operating System | Windows / macOS |
Safety & Certifications
| Parameter | Value |
| Safety Certifications | FDA, CE, RoHS, FCC, PSE |
| Compliant Standards | EN 60204-1:2018, EN ISO 12100:2010, EN IEC 11553-1:2020, EN 60825-1:2014 |
| Security Monitoring System | Triple sensor — AIR, FIRE, LENS |
Why buy the Creality Falcon2 Pro S from EXPERT3D?
EXPERT3D has specialised in advanced 3D technology and laser fabrication equipment since 2012 — more than a decade of hands-on experience selecting, deploying, and supporting professional-grade platforms across research institutions, universities, design studios, and industrial R&D teams. We provide expert pre-sales technical consultation and configuration guidance for the Falcon2 Pro S's multiple interdependent subsystems. Every purchase includes an official warranty and authorised after-sales service. We deliver across Spain and Europe. Post-sale operator training and software setup support are available upon request. As an official representative of Creality, we guarantee 100% product authenticity, fair pricing, authorised service, and a full manufacturer warranty.