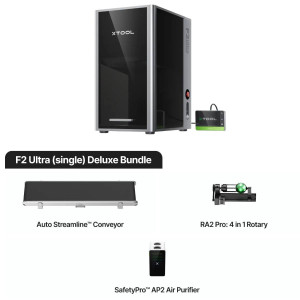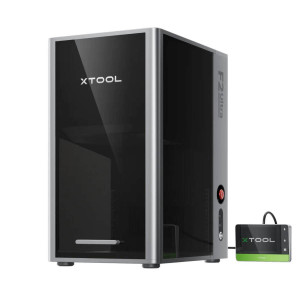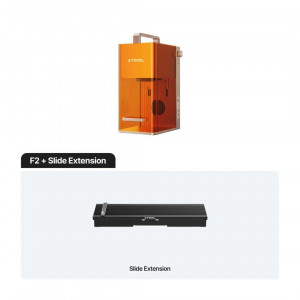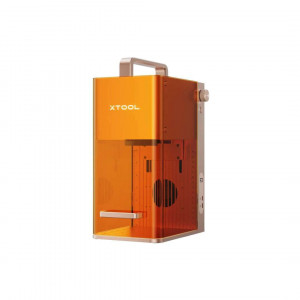


- Stock: In Stock
- Product code: 920372000001151147
- Weight Brutto: 34.00kg
- SKU: M1 Ultra 20W Deluxe Bundle

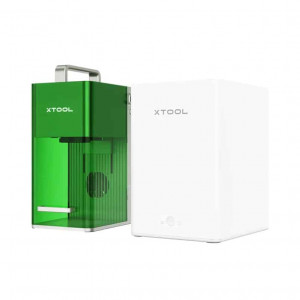
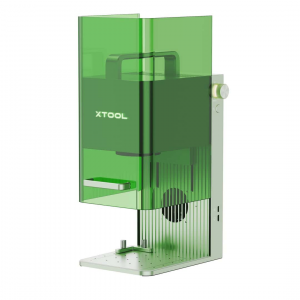
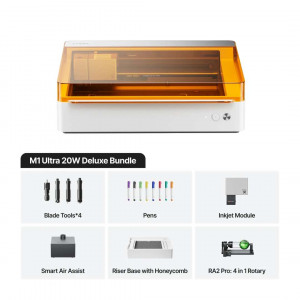
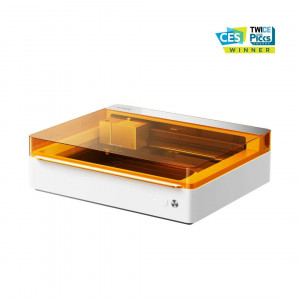
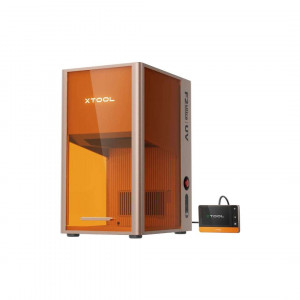
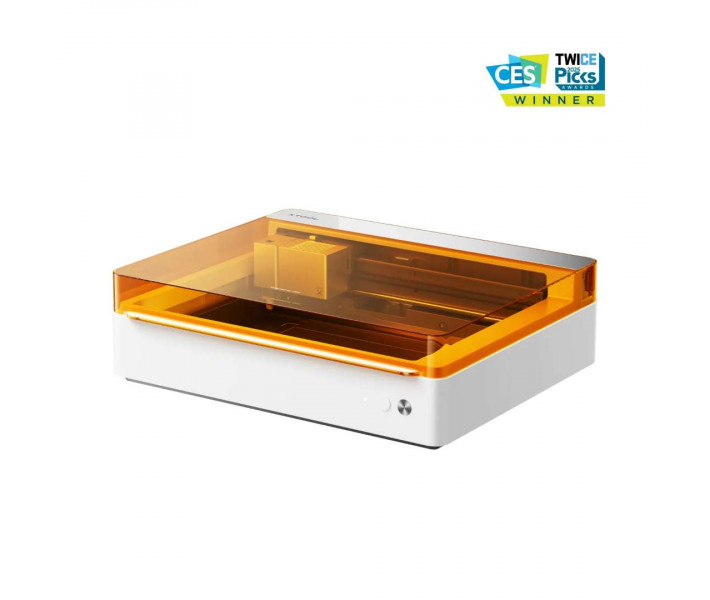
The xTool M1 Ultra 20W SafetyPro Bundle is a Class 1-certified 4-in-1 tabletop craft machine. Laser engraving and CMY inkjet printing share its enclosure with precision blade cutting and pen drawing. A large working area and sub-millimeter motion accuracy put over 1,000 materials within reach — from thick basswood to fine vinyl. The machine earned the CES 2025 TWICE Picks Award.
| Specification | Why it matters |
|---|---|
| Laser Power: 20 W (switchable 10 W / 20 W) | Cuts 10 mm basswood and 8 mm acrylic in a single pass, keeping cut edges clean and thermal spread low. |
| Working Area: 300 mm × 300 mm | Handles A4-footprint projects across all four modes without repositioning the material. |
| Motion Accuracy: 0.01 mm | Reproduces fine text and intricate engraved detail with no visible deviation across the full working area. |
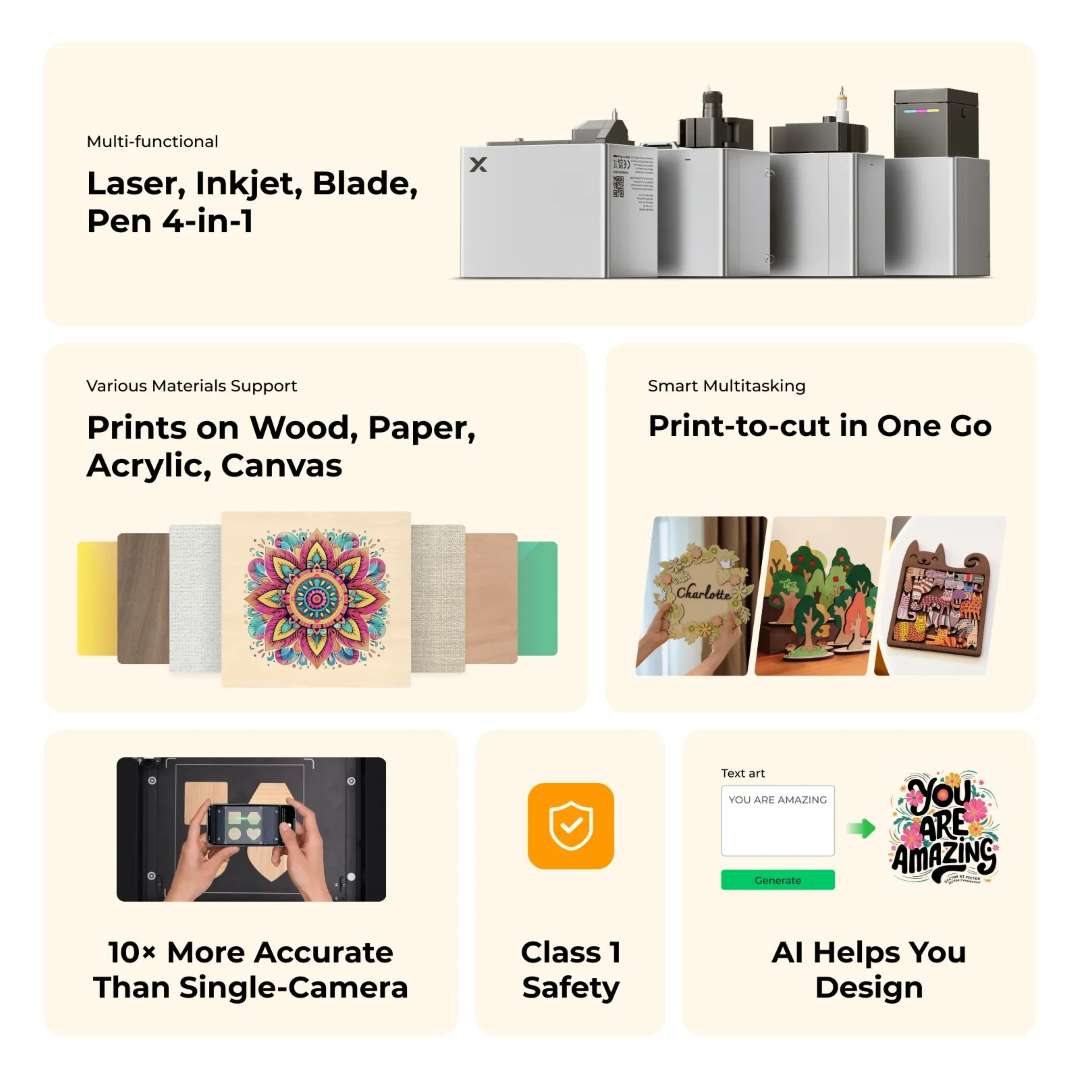
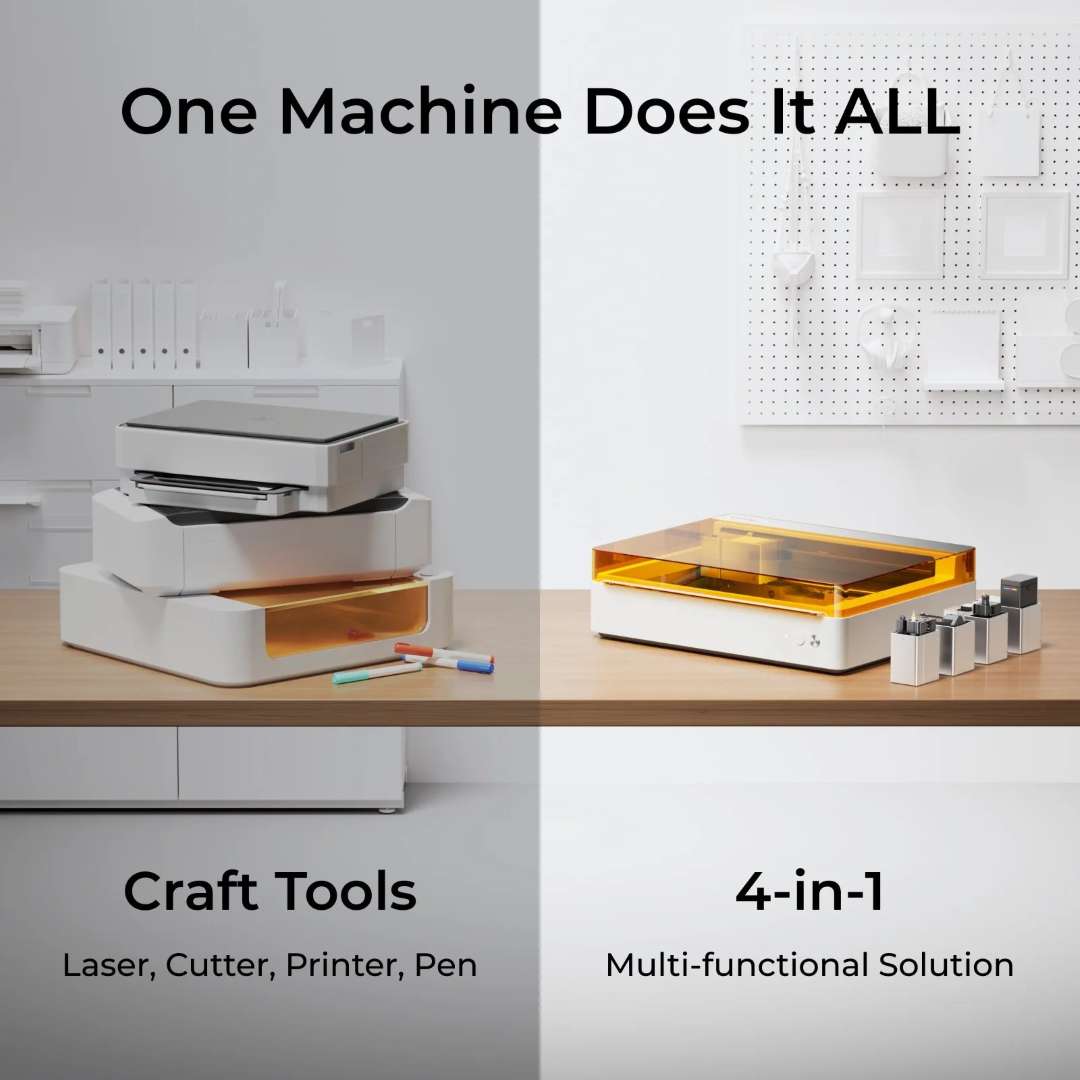
| Processing Modes: Laser · Inkjet · Blade · Pen | Four distinct workflows share one enclosure, each switchable in 3 seconds via Easy Swap™ — no second machine needed. |
The Easy Swap™ tool system changes the active module in 3 seconds, eliminating the need for four separate devices. The 20 W diode laser carries TÜV SÜD Class 1 certification to IEC 60825-1:2014, making it safe for home studios. Pin-Point™ Positioning uses a multi-point reference method — 10 times more accurate than single-camera systems. It aligns jobs reliably on irregular and curved stock. The CMY Inkjet Module deposits full-colour designs onto wood, canvas, fabric, and coated stone. This enables a print-to-cut workflow in one uninterrupted session, with no material repositioning. The included RA2 Pro rotary attachment extends laser engraving to cylindrical objects up to 99 mm in diameter.
xTool M1 Ultra — Four Modes in One Machine
The SafetyPro Bundle answers the core challenge of multi-technique crafting: maintaining four separate devices for four different jobs. Laser engraving and cutting, full-colour inkjet printing, blade cutting, and pen drawing all operate within one Class 1-certified enclosure. Mode changes take 3 seconds with the Easy Swap™ carriage — switching from printing a design to laser-cutting it to shape requires no material repositioning and no machine change.
Laser Mode — Engrave and Cut
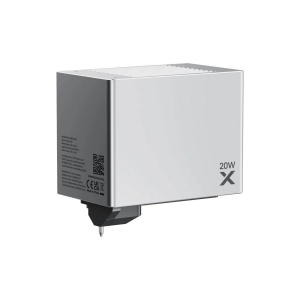
The switchable 10 W / 20 W blue diode laser (455 nm ± 5 nm) carries TÜV SÜD Class 1 certification. At 20 W it cuts through 10 mm of basswood and 8 mm of acrylic in a single pass; at 10 W those depths reach 6 mm and 5 mm respectively. For engraving, the beam spot measures 0.06 mm × 0.08 mm at 20 W and 0.04 mm × 0.06 mm at 10 W, reproducing photographic-level detail on wood, acrylic, leather, stainless steel, plated metal, coated glass, ceramic, and marble.
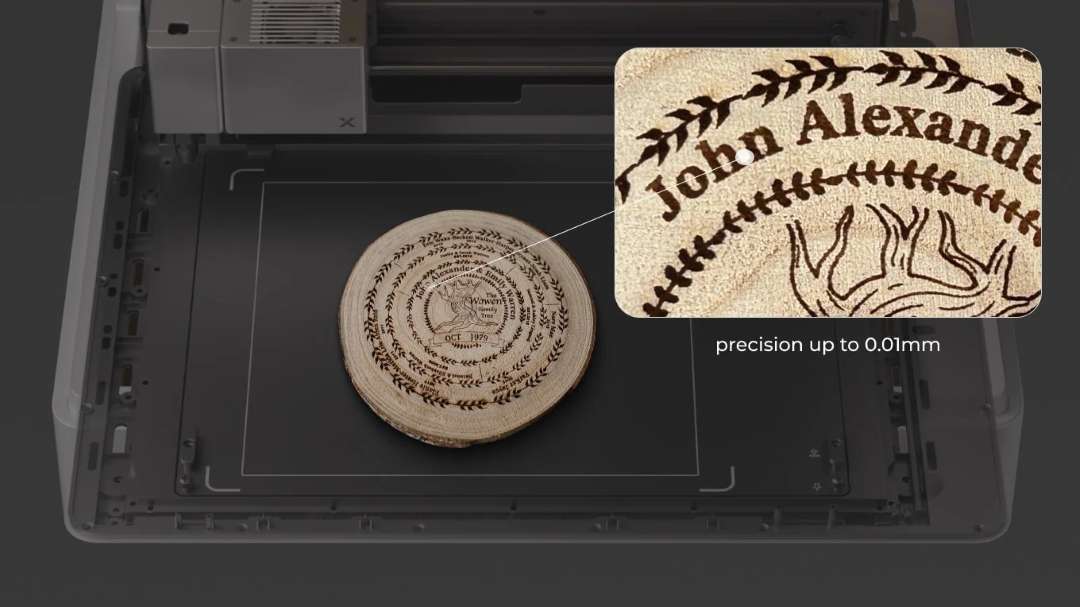
Fewer passes mean cleaner cut edges, reduced thermal spread, and faster batch production runs. The CES 2025 TWICE Picks Award recognises the laser's output quality at desktop scale.
RA2 Pro Rotary Attachment
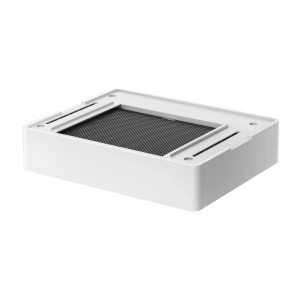
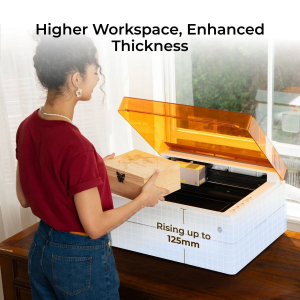
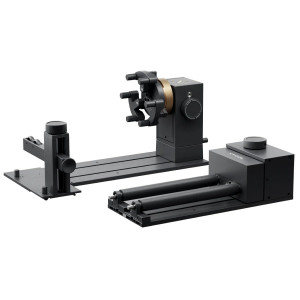
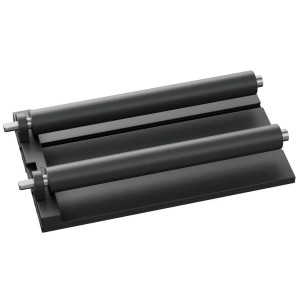
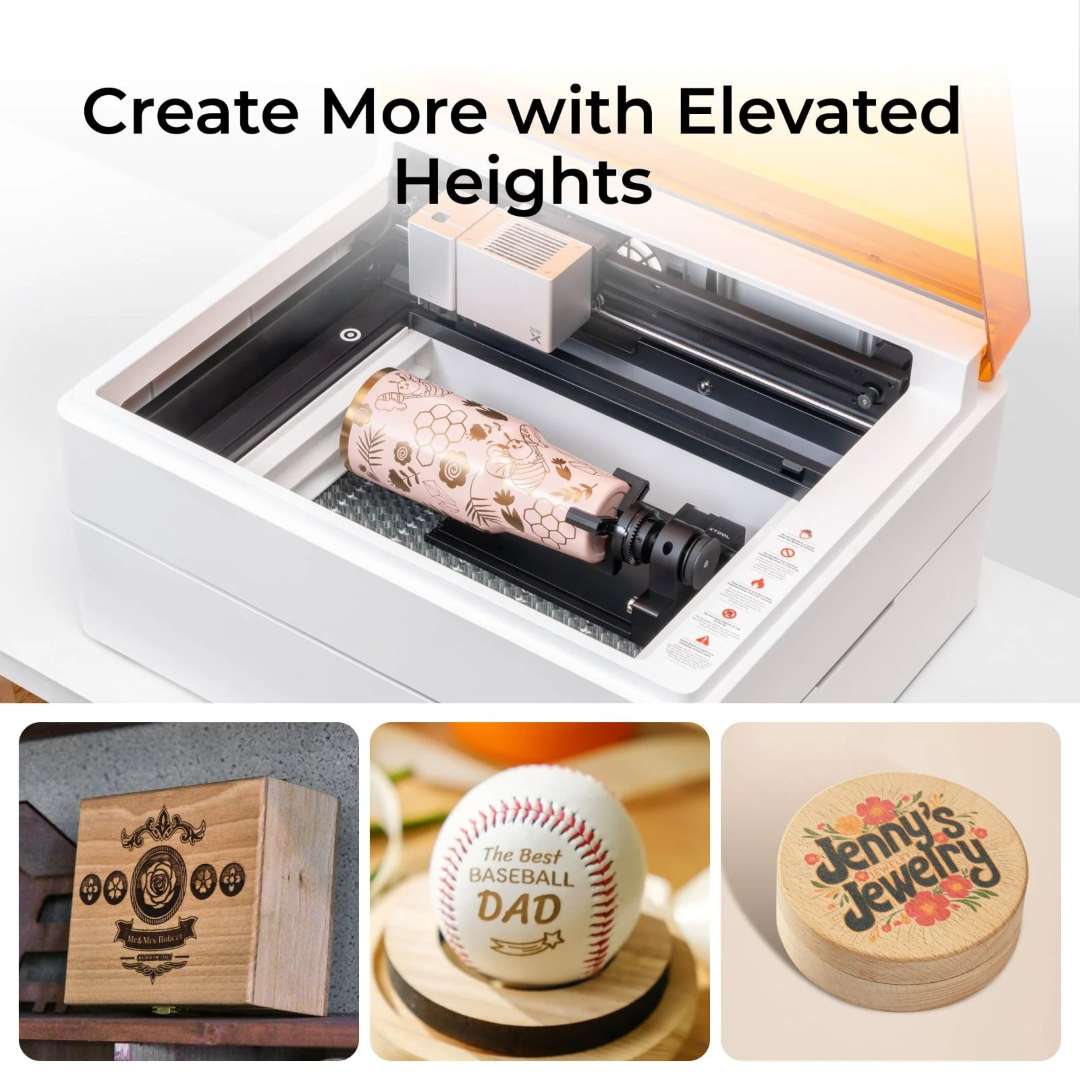
The included RA2 Pro extends laser engraving to cylindrical, spherical, ring, and chunky objects. Tumblers, wine bottles, baseballs, and bangles all become personalizable products. With the Riser Base — included in this bundle — the maximum rotary engraving diameter reaches 99 mm and the maximum laser processing height reaches 125 mm.
Blade Mode — Cut, Foil, and Deboss
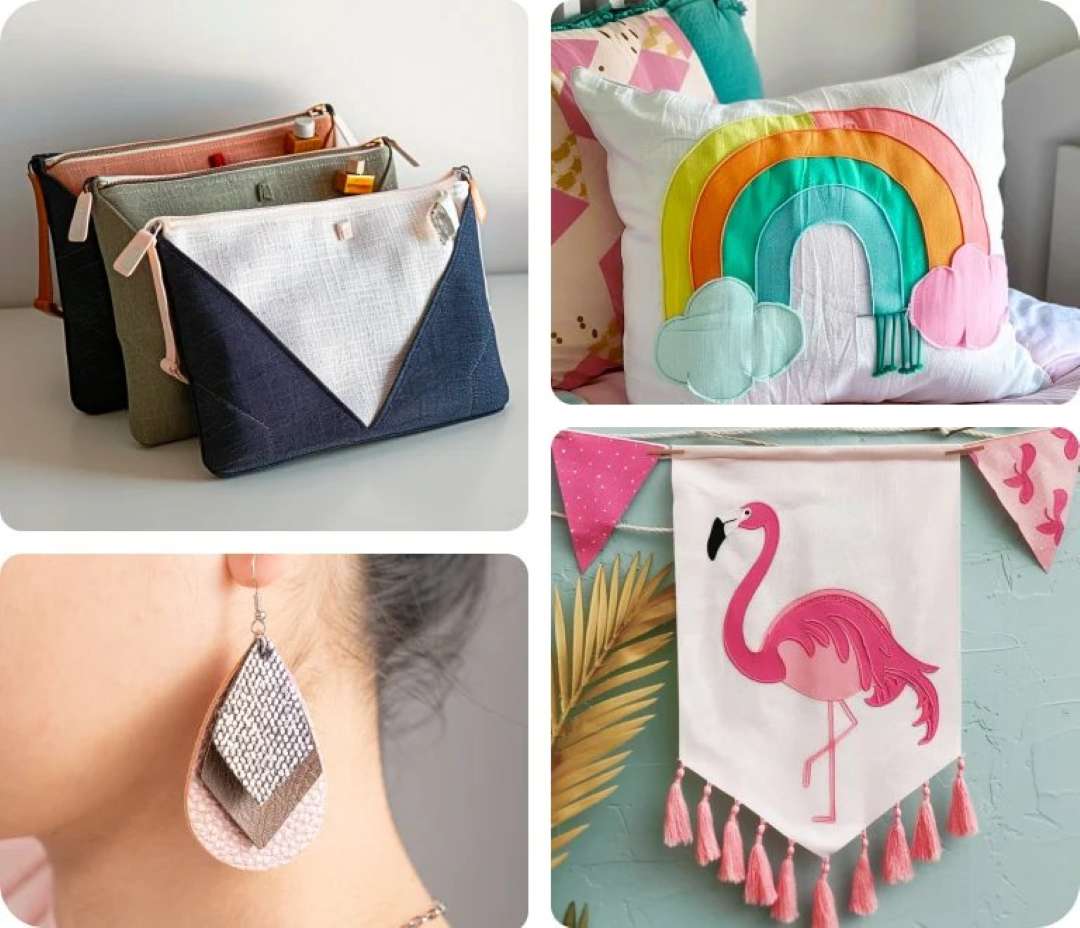
Three interchangeable blade types handle a wide material range. The fine-point blade cuts to 1.5 mm depth — suitable for stickers, vinyl, and PVC films on the LightGrip mat. The cutting blade handles materials up to 2.5 mm thick — leather, matboard, and balsa wood cut cleanly in a single stroke. An optional rotary blade, paired with the FabricGrip mat, glides through denim, cotton, and linen without fraying edges.
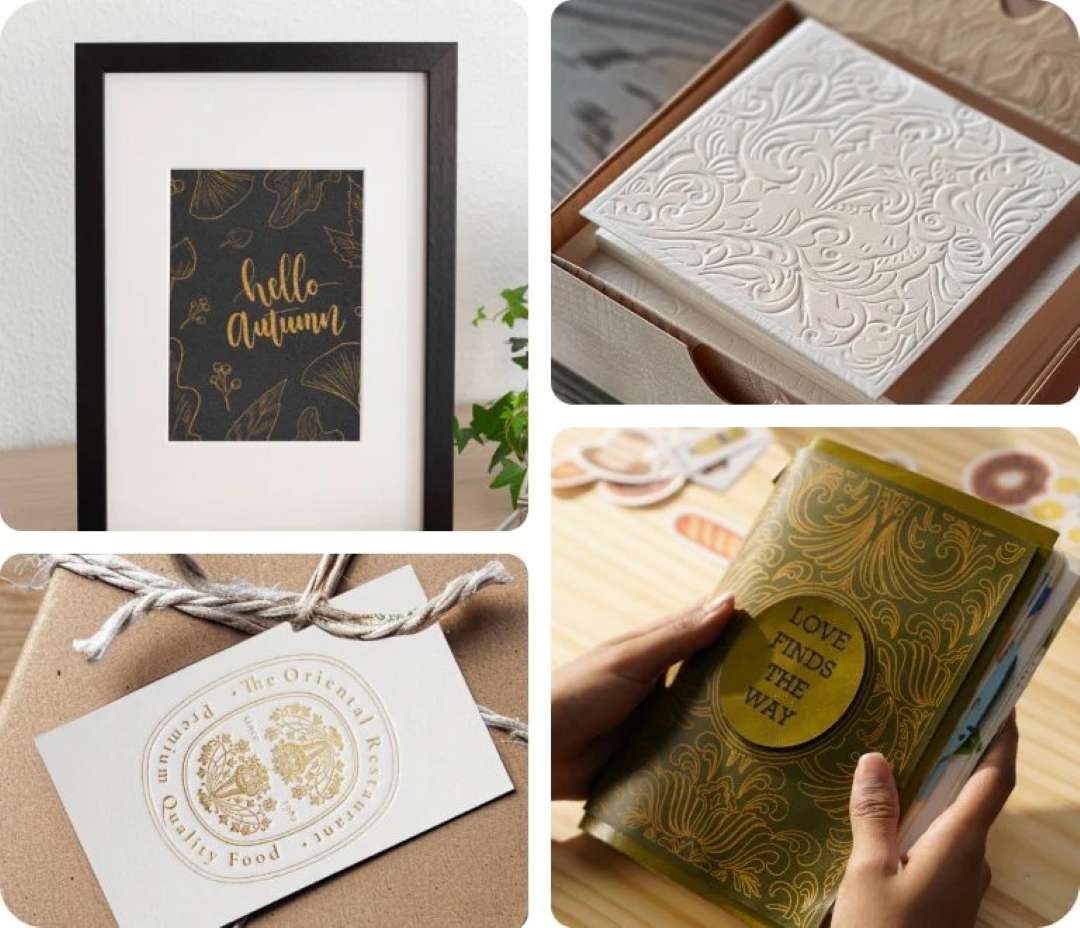
The foil transfer tip applies metallic accents to paper, cardstock, and leather. For richer adhesion on acrylic and thicker substrates, the hot foil pen delivers superior colour depth — well suited to wedding invitations, branded packaging, and artisan journals.
Inkjet Mode — Full-Colour Printing on Any Surface
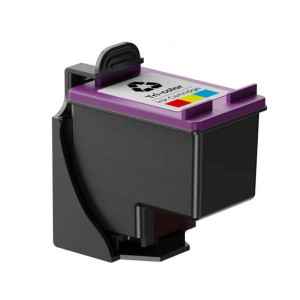
The CMY Inkjet Module prints vivid, full-colour designs directly onto wood, canvas, fabric, coated stone, cardstock, and inkjet-compatible acrylic — no transfer paper required. The inkjet working area measures 296 mm × 286 mm.
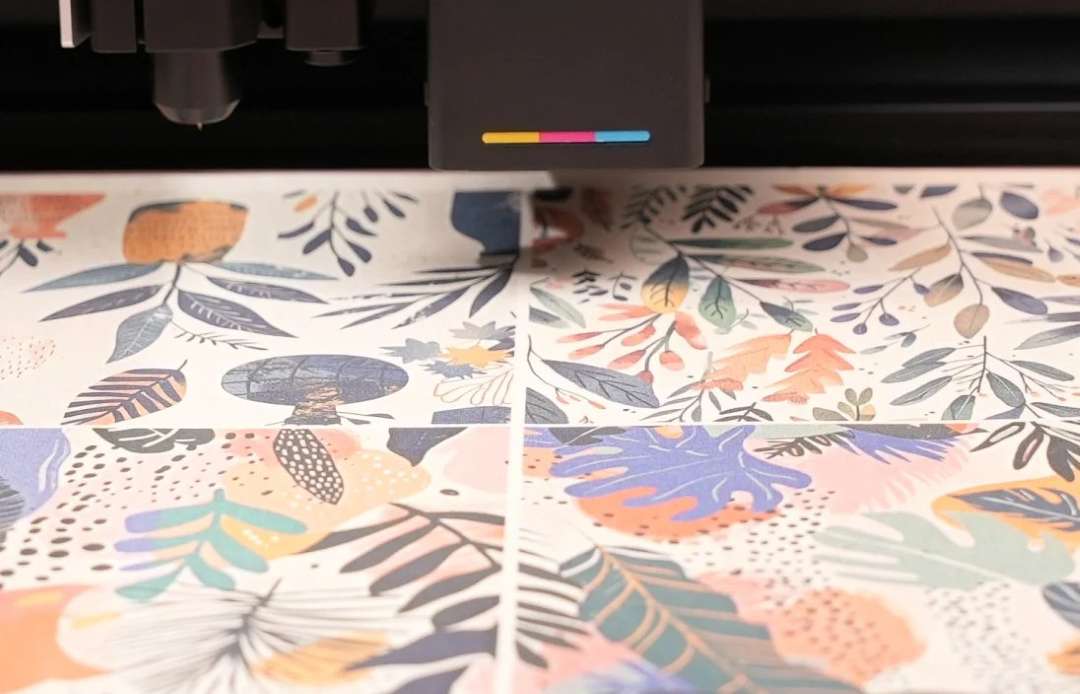
The print-to-cut workflow combines both modules in one session: print a full-colour image, then switch to the laser module and cut the printed piece to exact contours without removing the material from the bed. Very smooth or dense surfaces — bare metal, glass, uncoated ceramics — require an appropriate ink coating before printing, as ink cannot adhere to non-porous substrates without surface preparation.
Pen Mode — Precise Drawing and Writing
The pen holder accepts any fine-point pen or compatible third-party marker, including Cricut pens, enabling precise calligraphy, multi-colour illustrations, and batch-plotted designs. Open-lid processing in pen mode accommodates longer pens and taller objects without restriction.
Class 1 Laser Safety
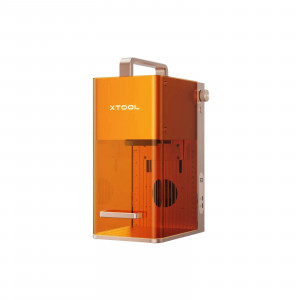
Certified Class 1 by TÜV SÜD to IEC 60825-1:2014 and EN 60825-1:2014/A11:2021, the machine fully encloses the 20 W working laser. The amber-tinted polycarbonate cover blocks all laser radiation during operation while allowing visual monitoring of the job in progress.
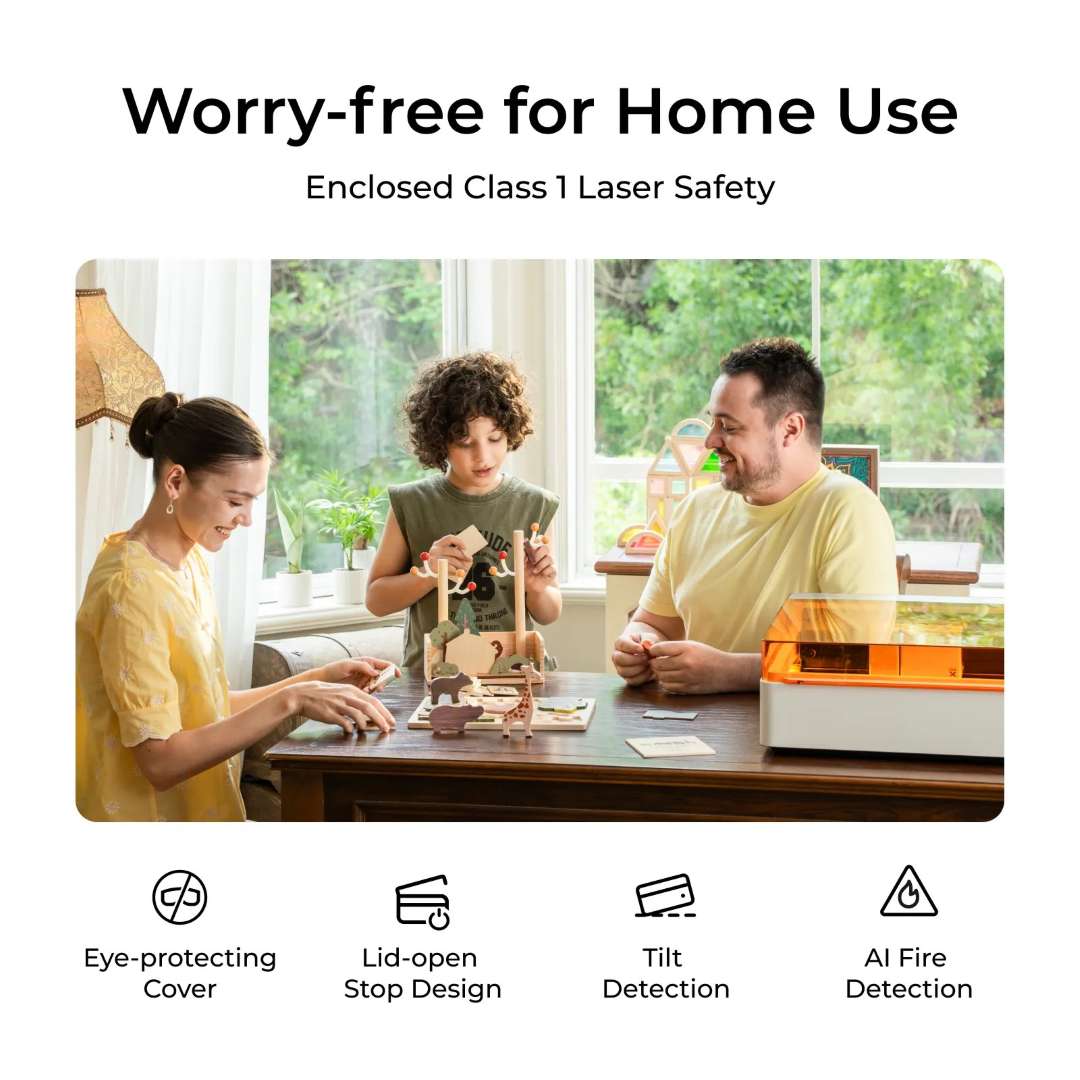
- Eye-protecting cover — amber-tinted polycarbonate filters all laser wavelengths; safe for bystanders at normal viewing distances.
- Lid-open stop design — safety interlock halts all processing immediately if the lid is lifted during operation.
- Tilt detection — built-in motion sensor stops the machine if accidentally displaced during a job.
- AI fire detection — integrated camera monitors for anomalous flame signatures and triggers an emergency stop.
The indicator LED and buzzer provide real-time status: solid green = processing, slow yellow blink = lid open or device shaken, red blink = large flame detected. The physical safety key locks all processing functions when removed from the device.
Software and Positioning
Pin-Point™ Positioning applies a multi-point reference method — 10 times more accurate than single-camera systems — for reliable material alignment. Photograph your layout with a phone camera; the image transfers to the xTool app, where you can map irregular shapes, batch-fill identical objects across the 300 mm × 300 mm workspace, or overlay a design preview before committing to a single pass.
xTool Studio (Windows / macOS) handles SVG, DXF, JPG, JPEG, PNG, BMP, and TIF files. Connect via USB, Wi-Fi, or direct IP. The built-in Almake AI converts simple text prompts into production-ready vector art for engraving, cutting, or printing. The xTool Creative Space app (iOS / Android) provides guided project templates, one-click processing combinations, and a community library of downloadable designs.
Applications
- Home studios and maker spaces: Four modes let a single operator produce mixed-media output — engraved wood keepsakes, direct-printed textiles, and blade-cut vinyl decals — without switching between machines.
- Small-batch product personalisation: The RA2 Pro engraves tumblers, bottles, and bangles at diameters up to 99 mm; maximum working speed of 400 mm/s keeps batch runs efficient.
- Wedding and event stationery: Print-to-cut and hot-foil workflows produce gold-foil invitations, embossed cards, and laser-cut inserts in one session without repositioning stock.
- Textile and apparel crafting: The rotary blade and FabricGrip mat cut denim, cotton, and linen cleanly; the CMY Inkjet Module prints colour designs directly onto canvas and woven fabric.
- Artisan packaging and branding: Laser-cut acrylic shapes, inkjet-printed labels, and foil-embossed cardstock combine into co-ordinated branded packaging at desktop scale.
- Educational environments: Class 1 certification, lid-open interlock, and AI fire detection make the machine appropriate for supervised use in schools and training studios.
- Prototype and model making: Single-pass cutting of 10 mm basswood and 8 mm acrylic lets designers iterate structural models rapidly without extensive edge finishing.
Compatibility and accessories
The pen holder accepts any fine-point marker of standard dimensions, including Cricut-brand pens — no proprietary consumable is required. The LightGrip cutting mat (for paper and lightweight sheets) and the FabricGrip cutting mat (for woven textiles) are both sized to the M1 Ultra's blade working area and included in the package.
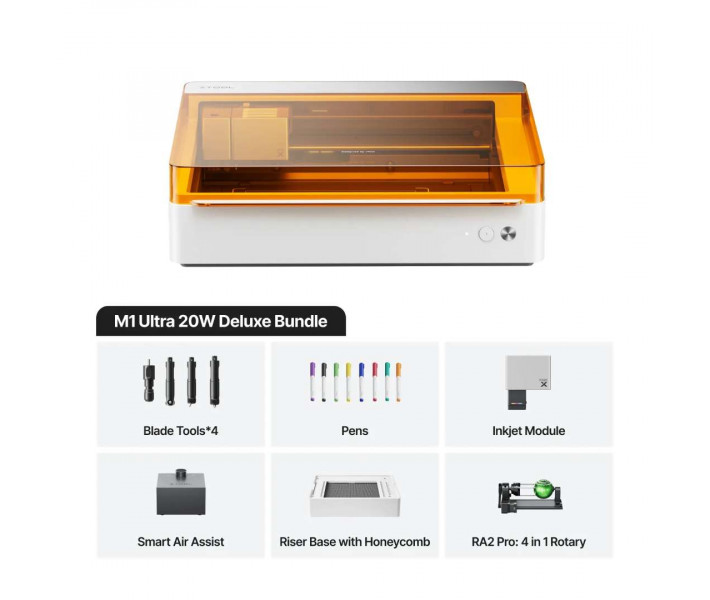
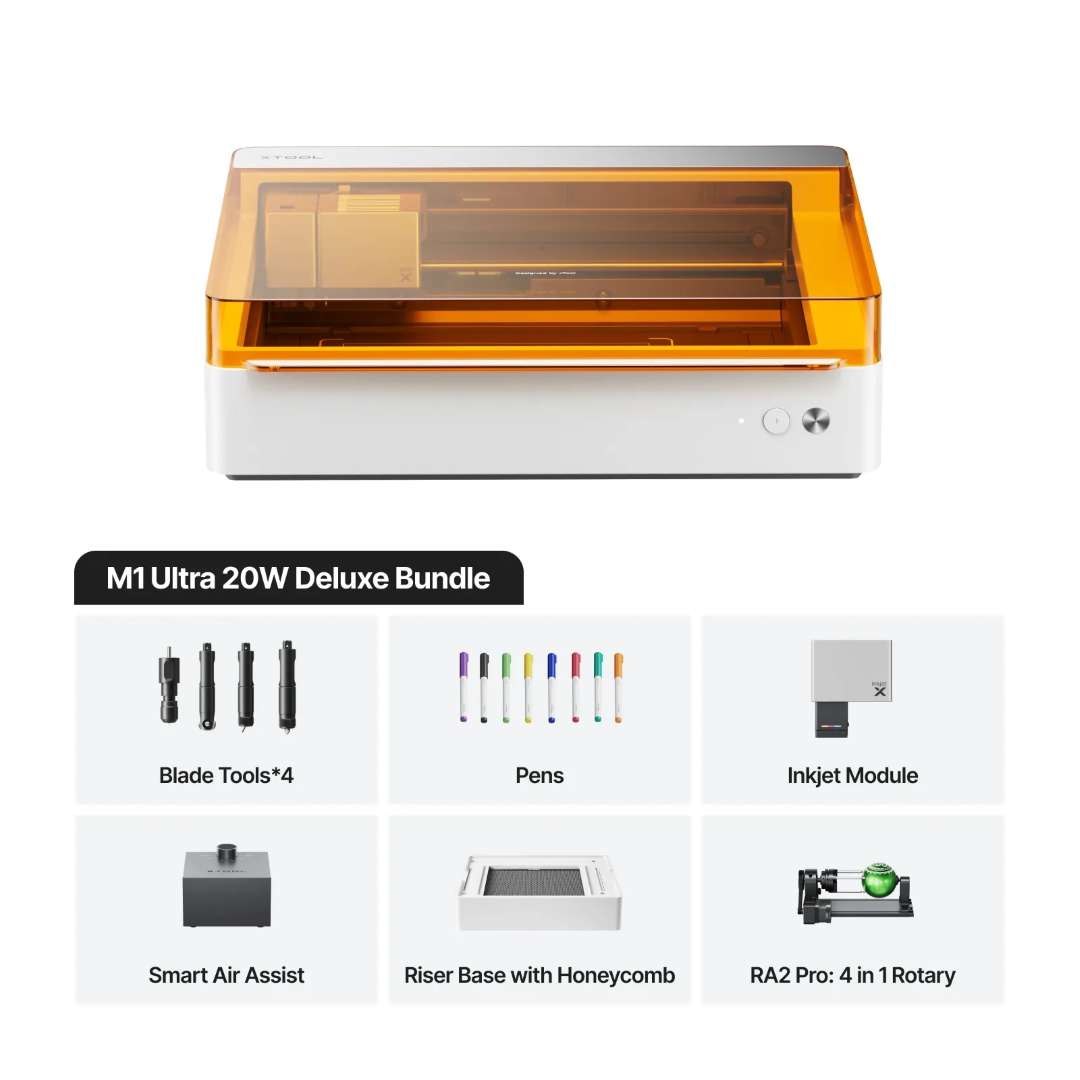
What's in the box
SafetyPro Bundle exclusive additions:
- Inkjet Module
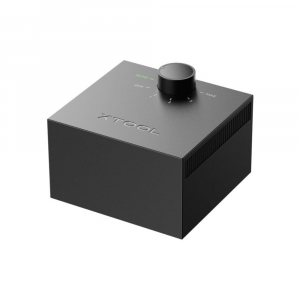
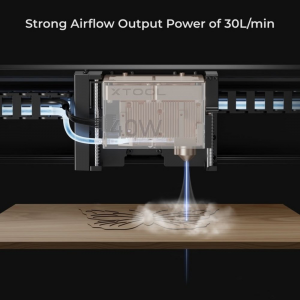
- Smart Air Assist
- Riser Base with Honeycomb
- RA2 Pro: 4-in-1 Rotary
- Blade Tools ×4
Standard package contents:
- xTool M1 Ultra machine
- Laser module
- Multi-function carriage
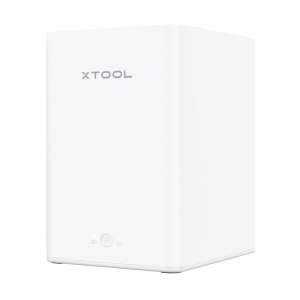
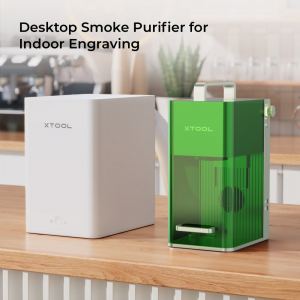
- Smoke exhaust module
- Power cable and adapter
- USB cable
- Fine-point blade
- Cutting blade
- Fine-point pen ×8
- Pen holder
- Triangular prism holder ×4
- Triangular prism ×10
- Cutting mat — LightGrip (for paper)
- Cutting mat — FabricGrip (for fabrics)
- Filter ×8
- Key ×2
- Grease
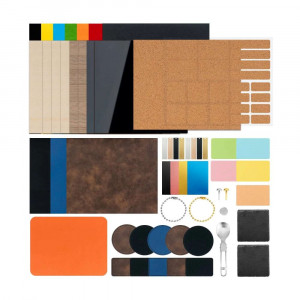
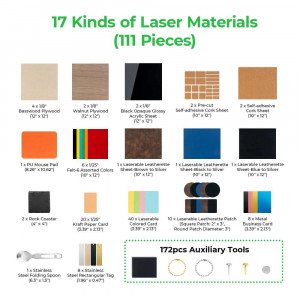
- Material pack
- Screwdriver
- Lens mount, spare part ×2
- Lens mount rotating piece
- Thumb screw for baseplate, spare parts ×2
- Quick Start Guide
- Safety Instructions
Technical specifications
Processing Capacity
| Parameter | Value |
| Laser Type | 20 W Diode Laser |
| Processing Modes | Laser Cutting, Laser Engraving, Inkjet Printing, Blade Cutting, Foiling |
| Supported Materials — Laser Cuttable | Wood, Opaque Acrylic, Paper, MDF, Leather |
| Supported Materials — Blade Cuttable | Paper Cardstock, Vinyl, PVC, Leather |
| Supported Materials — Laser Engravable | Wood, Opaque Acrylic, Leather, Stainless Steel, Plated Metal |
| Supported Materials — Inkjet Printable | Paper, Cardstock, Wood, Canvas, Acrylic |
| Working Area — Laser / Blade / Pen Mode | 300 mm × 300 mm |
| Working Area — Cutting Blade | 295 mm × 295 mm |
| Working Area — Inkjet Mode | 296 mm × 286 mm |
| Max. Working Speed | 400 mm/s |
| Max. Laser Cutting — Basswood 20 W | 10 mm in one pass |
| Max. Laser Cutting — Basswood 10 W | 6 mm in one pass |
| Max. Laser Cutting — Acrylic 20 W | 8 mm in one pass |
| Max. Laser Cutting — Acrylic 10 W | 5 mm in one pass |
| Max. Blade Cutting — Fine-Point Blade | 1.5 mm |
| Max. Blade Cutting — Cutting Blade | 2.5 mm |
| Max. Processing Height — Laser with Riser Base | 125 mm |
| Max. Processing Height — Laser without Riser Base | 27 mm |
| Max. Processing Height — Inkjet / Pen / Blade with Riser | 138 mm |
| Max. Processing Height — Inkjet / Pen / Blade without Riser | 20 mm |
| Max. Rotary Engraving Diameter (with Riser Base) | 0–99 mm |
Laser Specifications
| Parameter | Value |
| Working Laser Wavelength | 455 nm ± 5 nm |
| Working Laser Beam Divergence | 1.5 mrad (IEC 60825-1) |
| Working Laser Max. Power Output | 20 W |
| Indicator Laser Wavelength | 650 nm ± 5 nm |
| Indicator Laser Max. Power Output | 0.39 mW |
Accuracy and Precision
| Parameter | Value |
| Laser Spot Size — 10 W | 0.04 mm × 0.06 mm |
| Laser Spot Size — 20 W | 0.06 mm × 0.08 mm |
| Positioning Precision | 0.02 mm |
| Ranging Precision | 0.1 mm, Probe |
| Motion Accuracy | 0.01 mm |
Smart Software
| Parameter | Value |
| Supported Software | xTool Studio |
| Operating System | Windows / macOS |
| Connection Method | USB / Wi-Fi / IP |
| Supported Files | SVG, DXF, JPG, JPEG, PNG, BMP, TIF |
| Almake Compatibility | Yes |
Easy Operation
| Parameter | Value |
| Pre-assembled | Yes |
| Positioning Method | Pin-Point™ Positioning |
| Focus Mode | Autofocus |
General Information
| Parameter | Value |
| Safety Certification | Class 1 Laser Safety (TÜV SÜD Certified) |
| Product Dimensions | 620 mm × 498 mm × 178 mm |
| Product Weight | 17 kg |
| Max. Machine Input Power | 200 W |
| Power Adapter Input Voltage | 100 V – 240 V ~ AC 50/60 Hz |
Why buy the xTool M1 Ultra?
The xTool M1 Ultra 20W SafetyPro Bundle consolidates four professional craft capabilities in a single TÜV SÜD Class 1-certified machine — laser engraving and cutting, full-colour inkjet printing, precision blade work, and pen drawing. As an authorised xTool retailer, we guarantee 100% product authenticity, fair pricing, and an official manufacturer warranty. Expert pre-sales consultation helps you match the right modules and accessories to your exact workflow before purchase. Authorised after-sales service means every unit is supported by trained technicians throughout its working life. Post-sale technical assistance and operator training are available to help you reach full production confidence across every mode.