- Stock: In Stock
- Product code: 920372000001160250
- Weight Brutto: 11.00kg
- SKU: OLMH10-5W

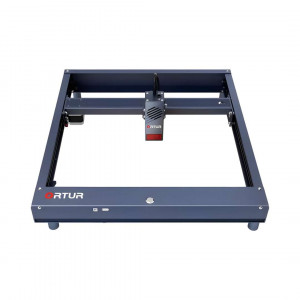
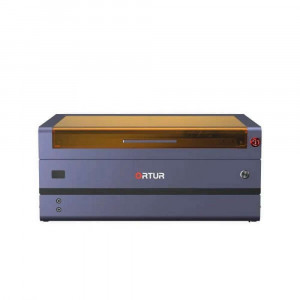
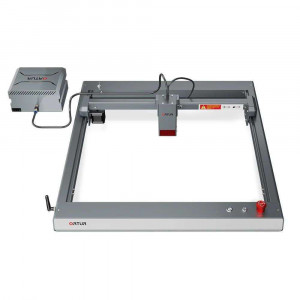
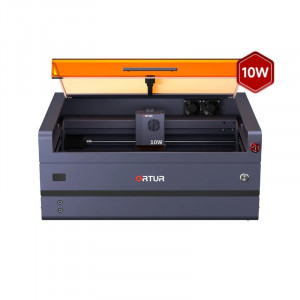
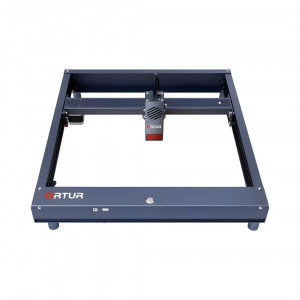
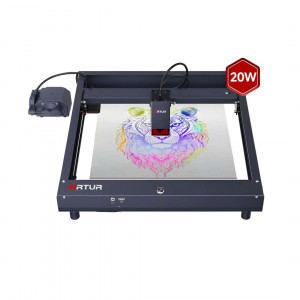
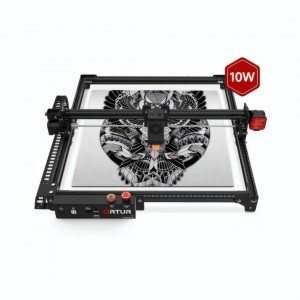
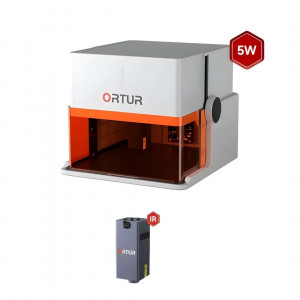
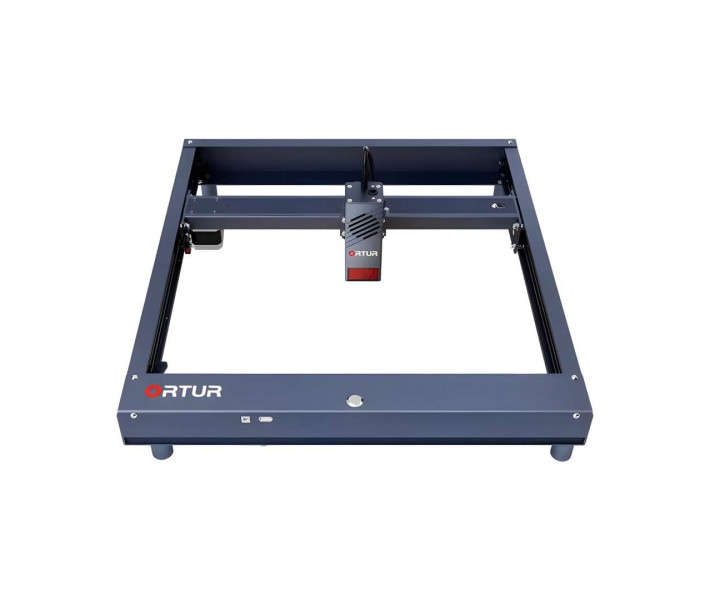
The Ortur Laser Master H10 5W is a pre-assembled open-frame diode laser engraver built to start working immediately after unboxing. Its flat-frame X-axis structure measurably outperforms conventional raised-gantry designs in positional accuracy at high speed. The LU2-4-SF module focuses to a sub-millimetre spot, covering an ample work area with fine-detail engraving on wood, leather, acrylic, and stainless steel.
| Specification | Why it matters |
|---|---|
| Optical power: 5.5 W at 450 ± 5 nm | Energy density sufficient for portrait engraving, vector cuts in 3 mm ply, and colour oxidation on stainless steel without chemical treatment. |
| Mechanical precision (X/Y): 12.5 µm / 12.5 µm | Fine enough for intricate lettering and detailed vector paths with no visible stepping artefacts in the output. |
| Maximum engraving speed: 20,000 mm/min | Higher throughput lets you complete longer production batches without extending session time proportionally. |
| Work area: 300 × 300 mm | Covers A4-plus layouts in a single pass, eliminating material repositioning mid-job. |
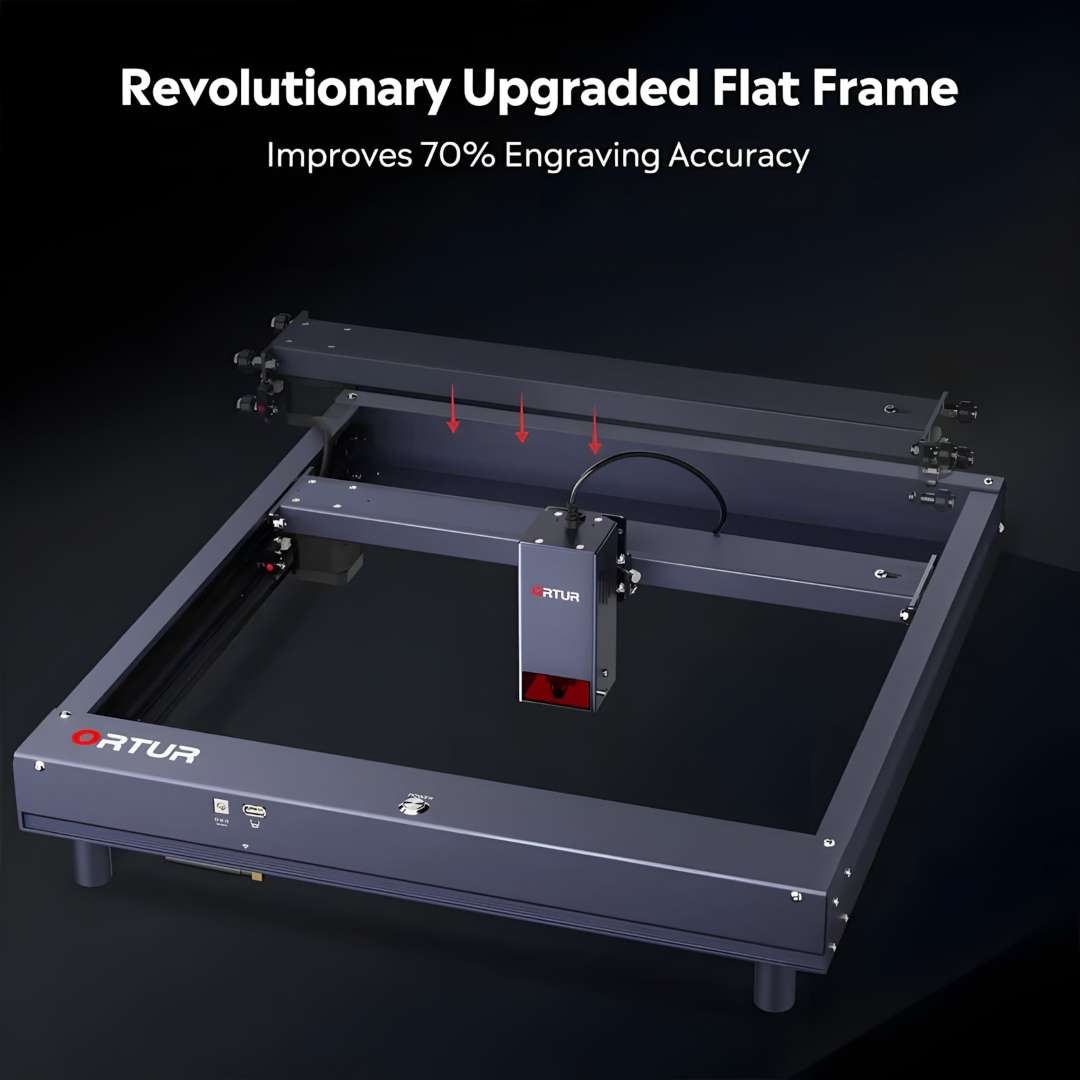
The flat-frame construction keeps the centre of gravity close to the work surface, delivering a measured 70% improvement in positional accuracy over raised-gantry machines. NEMA17 stepper motors drive both axes. 256 PWM-addressable grayscale levels allow photographic tonal depth on wood and leather. Built-in 40 L/min air assist — requiring no external compressor — reduces burn marks by 50% and continuously purges the lens window. Six independent safety systems monitor everything from firmware lock-up to gyroscopic tilt, providing multi-layer protection at the consumer price point.
Ortur Laser Master H10: Flat-Frame Design and Precision
Most open-frame laser engravers accumulate positional error under high-speed acceleration because a raised Y-beam shifts the centre of gravity away from the work surface. The H10 addresses this with a flat-type X-axis design: the gantry profile sits low, resonance at maximum feed rates drops sharply, and the frame achieves a measured 70% accuracy improvement over conventional raised-gantry machines. The entire frame is precision-machined to a single plane, so the work area stays level after transport without user re-levelling.
The machine arrives pre-assembled and ready to engrave within minutes of unboxing — transparent protective cover already fitted, laser module mounted, and the flat frame requiring no re-levelling before the first job.
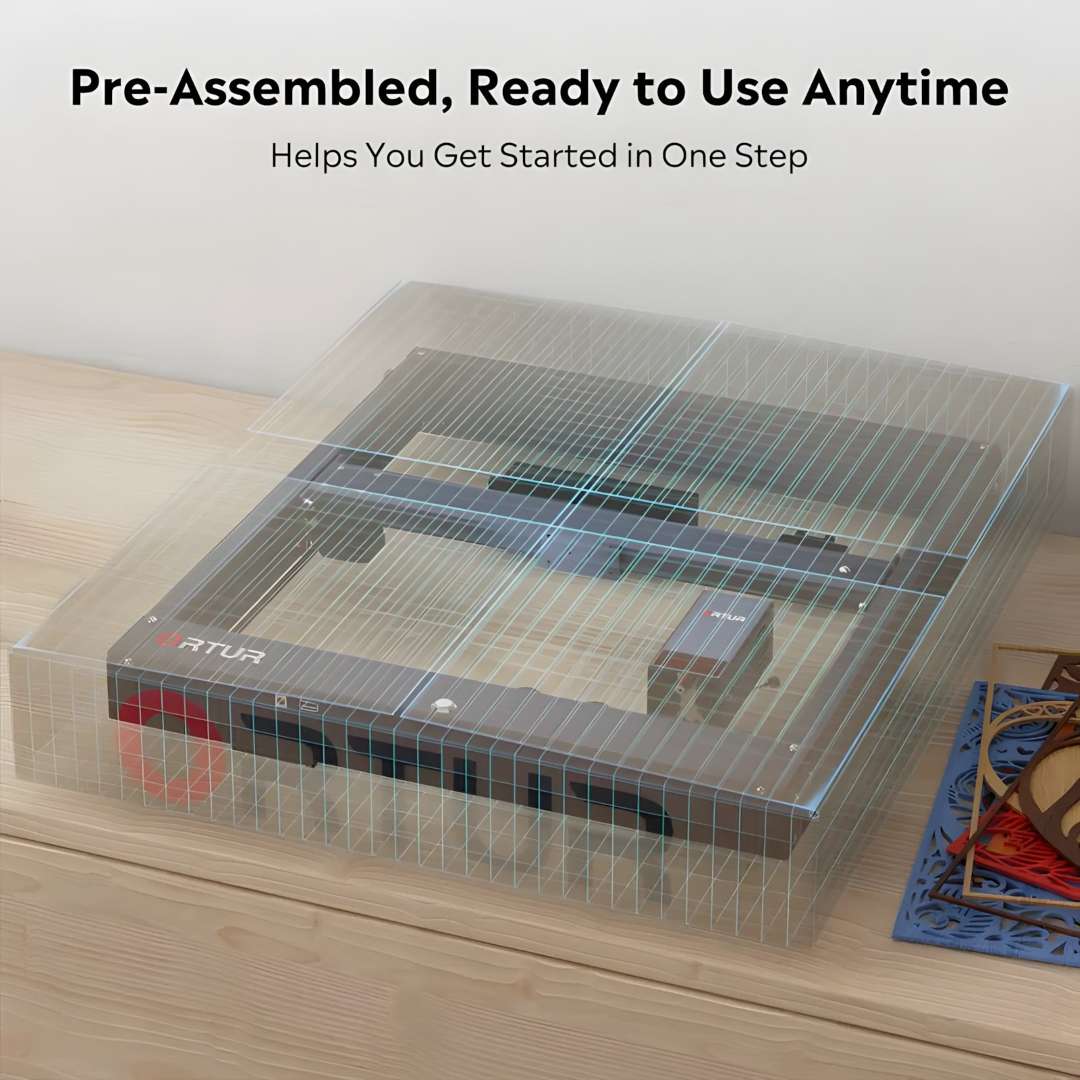
Press-fit Y-axis rails lock the gantry into a fixed co-planar reference, guaranteeing parallelism between axes without relying on user adjustment at each session.
LU2-4-SF Laser Module
Optical output and spot geometry
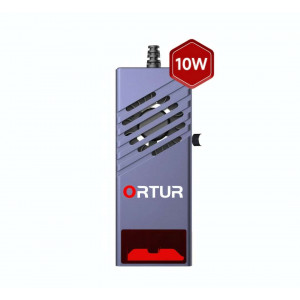
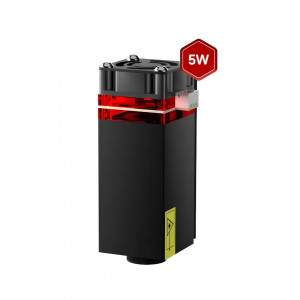
The LU2-4-SF delivers 5.5 W of optical power through an optical-compression lens system focused to a 0.12 × 0.15 mm spot at a 30 mm working distance. That narrow kerf preserves fine lettering, portrait detail, and intricate vector paths that wider-spot modules visibly degrade. The module weighs 235 g, contributing to the low-inertia carriage assembly that reaches full speed with a short ramp distance and holds position under rapid direction changes.
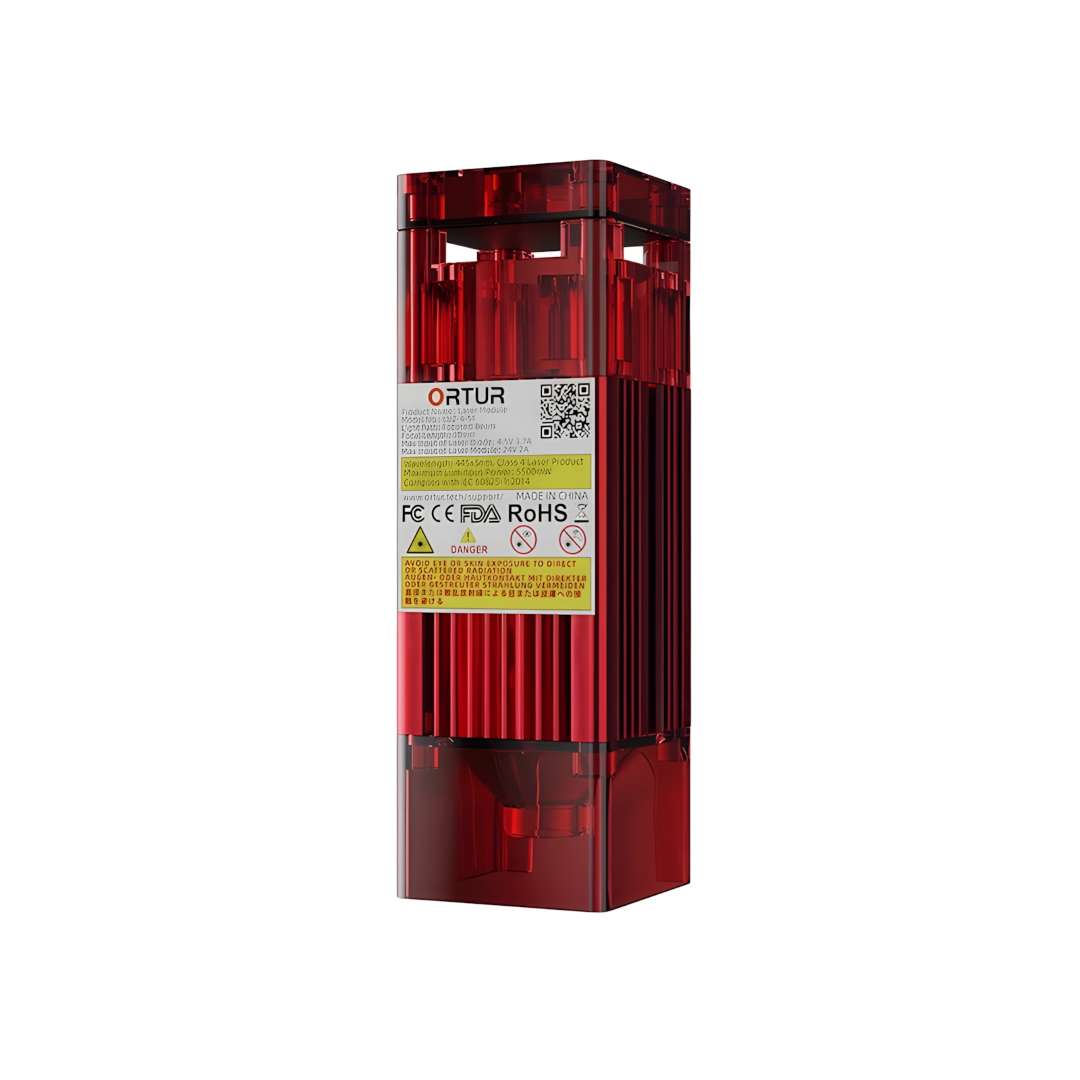
Wavelength and colour engraving
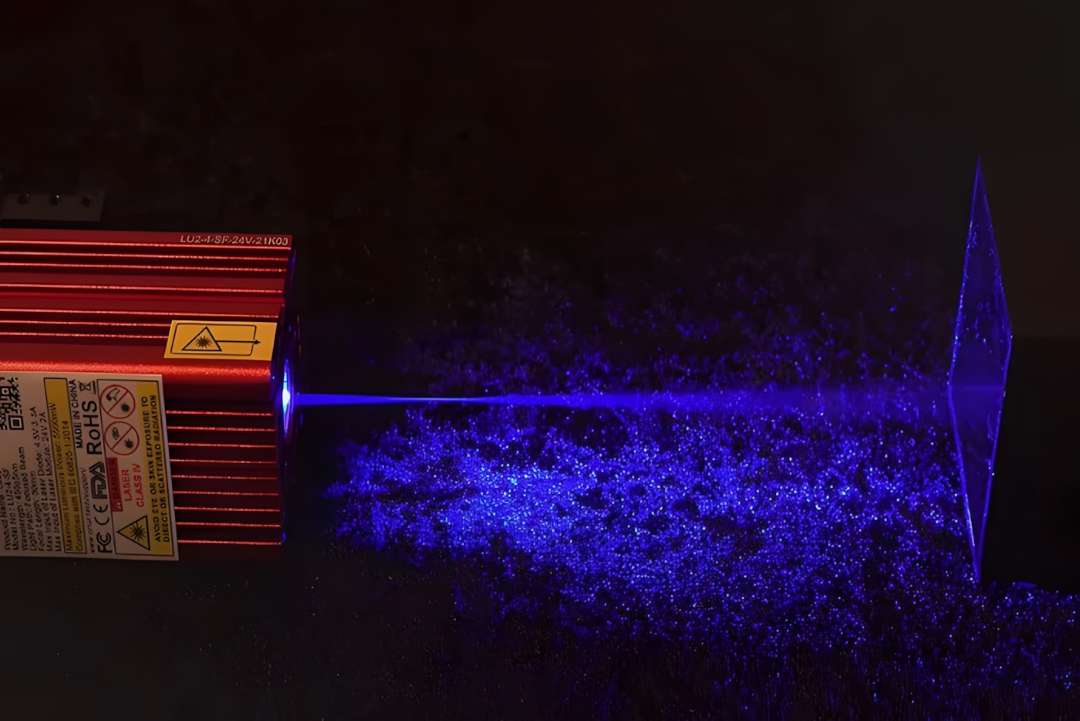
At 450 ± 5 nm (blue-violet band), the module operates in the absorption peak of most organic pigments and surface coatings. On stainless steel, controlled variation of speed and power exploits thin-film interference on the oxide layer, producing over 380 distinct visible colours without any chemical treatment — a capability that turns the H10 into a colour metal marking station without additional hardware.
Cooling and service life
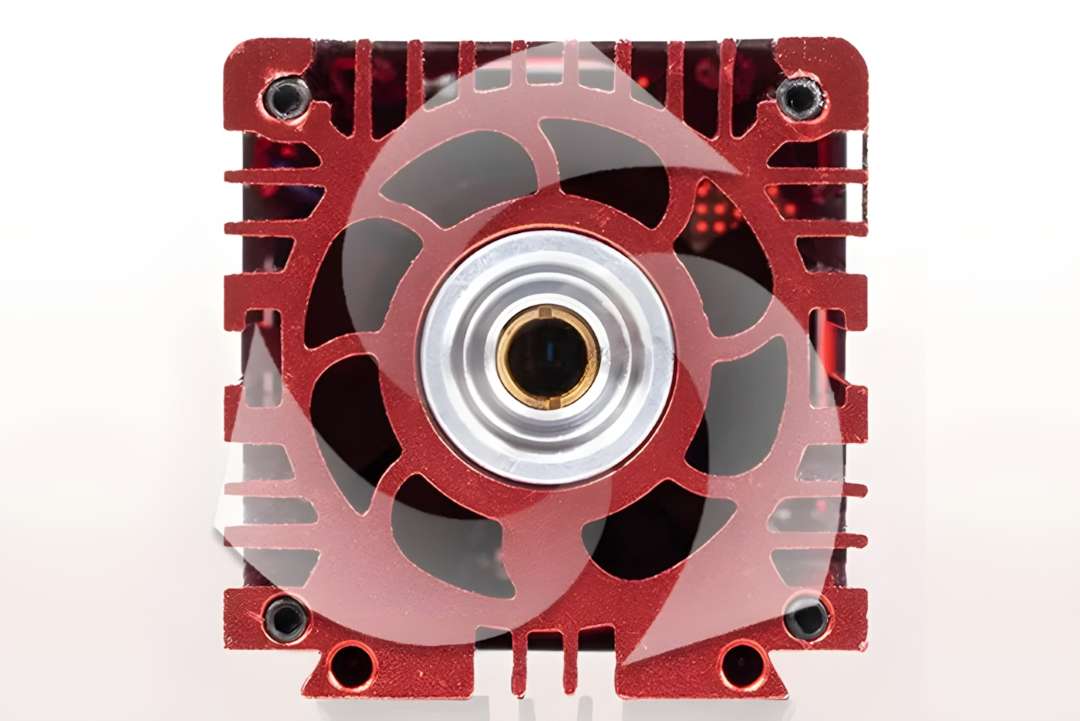
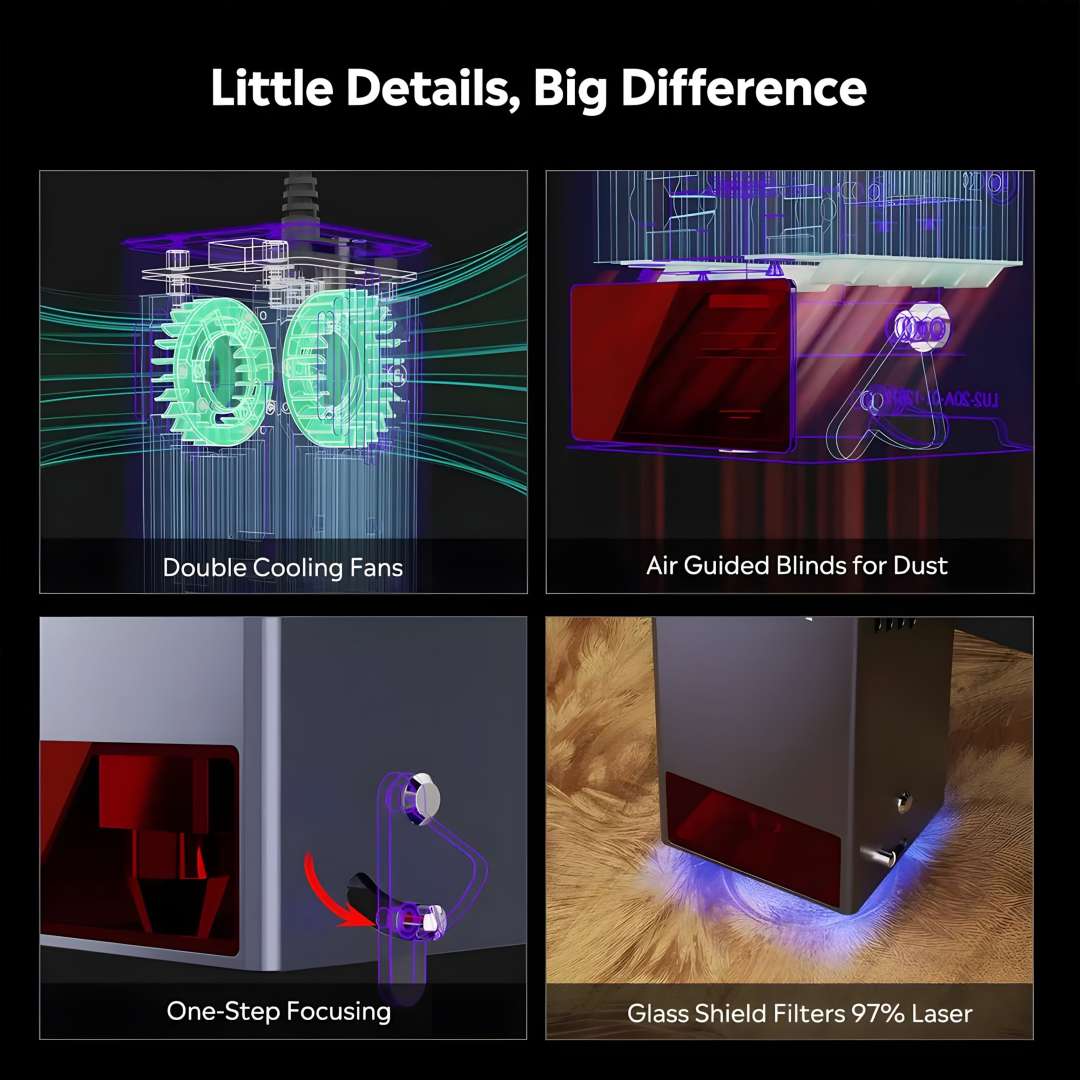
Twin radial fans running at 10,000 RPM draw air through heatsink fins machined directly into the aluminium housing extrusion — no clip-on cooler to loosen over time. This system sustains continuous operation for over 10,000 hours before notable power degradation. Air-guided blinds inside the module head direct the airstream across the lens window, automatically flushing combustion debris and extending the recommended cleaning interval to every 30 hours.
One-step focusing
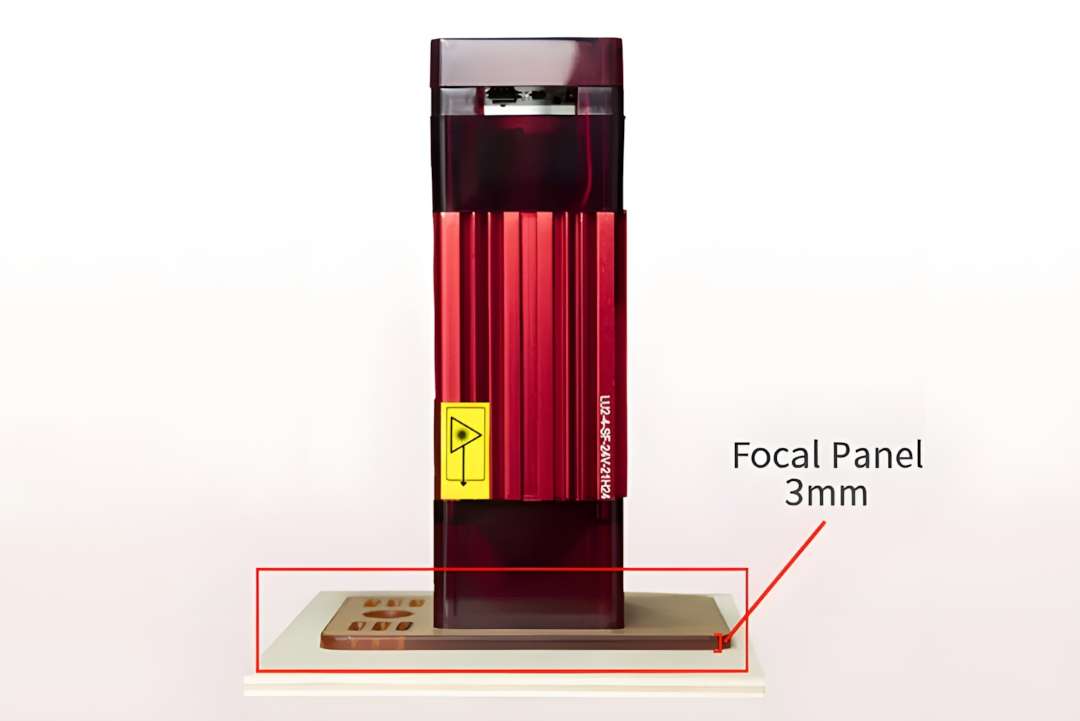
The LU2-4-SF is factory pre-collimated at a 30 mm focal distance measured from the heat-sink base to the material surface. A physical focal gauge is included in the package: slide it under the module, lower until contact, and correct focus is set. No software calibration routine is required at any point in this process.
Built-In Air Assist and Engineering Detail
The H10 integrates a 40 L/min free-flow air assist directly into the module body: no external compressor, no aftermarket bracket, and no additional hose routing. A focused air jet at the kerf displaces smoke, lowers combustion temperature, and reduces charring on the cut edge. Ortur's internal testing reports a 50% reduction in burn marks on wood and acrylic versus running without air assist. The same airflow-guided blinds that cool the fans also direct this airstream to continuously purge the lens window.
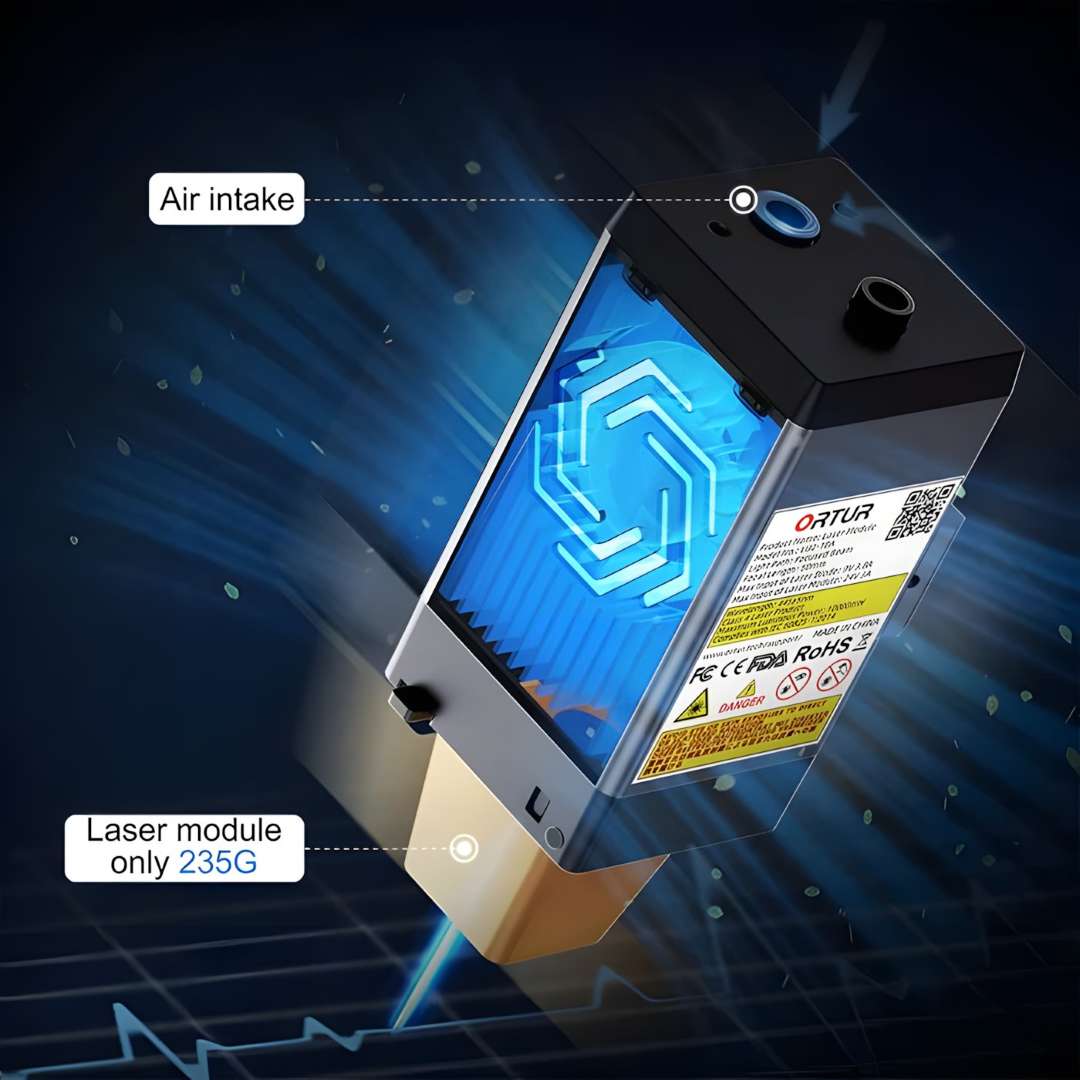
Four engineering details distinguish the H10 from commodity alternatives: dual 10,000-RPM fans rated beyond 10,000 hours of service; air-guided blinds that flush debris away from the optics automatically; the single-step focusing mechanism that eliminates user error; and a glass laser shield that filters 97% of laser light, making ambient monitoring safe without a full blackout enclosure.
Connectivity and Work Area
The H10 communicates over 2.4 GHz WiFi (hidden antenna design), USB serial bus (Type-B), TF card slot, FTP transfer, and a browser-based WebUI — five independent control paths. The WiFi antenna stores inside the frame and plugs into the rear connector when needed. Note that the TF card should be inserted before powering on, as the firmware requires it for initialisation and the machine will not run correctly from USB alone on first boot.
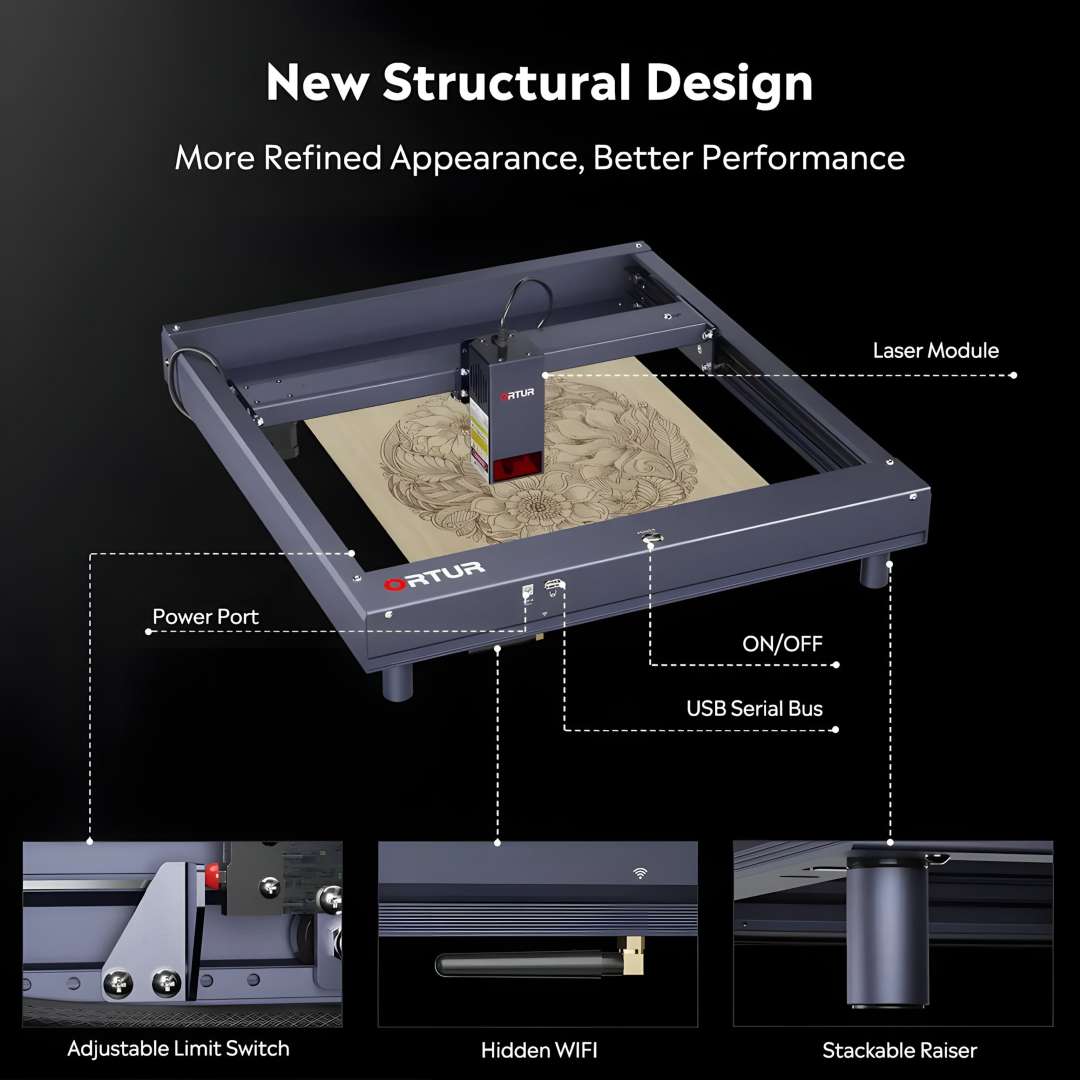
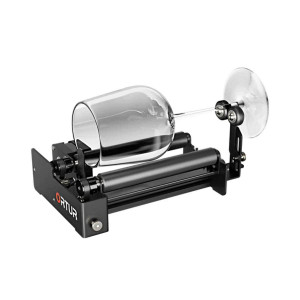
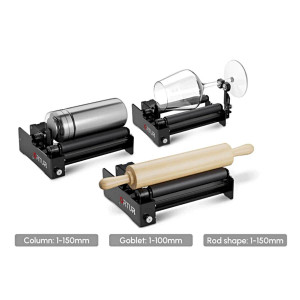
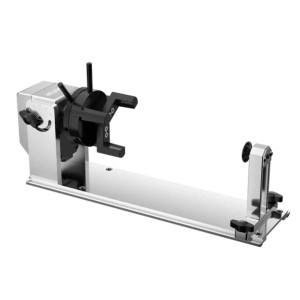
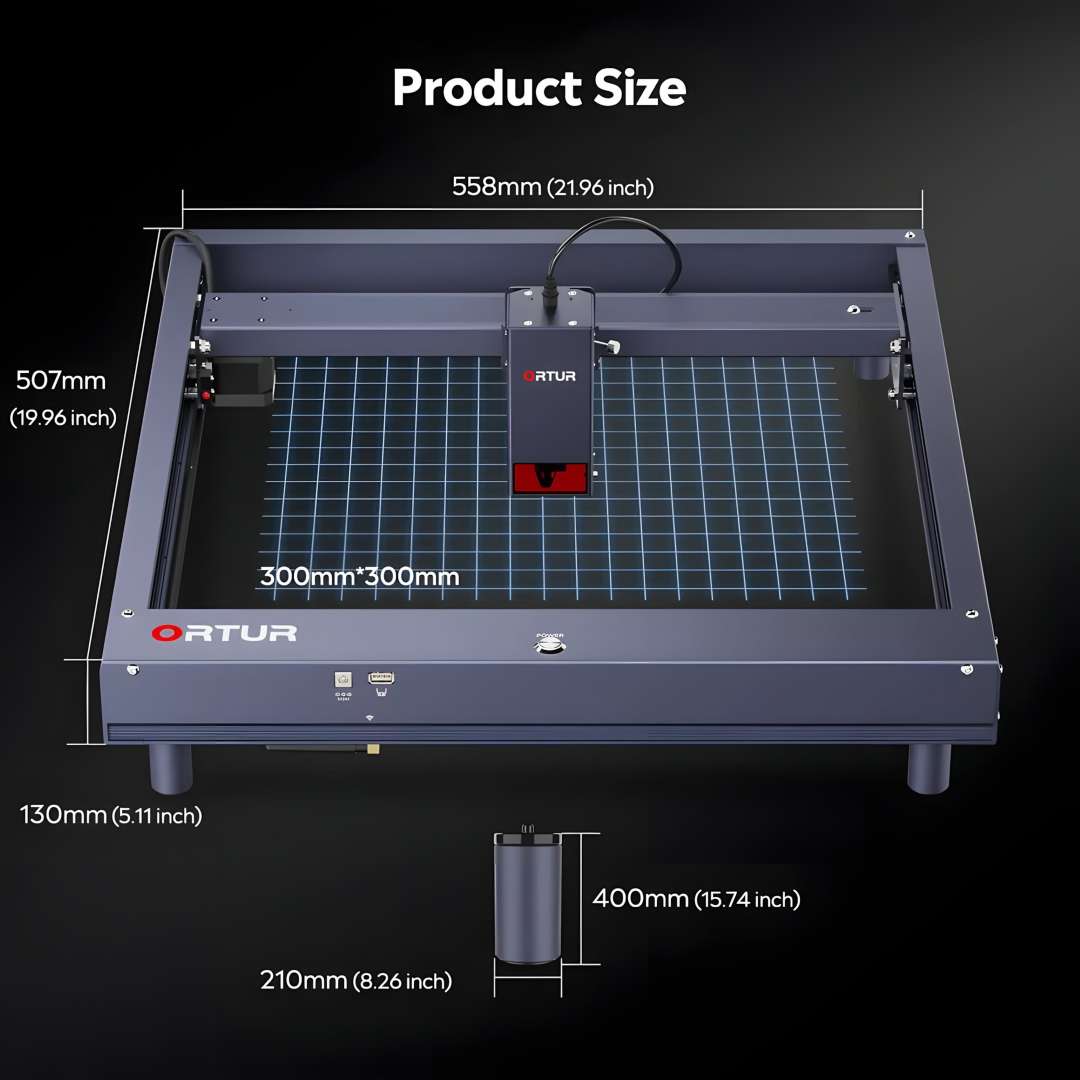
The 300 × 300 mm work area fits within a machine footprint of 558 × 507 mm and an overall height of 130 mm — compact enough for a standard workshop table. The optional rotary attachment envelope accommodates cylinders up to 210 mm diameter and 400 mm in length for engraving tumblers, bottles, and pens.
Software Compatibility
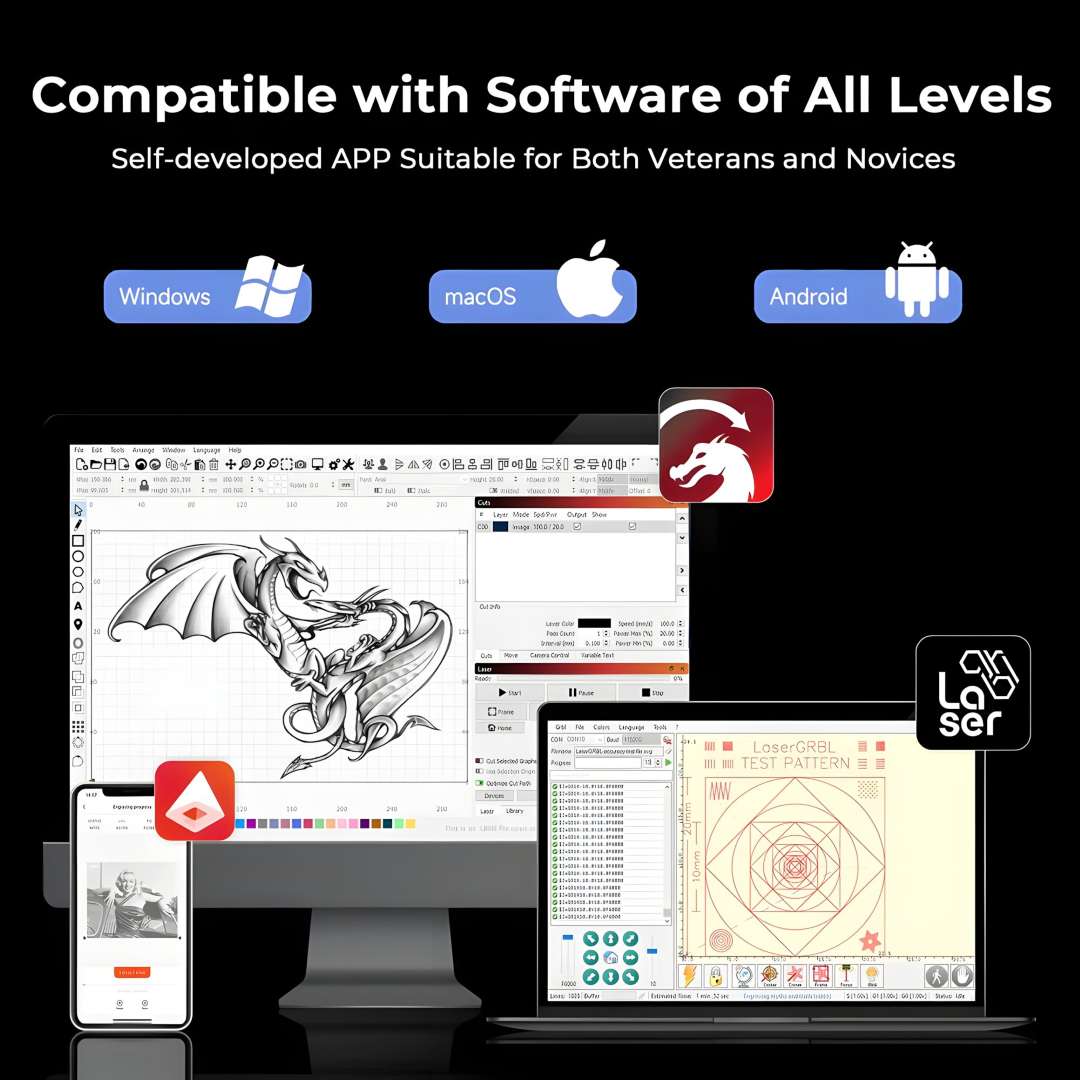
Three software paths serve the full workflow range. The Ortur App (Android, free) provides one-tap material presets and live camera preview for guided first jobs. LaserGRBL (Windows, free) delivers standard GRBL control with a large community resource base. LightBurn (Windows, macOS, Linux; paid) adds advanced path optimisation, node editing, camera registration, and full variable-power grayscale dithering for photographic output. All three connect via USB or WiFi without hardware modification, and the H10 accepts JPG, JPEG, PNG, BMP, and SVG input formats.
256-Level Grayscale and 6-System Safety Architecture
The H10 supports 256 grayscale levels via S0–S1000 PWM range, producing natural tonal transitions when burning photographic images into wood or leather. Six independent monitoring systems run in parallel on the OLM-ESP-H10_V2.7 motherboard:
- Motherboard program watchdog — detects firmware lock-up and triggers an emergency stop.
- USB connection monitoring — cuts the laser if the control link drops unexpectedly.
- Current and voltage monitoring — protects against power-supply deviation.
- Laser exposure duration monitoring — enforces configurable maximum on-time limits.
- Active position protection — halts motion if the carriage exceeds defined travel bounds.
- Sloping position protection — G-shock and gyroscopic sensor detects tilt and pauses operation automatically.
The following video walks through the full installation and setup sequence from unboxing to first engraving job.
Applications
- Personalised gifts and short-run retail: engraves names, logos, and artwork on wood, leather, and powder-coated items at up to 20,000 mm/min, enabling high-throughput personalisation without batch-size minimums.
- Stainless steel colour marking: produces over 380 distinct oxide colours without chemicals by varying speed and power parameters — suited to jewellery marking, branded tooling, and decorative metalwork.
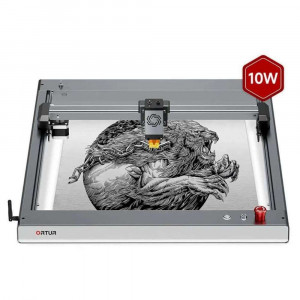
- Portrait and photographic engraving: 256 PWM grayscale levels render continuous-tone images on wood and leather with natural tonal gradation.
- Light cutting — ply, acrylic, leather: the 0.12 × 0.15 mm spot and built-in air assist produce clean cut edges in wood, black acrylic, and leather with reduced charring compared to running without air assist.
- Cylindrical object engraving: the optional rotary attachment handles diameters up to 210 mm and lengths up to 400 mm — tumblers, bottles, and round pens included.
- Educational and small-studio workflows: pre-assembled, WiFi-connected, and compatible with free software (LaserGRBL, Ortur App) for environments where assembly time and software cost must be kept to a minimum.
Compatibility and accessories
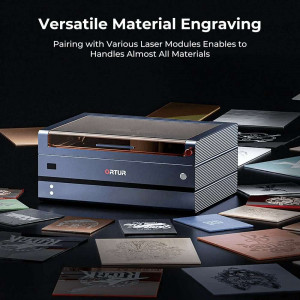
The H10 engraves on wood, paperboard, black acrylic, leather, food surfaces, stainless steel, and powder-coated metal. For cutting, compatible materials include wood, paperboard, black acrylic, leather, felt cloth, and dark-colour plastic sheet via melt process. The Z-height adjuster accessory is supported; an exhaust nozzle is not compatible with this module.
What's in the box
Every item included in the H10 package is shown in the photograph below — hardware, tools, safety equipment, testing materials, and accessories laid out for easy identification.
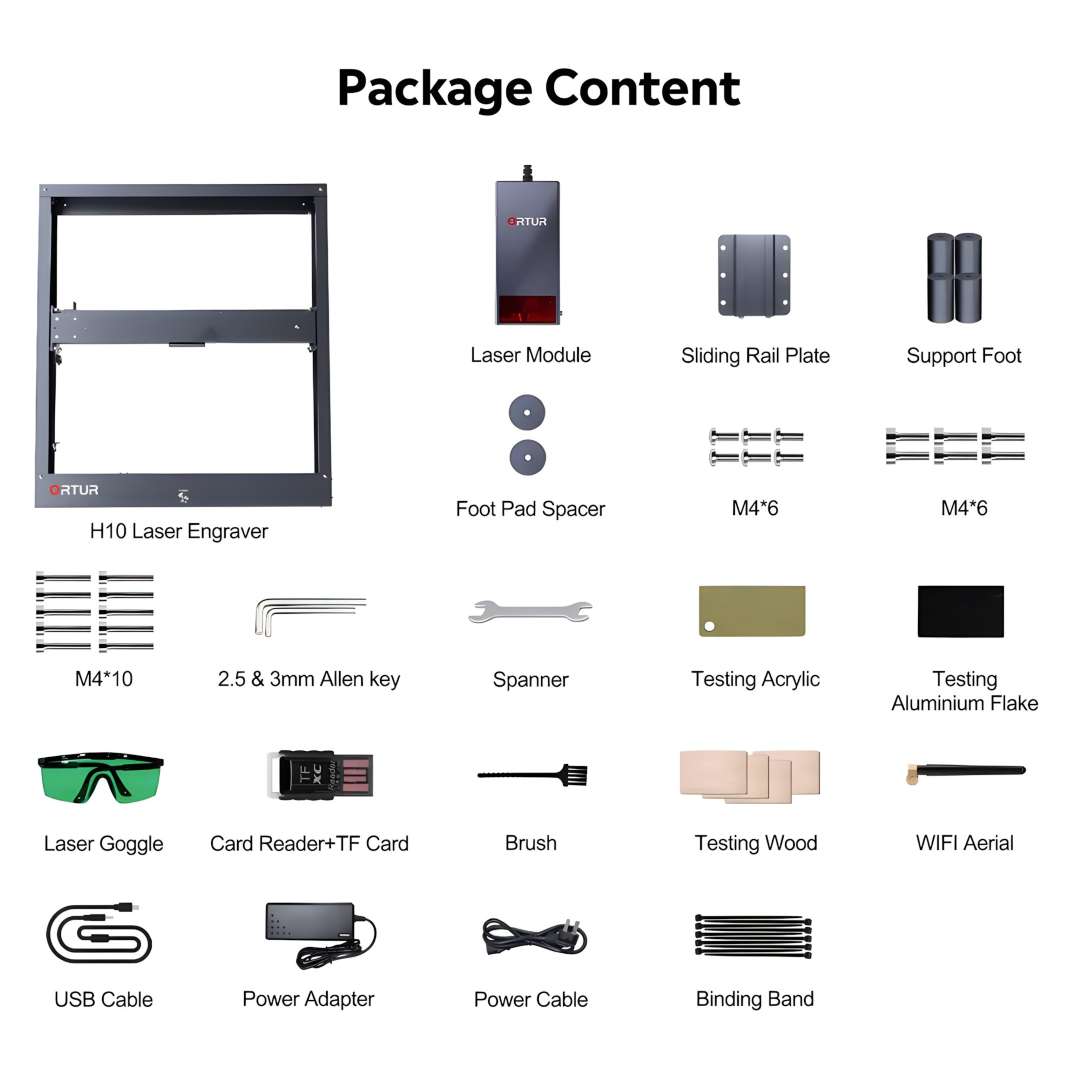
- Ortur Laser Master H10 engraver frame (pre-assembled)
- LU2-4-SF 5W laser module (mounted)
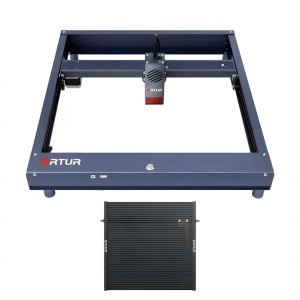
- Sliding rail plate
- Support feet ×4
- Foot pad spacers
- M4×6 and M4×10 screws
- 2.5 & 3 mm Allen keys
- Spanner
- Laser safety goggles
- Card reader + TF card
- Focal gauge (quick-focus stick)
- Testing acrylic piece
- Testing aluminium flake
- Testing wood piece
- Cleaning brush
- WiFi aerial
- Binding bands
- USB cable
- Power adapter (24 V / 6 A)
- Power cable
Technical specifications
Engraver body
| Parameter | Value |
| Motherboard | OLM-ESP-H10_V2.7 |
| Firmware | ESP_H10_218 |
| Engraving area | 300 × 300 mm |
| Machine dimensions (L × W × H) | 558 × 507 × 130 mm |
| Frame materials | 70% aluminium alloy, 15% stainless steel, 5% plastic, 5% brass, 5% other |
| Motors | NEMA17 stepper motors |
| Maximum engraving speed | 20,000 mm/min |
| Mechanical precision X / Y | 12.5 µm / 12.5 µm |
| Pixel accuracy | Adjustable — default 300 DPI (~0.01 mm) |
| Control mode | PWM (S0–S1000) |
| Power adapter output | 24 V / 6 A |
| Input voltage | 100–240 V ~ 50/60 Hz |
| Operating temperature | −5 °C to 50 °C |
| Grayscale levels | 256 |
LU2-4-SF 5W laser module
| Parameter | Value |
| Laser module model | LU2-4-SF |
| Optical power | 5.5 W |
| Wavelength | 450 ± 5 nm (blue) |
| Spot size | 0.12 × 0.15 mm |
| Focal length | 30 mm (heat sink to material surface) |
| Focusing mode | Manual (focal gauge included) |
| Laser technology | Optical compression |
| Module weight | 235 g |
| Cooling system | Dual fans at 10,000 RPM with air-guided blinds |
| Module lifetime | >10,000 h |
| Lens cleaning interval | Every 30 h |
| Module power input | 24 V / 2 A |
| Glass shield | Filters 97% of laser light |
| Built-in air assist | 40 L/min free-flow (reduces burn marks by 50%) |
| Exhaust nozzle compatibility | Not supported |
| Z-height adjuster compatibility | Supported |
Connectivity and interfaces
| Parameter | Value |
| WiFi | 2.4 GHz (hidden antenna design) |
| USB | USB serial bus (Type-B) |
| TF card | Yes — TF slot + card reader included |
| Other control modes | FTP, WebUI (browser-based) |
| Baud rate | 115,200–921,600 (default 115,200) |
Software and compatibility
| Parameter | Value |
| Ortur App | Android (free) |
| LaserGRBL | Windows XP / 7 / 8 / 10 (free) |
| LightBurn | Windows, macOS, Linux (paid) |
| Supported input formats | JPG, JPEG, PNG, BMP, SVG |
Compatible materials
| Parameter | Value |
| Engraving materials | Wood, paperboard, black acrylic, leather, food, stainless steel, powder-coated metal |
| Cutting materials | Wood, paperboard, black acrylic, leather, felt cloth, dark-colour plastic sheet (melt) |
Safety features and certifications
| Parameter | Value |
| Safety monitoring systems | 6 independent systems (motherboard watchdog, USB monitoring, current/voltage, exposure duration, active position, slope protection) |
| Motion sensors | Active G-shock and gyroscopic sensor |
| Certifications | FDA, CE, FCC, RoHS, UKCA |
Why choose the Ortur Laser Master H10?
The Ortur Laser Master H10 5W delivers immediate, precision laser engraving without the assembly overhead or calibration burden of kit machines. It carries FDA, CE, FCC, RoHS, and UKCA certifications, backing its safety claims with independent third-party verification. The six-system safety architecture and 97%-filtering glass laser shield make it suitable for workshop and studio environments without requiring full blackout enclosures. Pre-sales consultation is available to confirm material compatibility and workflow fit before purchase. Official warranty and authorised after-sales service cover the unit, with consumables and spare parts available separately. Compatible with free and professional software across Windows, macOS, Android, and Linux, the H10 serves both first-time engravers using one-tap material presets and experienced operators building photographic grayscale or stainless steel colour-marking workflows.