

- Stock: In Stock
- Product code: 920372000001161222
- Weight Brutto: 38.00kg
- SKU: M1 Ultra 20W SafetyPro Bundle

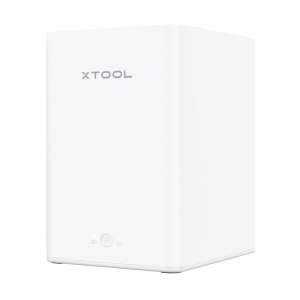
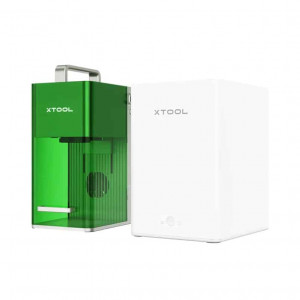
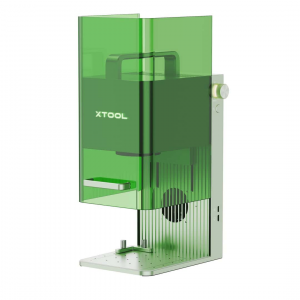
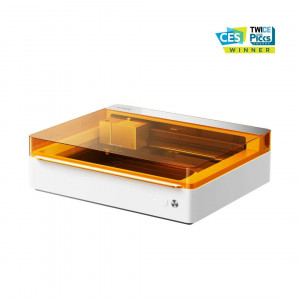
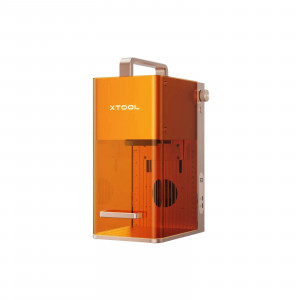
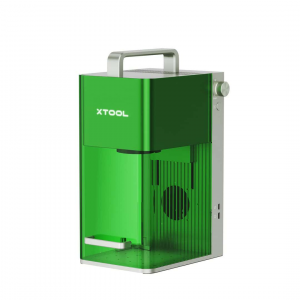
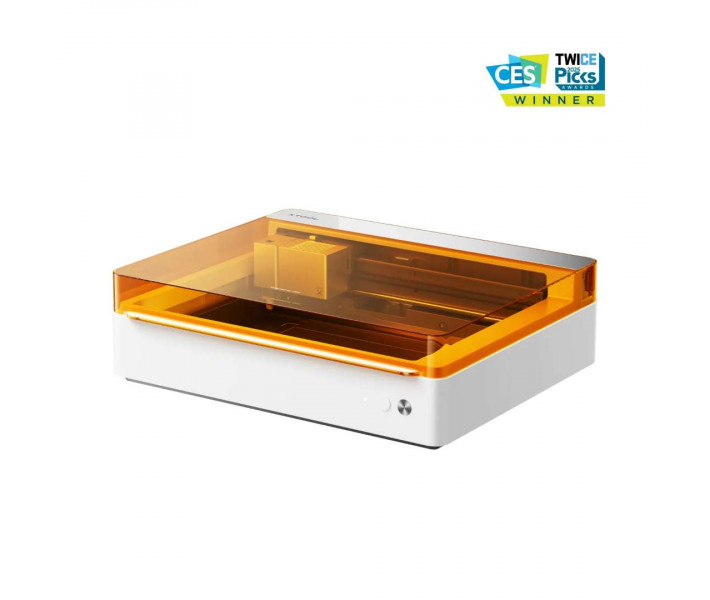
The xTool M1 Ultra 20W SafetyPro Bundle is a 4-in-1 desktop system for creative projects. The device combines a powerful diode laser, an inkjet module, knife cutting, and a pen mode in a single enclosed enclosure. The bundle supports over 1000 materials and holds Class 1 laser safety certification from TÜV SÜD. The Pin-point Positioning™ system delivers micron-level alignment accuracy without the distortions typical of single-camera systems.
| Specification | Your advantage |
|---|---|
| Processing modes: 4 modes — laser, inkjet, knife, pen | One device replaces a laser engraver, plotter, printer, and drawing tablet — without moving material between machines. |
| Laser power: 20 W (diode) | Cutting wood up to 10 mm and acrylic up to 8 mm in a single pass reduces cycle time and eliminates rework. |
| Positioning accuracy: 0.02 mm | Deviation below 0.02 mm enables accurate layer registration across different modes without visible shift, even on costly or fragile materials. |
| Safety class: Class 1 (TÜV SÜD) | The enclosed enclosure with lid interlock isolates the Class 4 laser inside — safe for home and studio environments. |
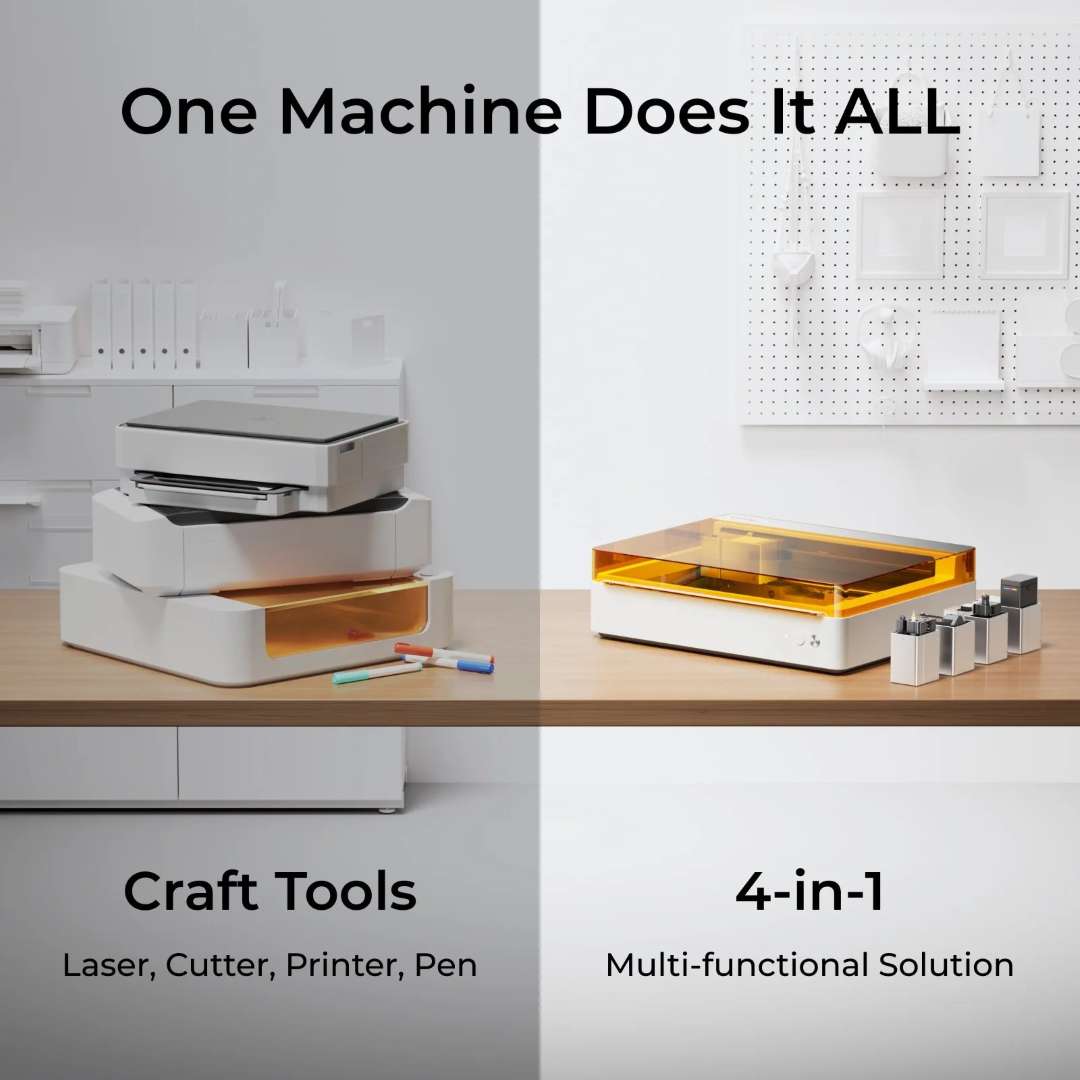
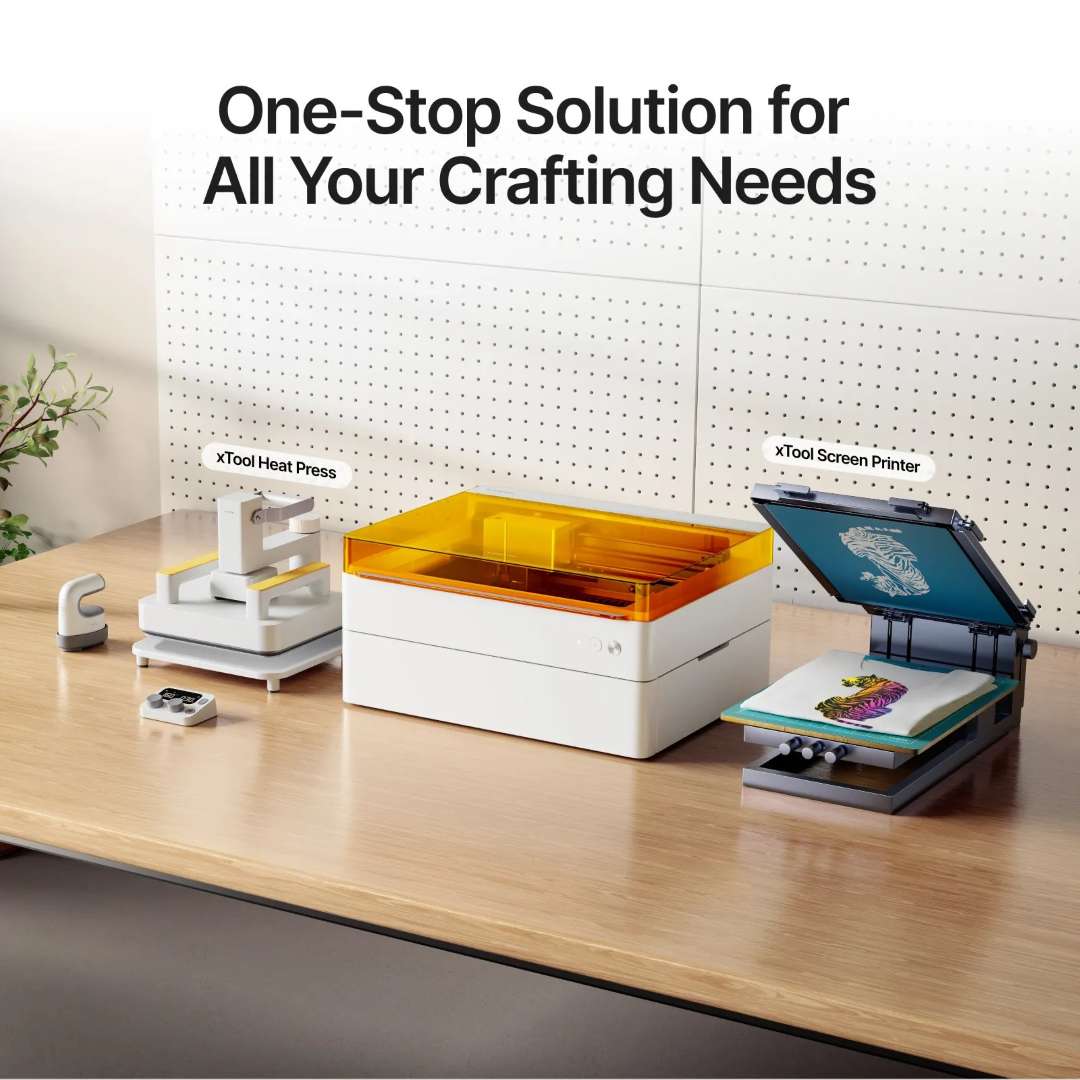
Easy Swap™ is the tool-head change system that switches modules in 3 seconds. It enables transitions between all four processing modes without recalibration. Setup time is reduced, and combined processing within a single project remains uninterrupted. This approach replaces several separate machines with a single compact device.
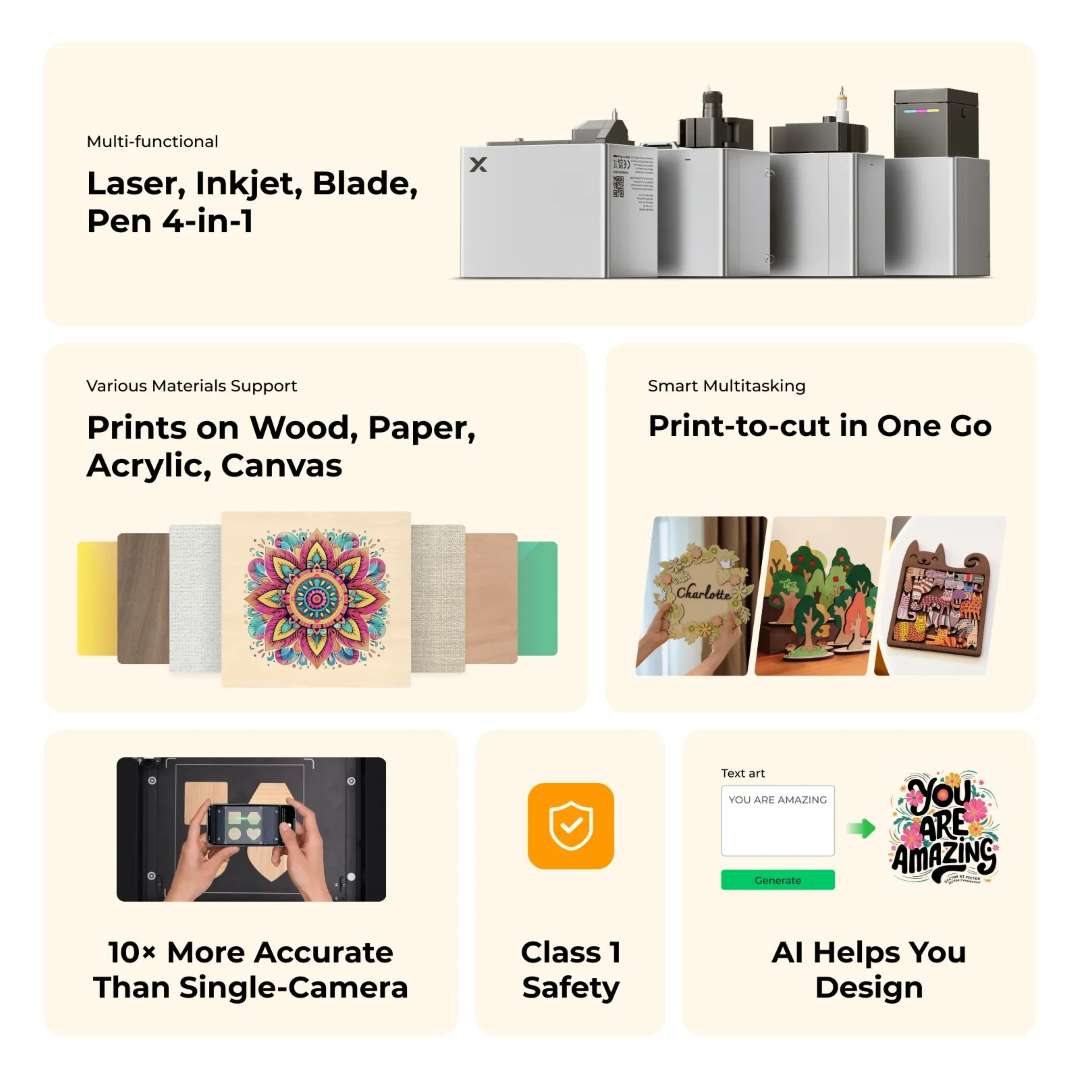
The Pin-point Positioning™ system is ten times more precise than single-camera positioning systems. It eliminates optical distortions when overlaying templates and enables batch positioning of objects from a single smartphone photograph. Movement accuracy of 0.01 mm prevents material waste even when working with costly blanks.
- Autofocus: the laser module measures the distance to the surface with 0.1 mm accuracy using a probe, and focuses without manual adjustment regardless of material thickness.
- Open-lid pen mode: the device supports operation with the lid open exclusively in pen mode, removing restrictions on the length of the writing instrument.
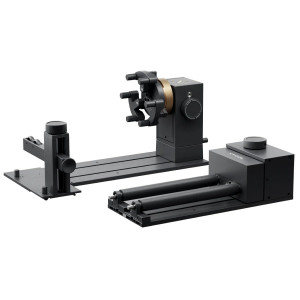
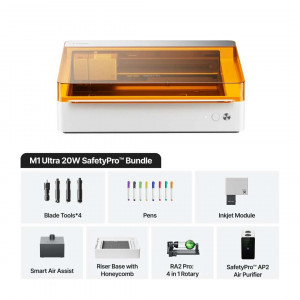
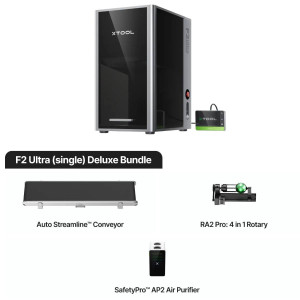
- RA2 Pro included: the 4-in-1 rotary attachment enables engraving on cylindrical objects up to 99 mm in diameter, together with the riser base.
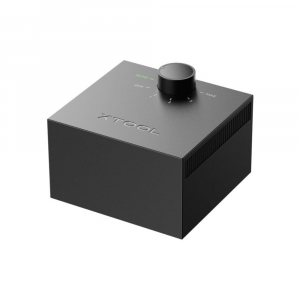
- SafetyPro™ AP2 included: the multi-stage air purifier neutralises smoke and particulates directly at the workstation.
xTool M1 Ultra: 4-in-1 Device
This device implements four processing technologies within a single enclosed enclosure. Available modes include laser engraving and cutting, inkjet printing, knife cutting with foil transfer, and pen drawing. Each mode is activated via the Easy Swap™ quick-release module — no tools required and no loss of positioning settings. This combination of capabilities sets the device apart from single-purpose solutions.
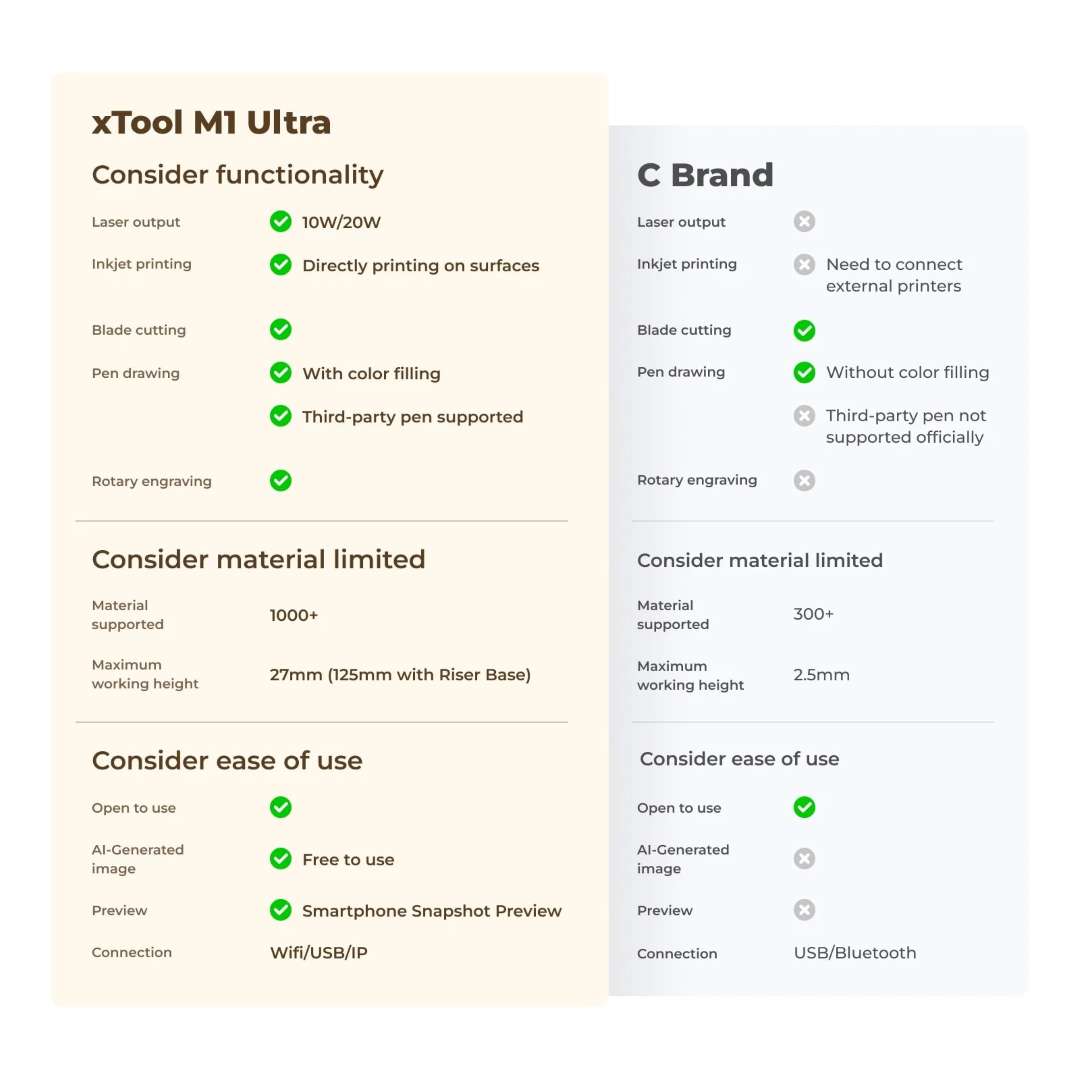
The design features compact dimensions of 620 × 498 × 178 mm at a maximum power draw of 200 W. The xTool M1 Ultra 20W SafetyPro Bundle arrives fully assembled and is ready to operate after connecting to mains power and installing xTool Creative Space software.
Laser Mode
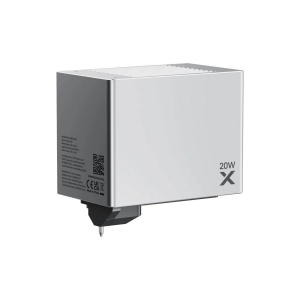
The laser module produces a spot measuring 0.06 × 0.08 mm using a diode source with a wavelength of 455 ± 5 nm and a power output of 20 W. This energy concentration allows cutting wood up to 10 mm and acrylic up to 8 mm in a single pass. Maximum traverse speed is 400 mm/s.
Cutting and Engraving
Laser cutting is available for wood, MDF, paper, opaque acrylic, and leather. Engraving covers a broader material range — including stainless steel and coated metal plates. Autofocus measures the distance to the surface with 0.1 mm accuracy using a probe. This removes the need for manual adjustment when changing material thickness.
Rotary Engraving
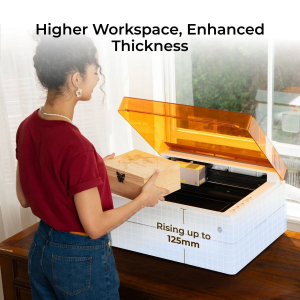
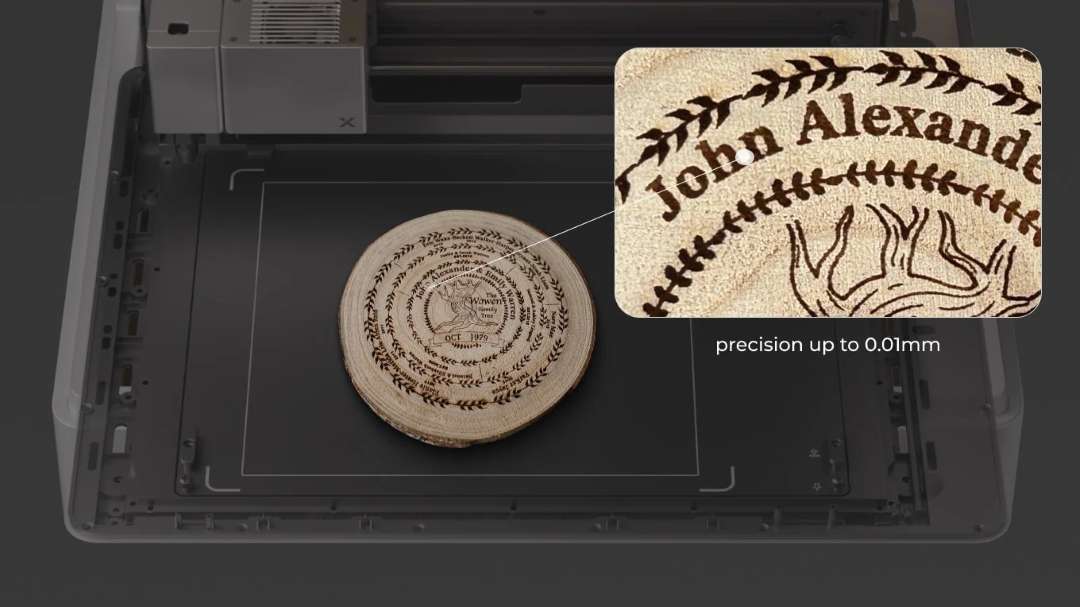
The RA2 Pro rotary attachment, included in this bundle, supports a 4-in-1 configuration. It enables engraving on cylindrical and spherical objects up to 99 mm in diameter. The riser base increases the maximum processing height in laser mode to 125 mm — compared with 27 mm without it.
Knife Mode and Foil Transfer
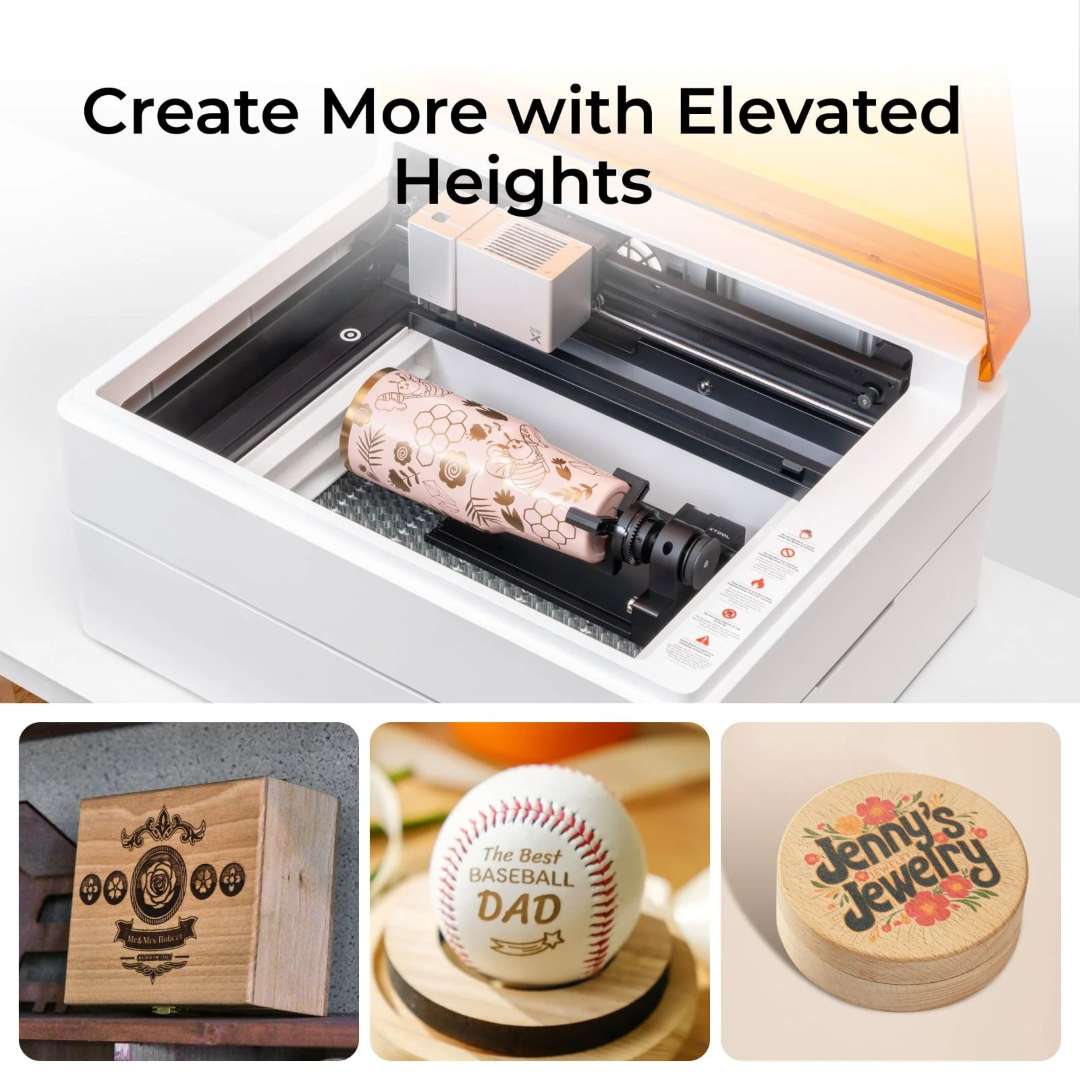
In knife mode, the carriage moves the cutting tool with 0.01 mm accuracy. The choice of blade type determines the maximum material thickness and the applicable use case.
Blades and Cutting Types
- Fine-tip knife: cutting paper, stickers, and vinyl film up to 1.5 mm thick with clean contours and without compressing the material.
- Cutting knife: processing leather, matte card, and balsa up to 2.5 mm thick — for materials with higher density.
- Rotary blade (optional): cutting denim, cotton, and linen without fraying edges.

Foil Transfer and Hot Foiling
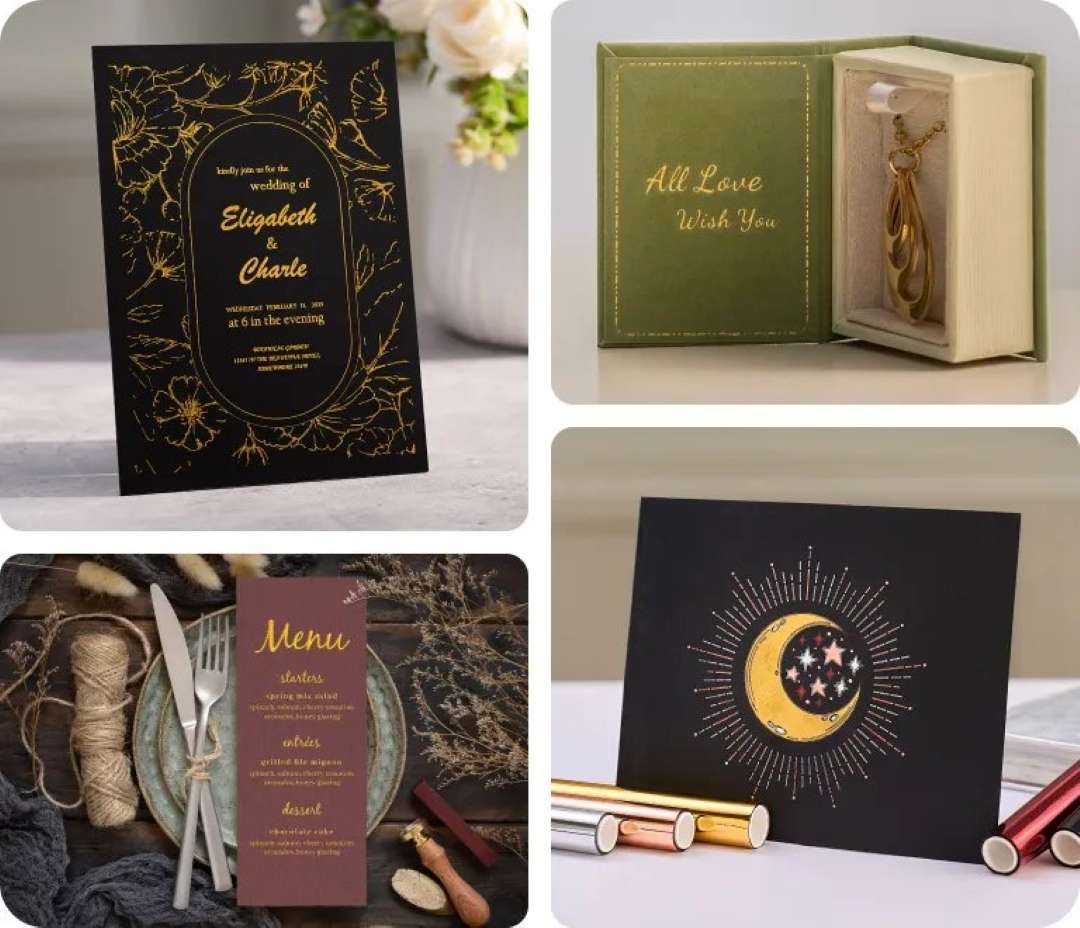
The foil transfer tip (optional) applies decorative foil accents or embossing to paper, card, and leather. This is a solution for producing invitations, covers, and boxes with a metallic finish — without additional equipment.
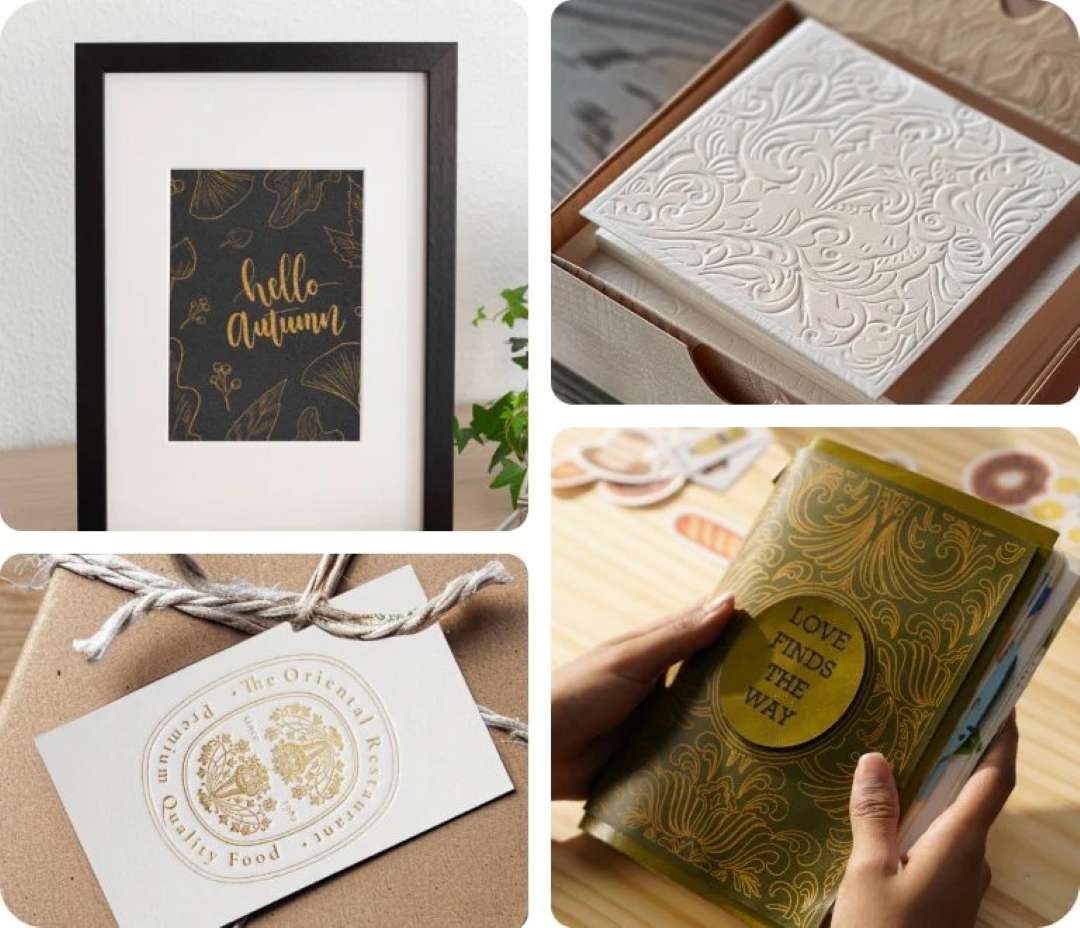
The hot foil pencil (optional) delivers richer and more durable application than the standard tip. It supports a broader range of materials — acrylic, paper, and leather — where standard foil does not provide the required adhesion.
Inkjet Mode
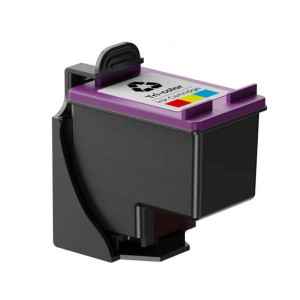
The inkjet module, included in this bundle, uses CMY inks to print full-colour images on non-standard surfaces. The working area in inkjet mode is 296 × 286 mm. Supported materials include wood, coated acrylic, canvas, card, and paper.
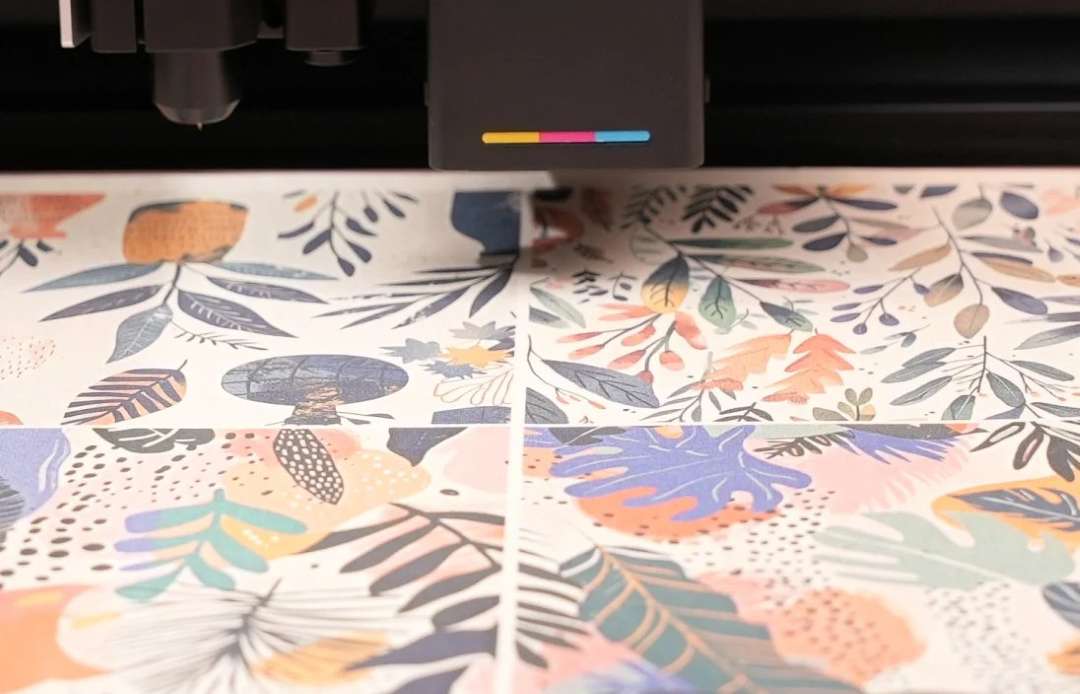
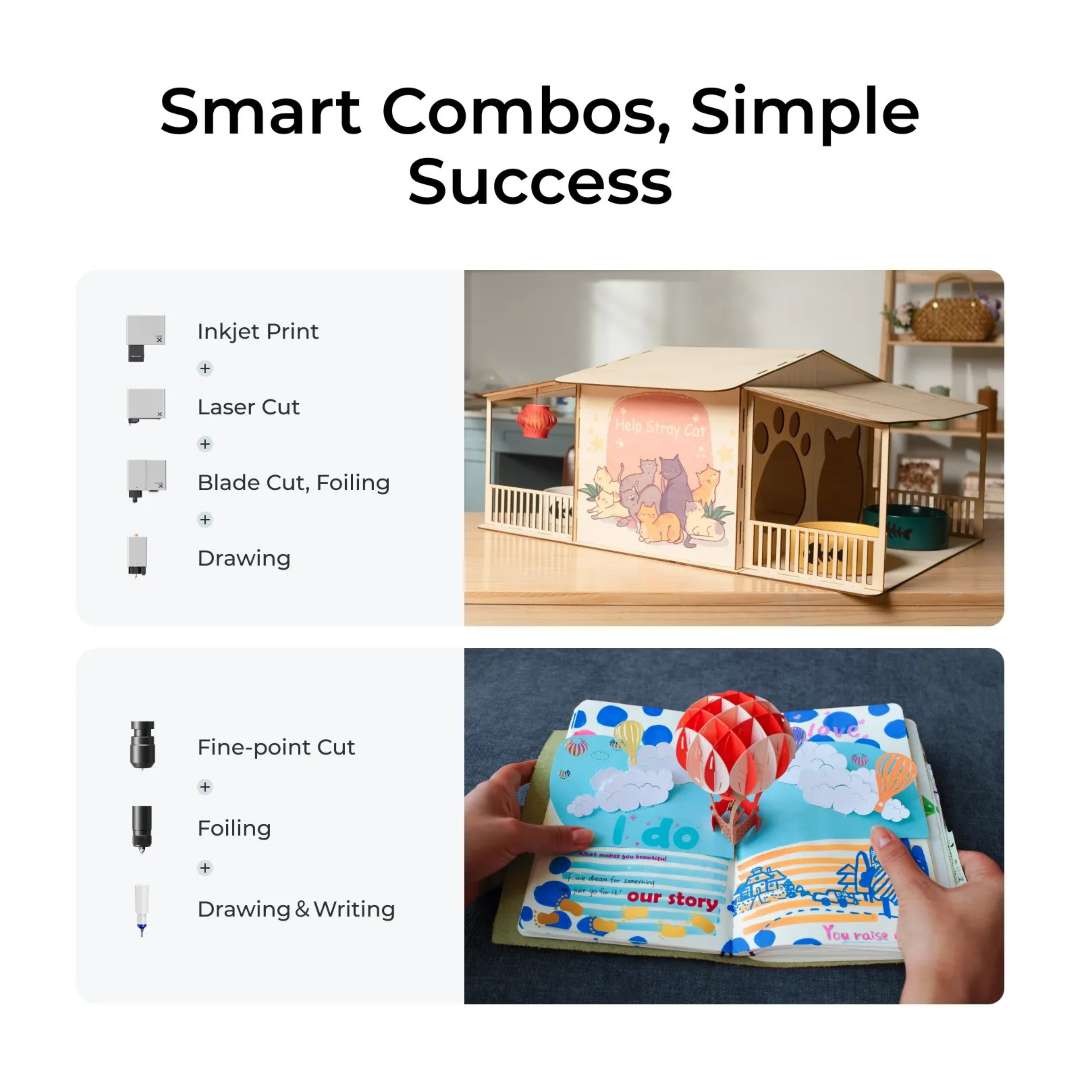
Dense or smooth surfaces — metal, glass, and ceramic — require an adhesive primer before printing. Combining inkjet printing with laser or knife cutting in a single project enables the production of mixed-material items. No equipment change is required — all processes run within the same enclosure.
Pen Mode
Pen mode supports third-party pens, including Cricut plotter pens, provided they fit the holder dimensions. The device supports operation with the lid open — but exclusively in pen mode. This removes restrictions on the length of the writing instrument and allows the use of non-standard pens for drawing and writing.
Positioning and Accuracy
The Pin-point Positioning™ system measures the distance to the surface with a hardware probe accurate to 0.1 mm. It does not rely on camera image interpolation, so no distortions occur when overlaying templates. Positioning accuracy is 0.02 mm, and batch fill allows multiple elements to be placed from a single smartphone photograph.
Software and Connectivity
The device operates with xTool Creative Space software on Windows and macOS. Connectivity options include USB, Wi-Fi, and IP address. Supported formats: SVG, DXF, JPG, JPEG, PNG, BMP, TIF. The xTool Creative Space mobile app allows users to photograph material with a smartphone and send the image directly to the software workspace. The device is also compatible with the Almake platform.
Safety and Certification
The device is certified to Class 1 laser safety (TÜV SÜD) in accordance with ANSI Z136.1-2022, IEC 60825-1:2014, and EN 60825-1:2014/A11:2021. Class 1 means the 20 W laser module is fully enclosed during operation. Microswitches on the lid and base halt processing when opened. This prevents accidental access to the laser beam.
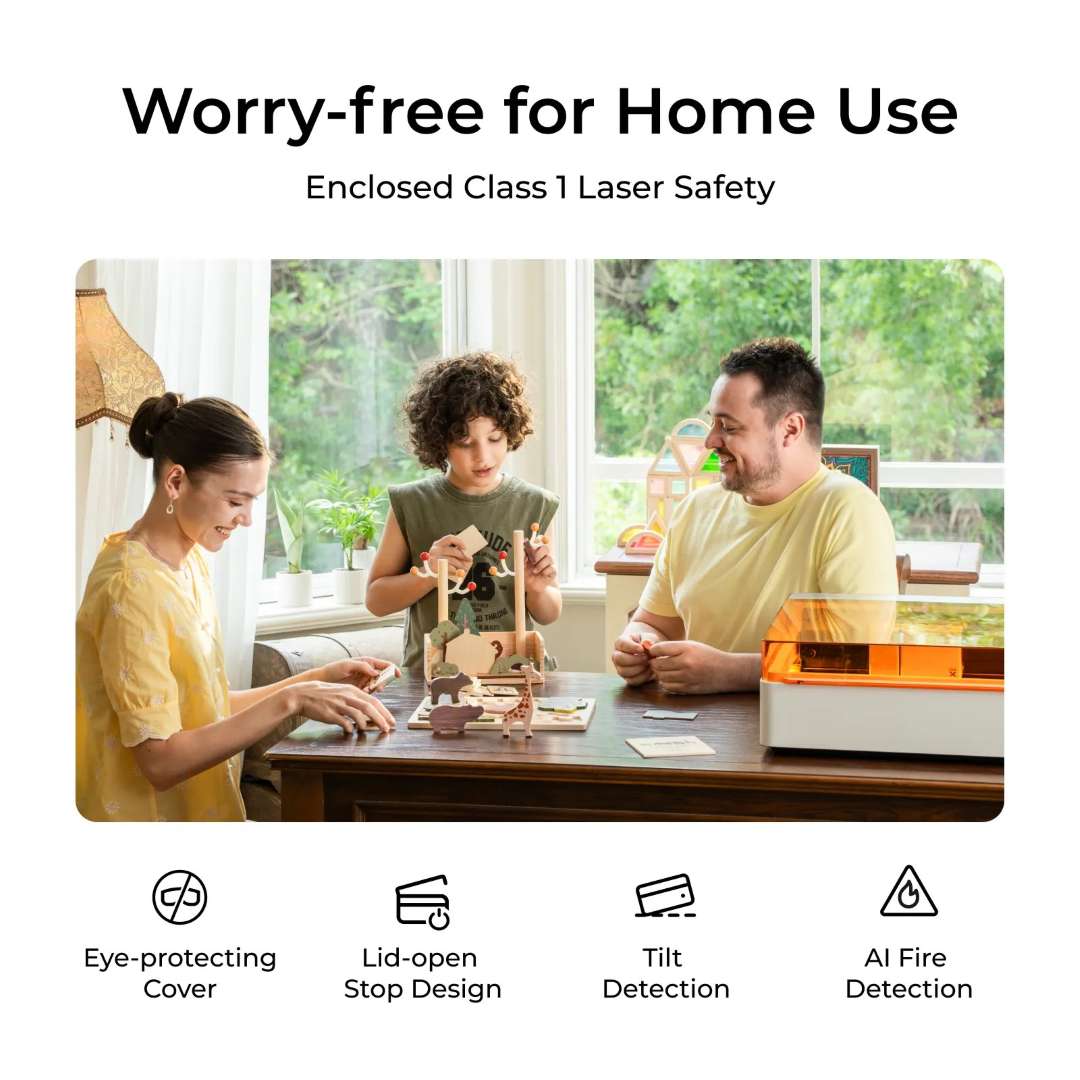
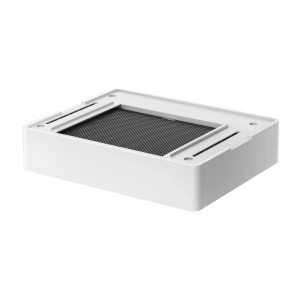
Built-in sensors detect open flame and vibration: an indicator and buzzer signal any hazard. The included locking key restricts access to processing functions. The SafetyPro™ AP2 air purifier, included in this bundle, filters smoke and particulates at the workstation. No external ventilation is required.
Applications
Four processing modes and support for over 1000 materials define a wide range of practical scenarios — from individual orders to batch production.

Combined processing within a single device reduces changeover time and suits projects requiring multiple materials and techniques simultaneously.

Simultaneous use of laser cutting, knife, foil transfer, and printing enables the production of mixed-material items without changing equipment.

- Personalised gifts: Laser engraving applies text and images to wood, leather, and metal with 0.02 mm accuracy. Knife mode and foil transfer add dimensional decoration to cards and gift boxes without additional equipment.
- Home décor and crafting: Combining laser cutting with inkjet printing enables the production of interior objects in a single session. Material does not need to be moved between different machines — all processes run within the same enclosure.
- Small business and batch production: Batch positioning automates the layout of multiple elements from a single camera photograph. Maximum laser traverse speed of 400 mm/s sustains the pace of serial production of custom items.
- Textile processing and garment making: The rotary blade (optional) cuts denim, cotton, and linen without fraying edges. The fine-tip knife cuts vinyl appliqués for heat transfer to fabric in combination with the xTool H1 heat press.
- Event decoration and seasonal merchandise: The RA2 Pro rotary attachment engraves tumblers, sports equipment, and glassware with personalised text. Knife mode cuts banners, toppers, and garlands from paper and card.
- Print production and custom printing: The inkjet module with CMY inks reproduces full-colour images on wood, canvas, and card. Combining printing with laser contour cutting turns a printed sheet into a finished item in a single session.
Compatibility and Accessories
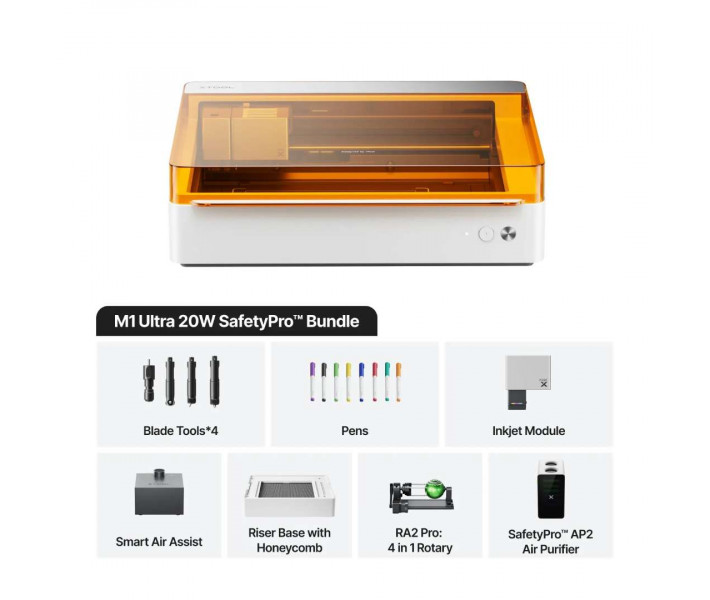
- RA2 Pro (included): 4-in-1 rotary attachment for engraving on cylindrical, conical, and flat objects up to 99 mm in diameter.
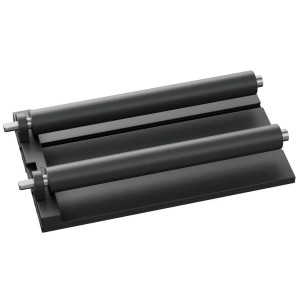
- Riser Base with Honeycomb Panel (included): increases maximum processing height to 125 mm (laser mode) and to 138 mm (inkjet / pen / knife mode).
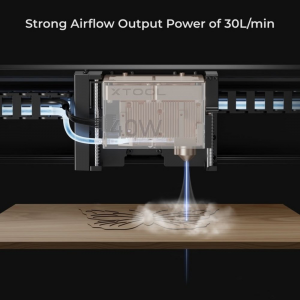
- Smart Air Assist (included): air delivery system directed at the laser processing point to improve cut quality and reduce charring.
- SafetyPro™ AP2 Air Purifier (included): air purifier for filtering smoke and particulates at the workstation without connection to external ventilation.
- xTool H1 Heat Press (sold separately): heat press for transferring HTV, sublimation, and DTF prints onto fabric, in combination with vinyl cut by the device's knife.
- xTool Fire Safety Set (sold separately): additional fire protection accessory that connects to the dedicated port on the device in accordance with the installation guide.
- Electrostatic Mat (sold separately): prevents curling and tearing of paper materials during cutting, without adhesive coating and without material waste.
What's in the Box
- xTool M1 Ultra device
- Laser module
- RA2 Pro 4-in-1 rotary attachment
- Inkjet module
- Smart Air Assist
- Riser base with honeycomb panel
- SafetyPro™ AP2 air purifier
- Blade set ×4
- Multi-function carriage
- Smoke exhaust module
- Power cable and adapter
- USB cable
- Fine-tip knife
- Cutting knife
- Fine-tip pen (×8)
- Pen holder
- Triangular prism holder (×4)
- Triangular prism (×10)
- LightGrip cutting mat
- FabricGrip cutting mat
- Filter (×8)
- Key (×2)
- Lubricant
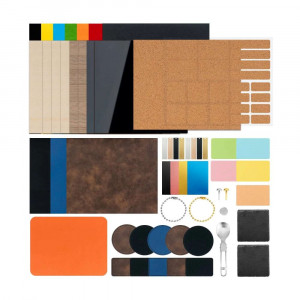
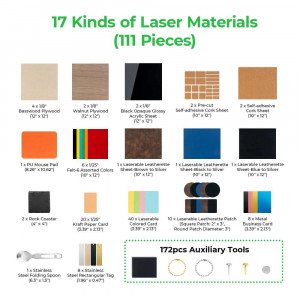
- Materials kit
- Screwdriver
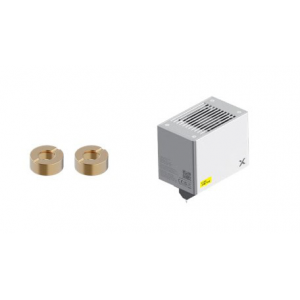
- Lens mount (spare part, ×2)
- Rotating lens mount component
- Knurled screw for base (spare part, ×2)
- Quick-start guide
- Safety manual
Technical specifications
Processing Capabilities
| Parameter | Value |
| Laser type | 20 W diode laser |
| Processing mode | Laser cutting, Laser engraving, Inkjet printing, Knife cutting, Foil transfer |
| Materials (laser cutting) | Wood, opaque acrylic sheet, paper, MDF, leather |
| Materials (knife cutting) | Card, vinyl film, PVC, leather |
| Materials (laser engraving) | Wood, opaque acrylic sheet, leather, stainless steel, coated metal plate |
| Materials (inkjet printing) | Paper, card, wood, canvas, acrylic sheet |
| Working area (laser / knife / pen mode) | 300 × 300 mm |
| Working area (cutting knife) | 295 × 295 mm |
| Working area (inkjet mode) | 296 × 286 mm |
| Max. operating speed | 400 mm/s |
| Max. wood cutting depth (20 W) | 10 mm in a single pass |
| Max. wood cutting depth (10 W) | 6 mm in a single pass |
| Max. acrylic cutting depth (20 W) | 8 mm in a single pass |
| Max. acrylic cutting depth (10 W) | 5 mm in a single pass |
| Max. knife cutting depth (fine-tip knife) | 1.5 mm |
| Max. knife cutting depth (cutting knife) | 2.5 mm |
| Max. processing height — laser mode, with riser base | 125 mm |
| Max. processing height — laser mode, without riser base | 27 mm |
| Max. processing height — inkjet / pen / knife (foil transfer), with riser base | 138 mm |
| Max. processing height — inkjet / pen / knife (foil transfer), without riser base | 20 mm |
| Max. rotary engraving diameter (with riser base) | 0–99 mm |
Smart Software
| Parameter | Value |
| Supported software | xTool Creative Space |
| Operating system | Windows / macOS |
| Connection method | USB / Wi-Fi / IP |
| Supported file formats | SVG / DXF / JPG / JPEG / PNG / BMP / TIF |
| Almake compatibility | Yes |
Ease of Use
| Parameter | Value |
| Pre-assembled | Yes |
| Positioning method | Pin-point Positioning™ |
| Focusing mode | Autofocus |
Precision and Accuracy
| Parameter | Value |
| Laser spot size (10 W diode laser) | 0.04 × 0.06 mm |
| Laser spot size (20 W diode laser) | 0.06 × 0.08 mm |
| Positioning accuracy | 0.02 mm |
| Distance measurement accuracy | 0.1 mm, probe |
| Movement accuracy | 0.01 mm |
General Information
| Parameter | Value |
| Safety certification | Class 1 laser safety (certified by TÜV SÜD) |
| Product dimensions | 620 × 498 × 178 mm |
| Product weight | 17 kg |
| Max. power consumption | 200 W |
| Power adapter input voltage | 100–240 VAC, 50/60 Hz |
Why buy the xTool M1 Ultra from EXPERT3D?
EXPERT3D has supplied professional laser and digital fabrication equipment since 2012. Our specialists provide expert pre-sales consultation and help identify the right configuration for your workflow. Every purchase includes an official manufacturer's warranty and access to authorised after-sales service. Post-sale technical support ensures uninterrupted operation throughout the product's service life. We deliver across Spain and the EU. Original consumables and spare parts are available to order directly from our website. As an official representative of xTool, we guarantee 100 % product authenticity, fair pricing, authorised service, and an official warranty.